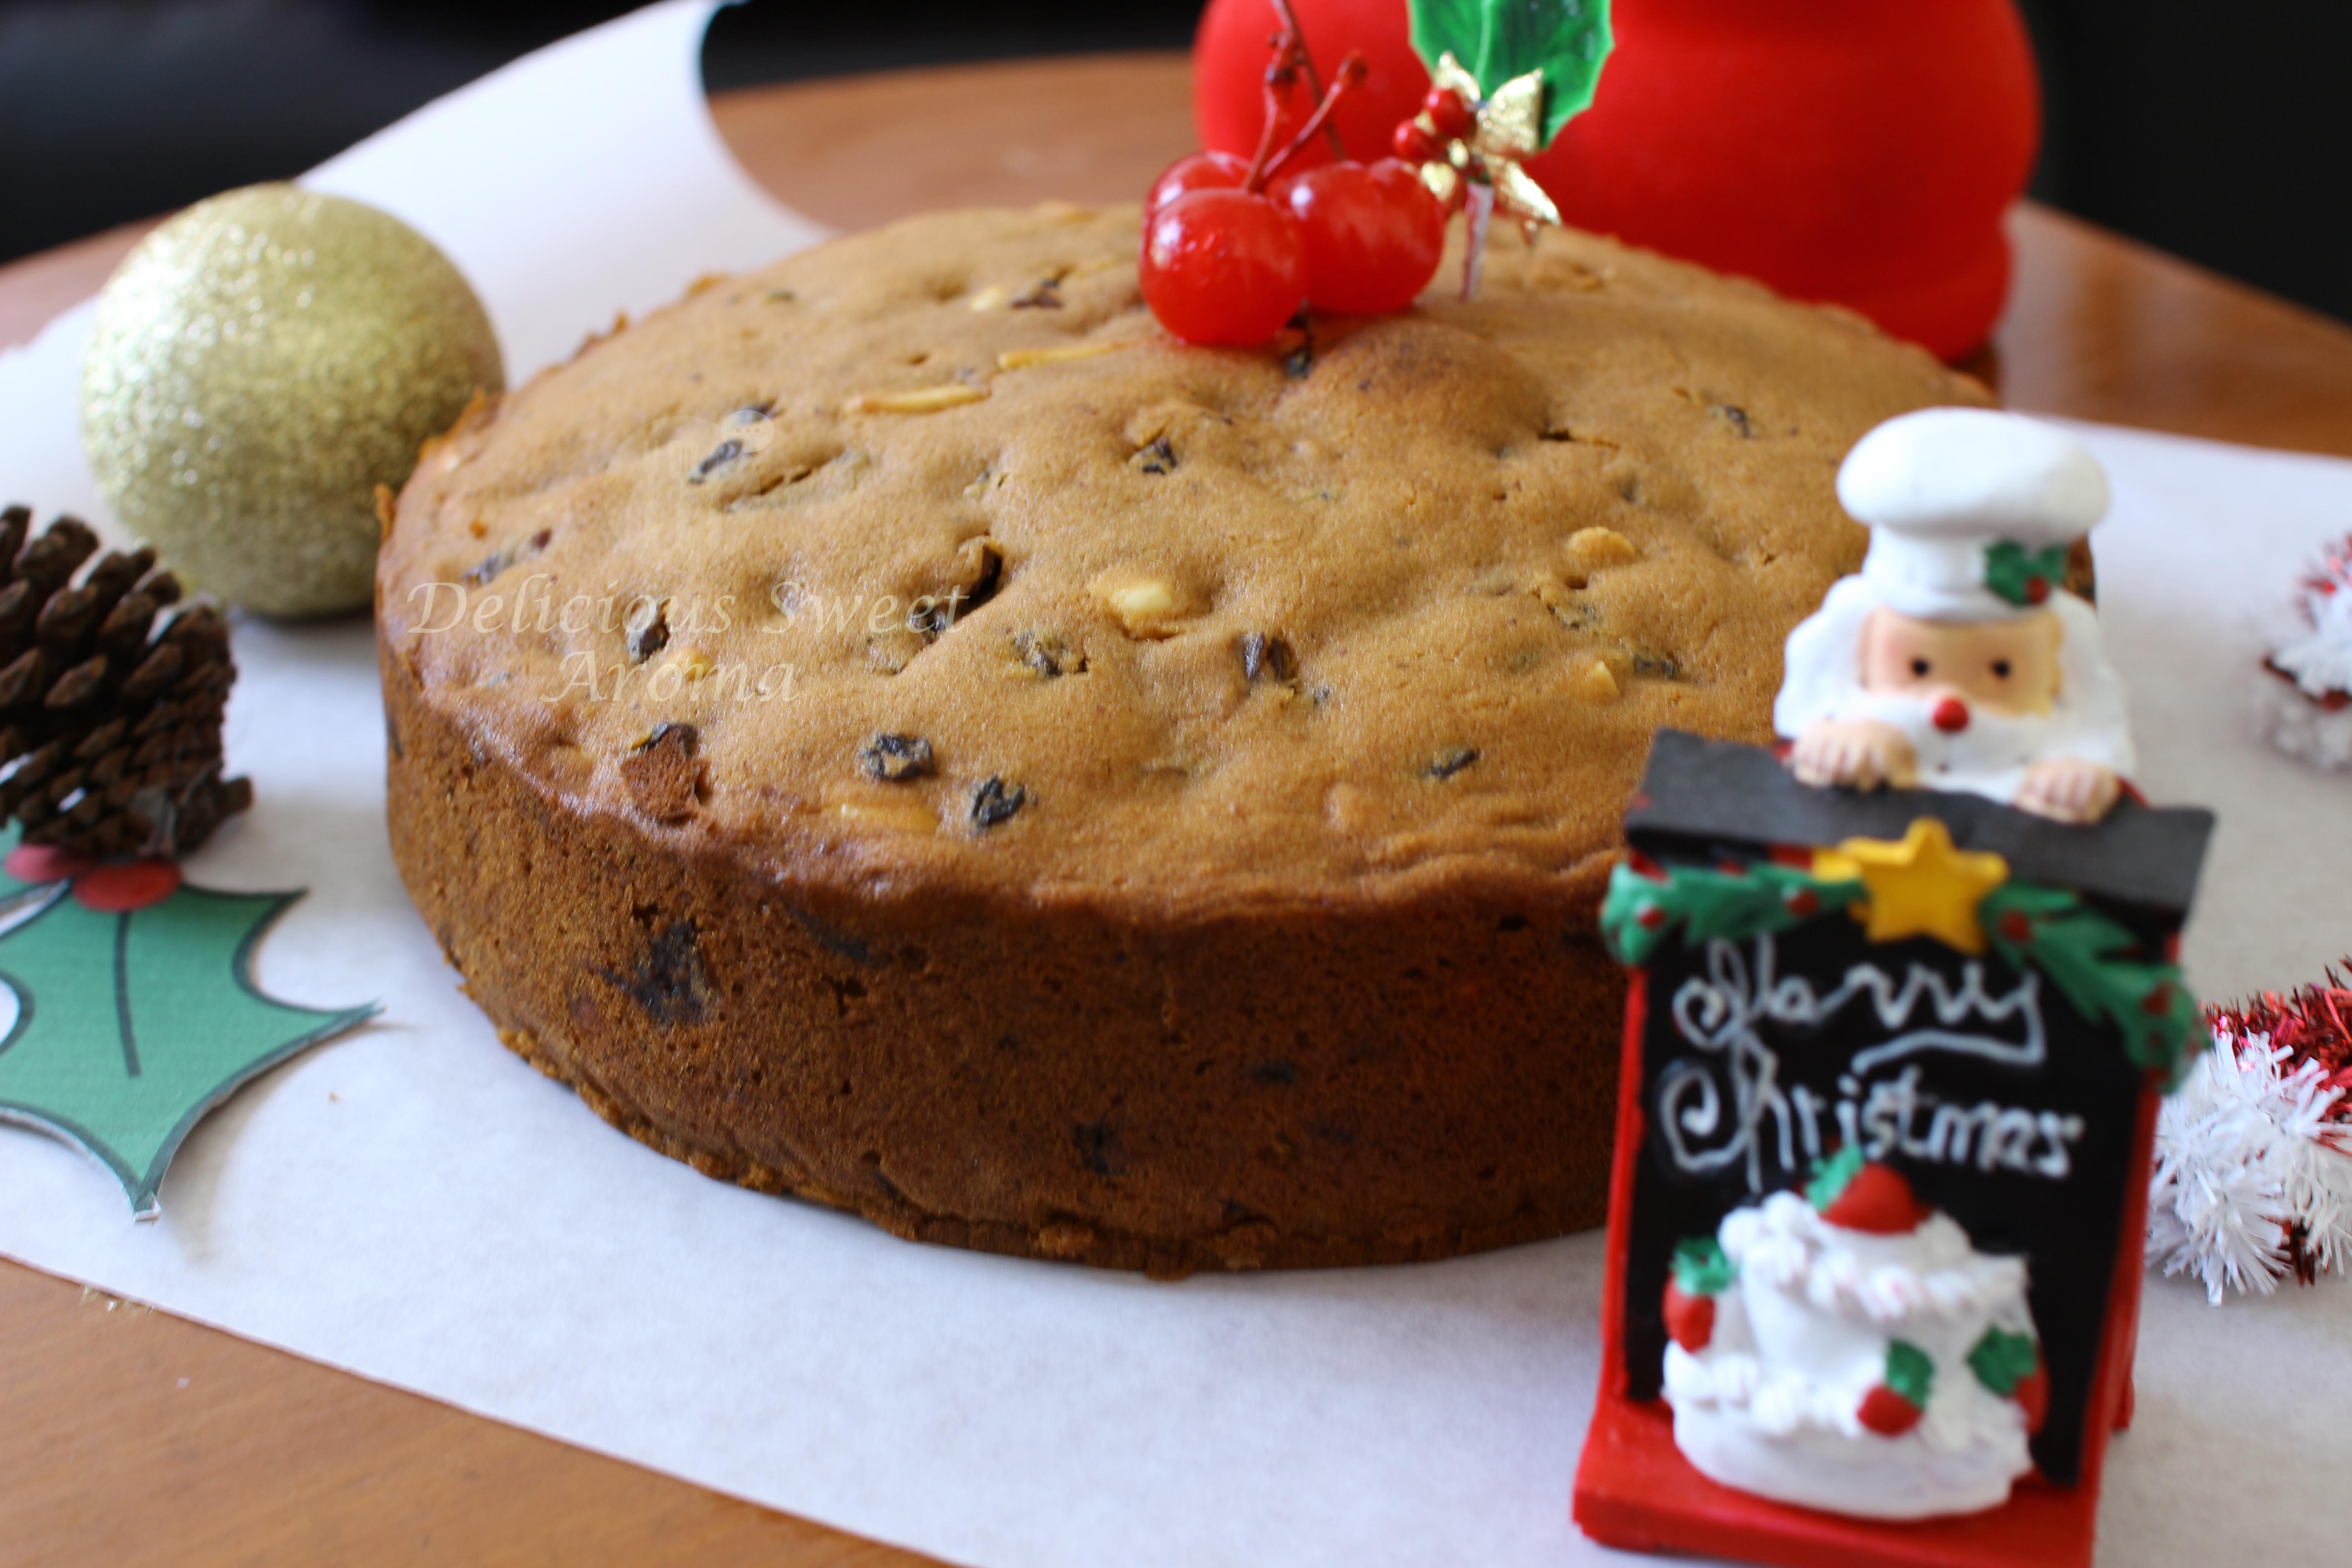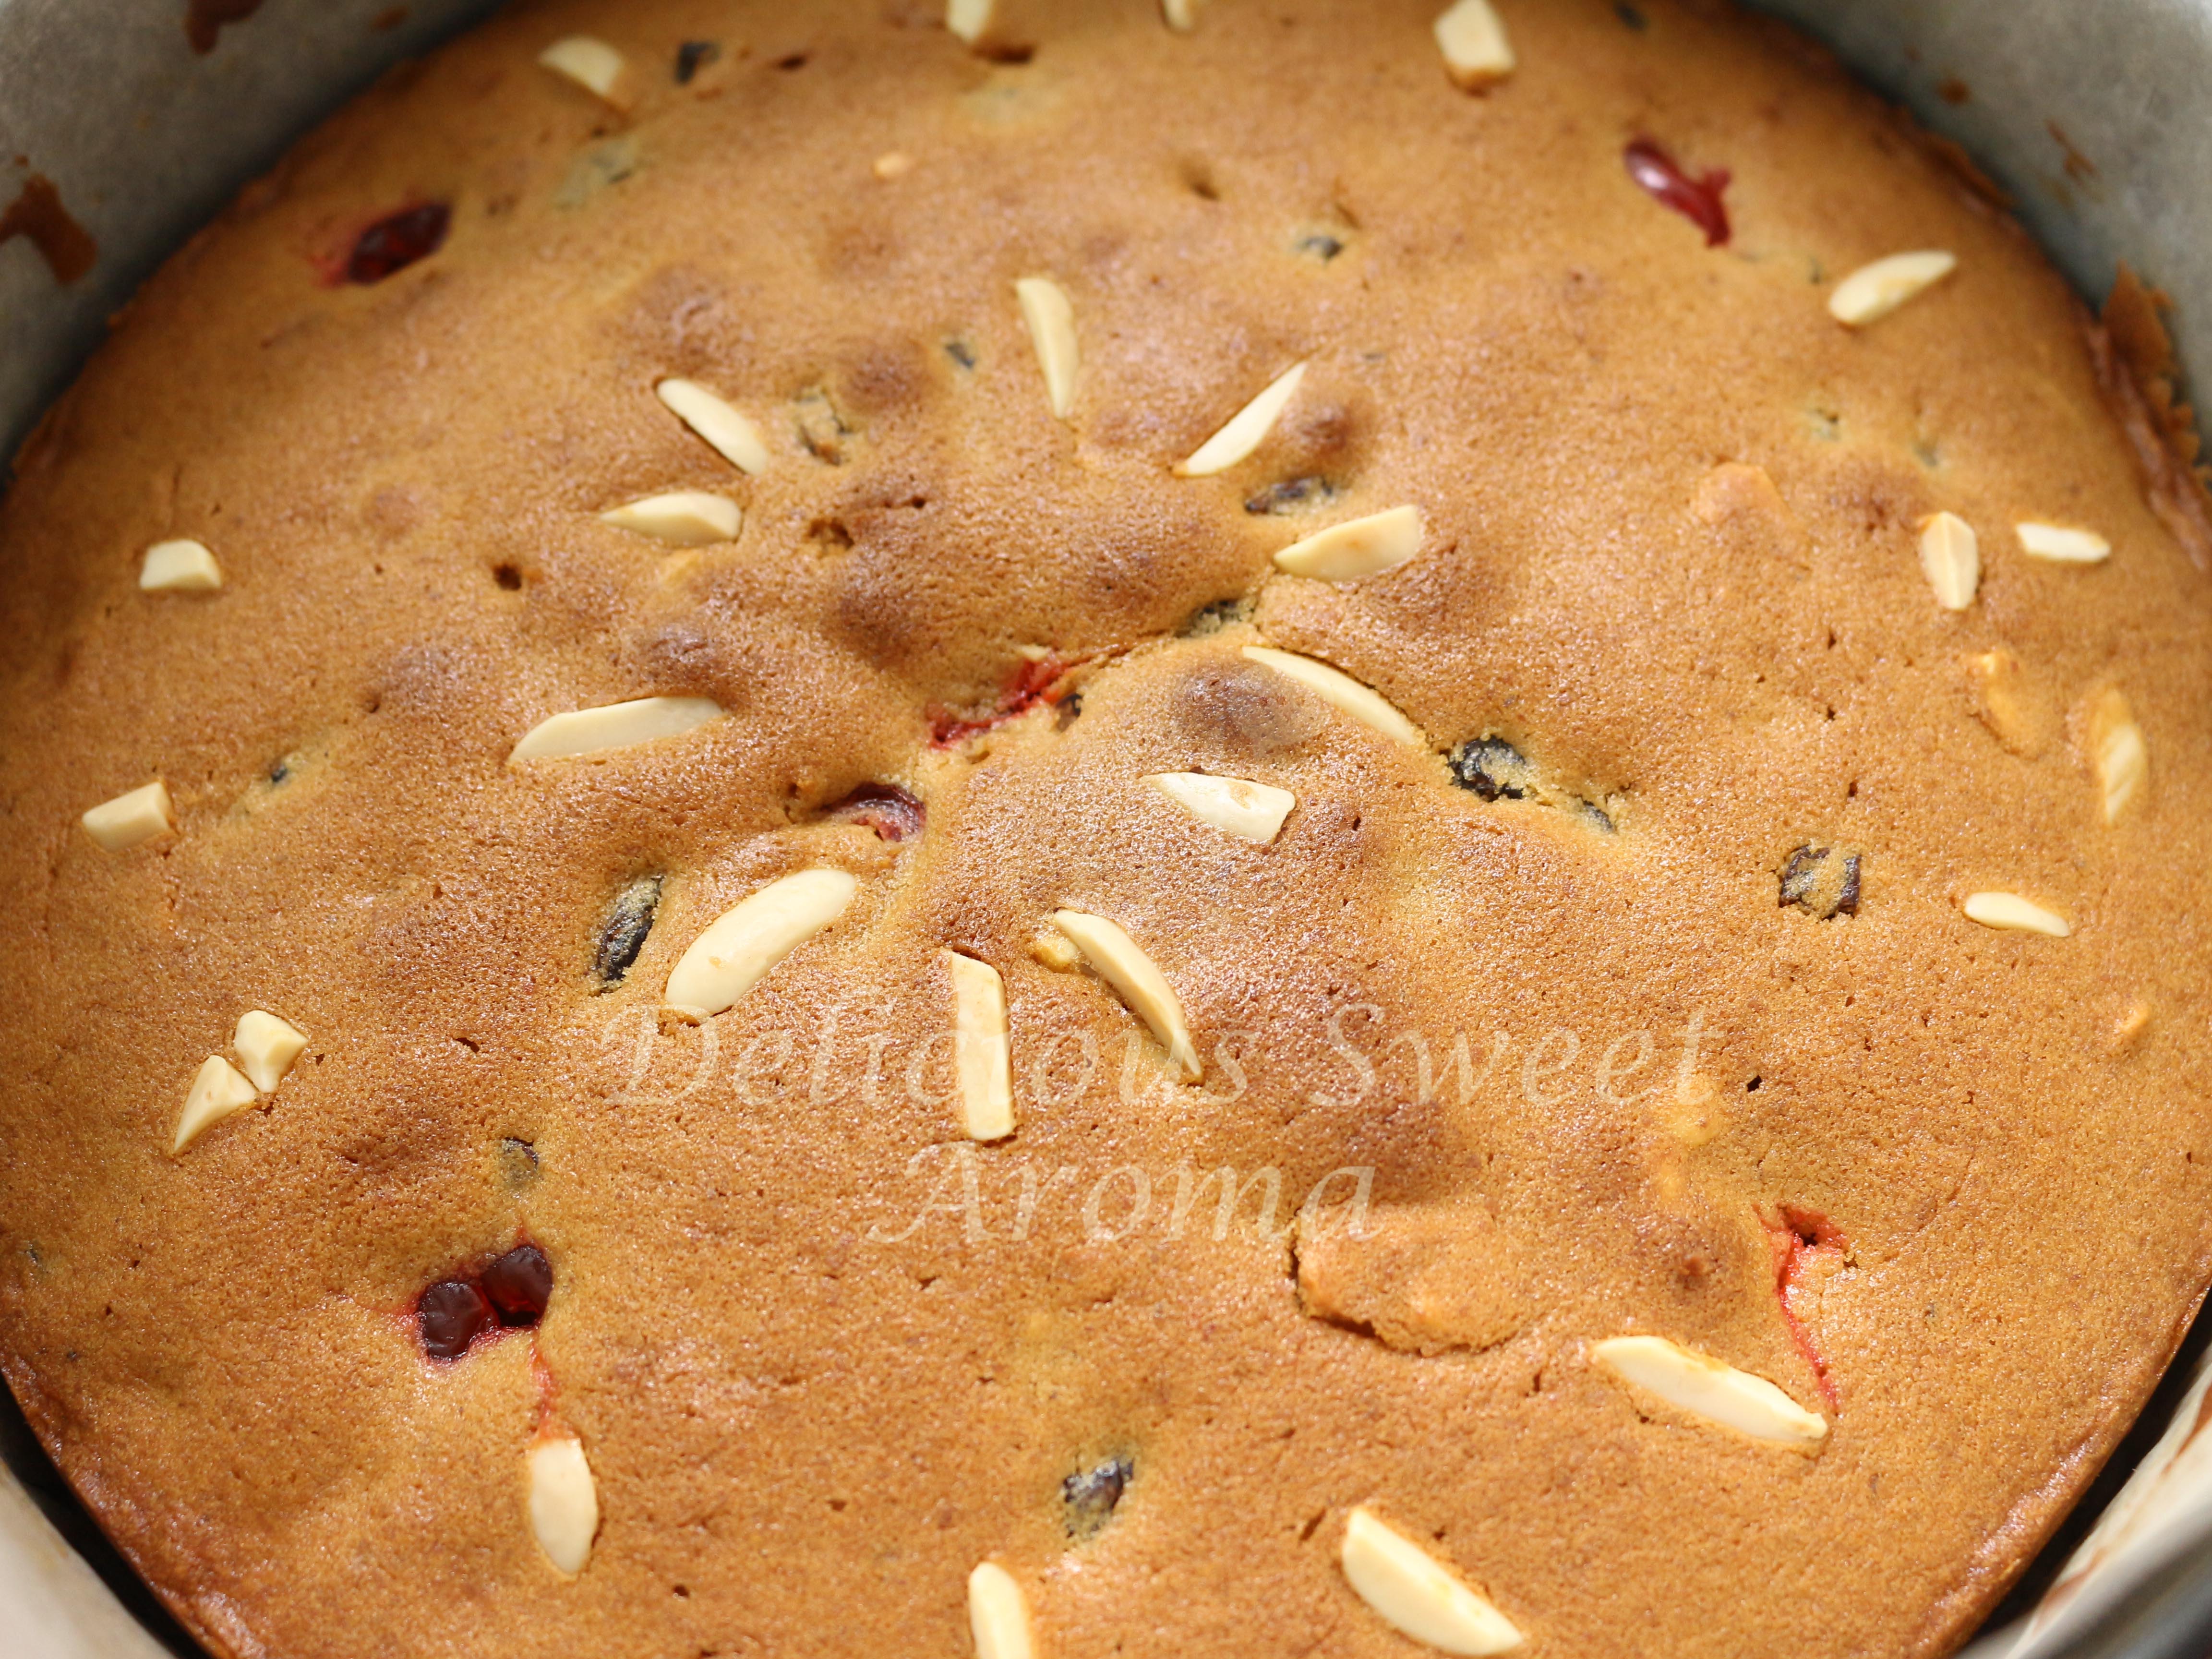
Last-Minute Fruit Cake
This cake can be made anytime during the year especially if you need to bake a cake at the last-minute when you have not much time. I baked 2 cakes this christmas – last minute cake to give as a present to my neighbour and relatives, the other was a traditional brandied christmas cake. I […]