Tag: home cooking

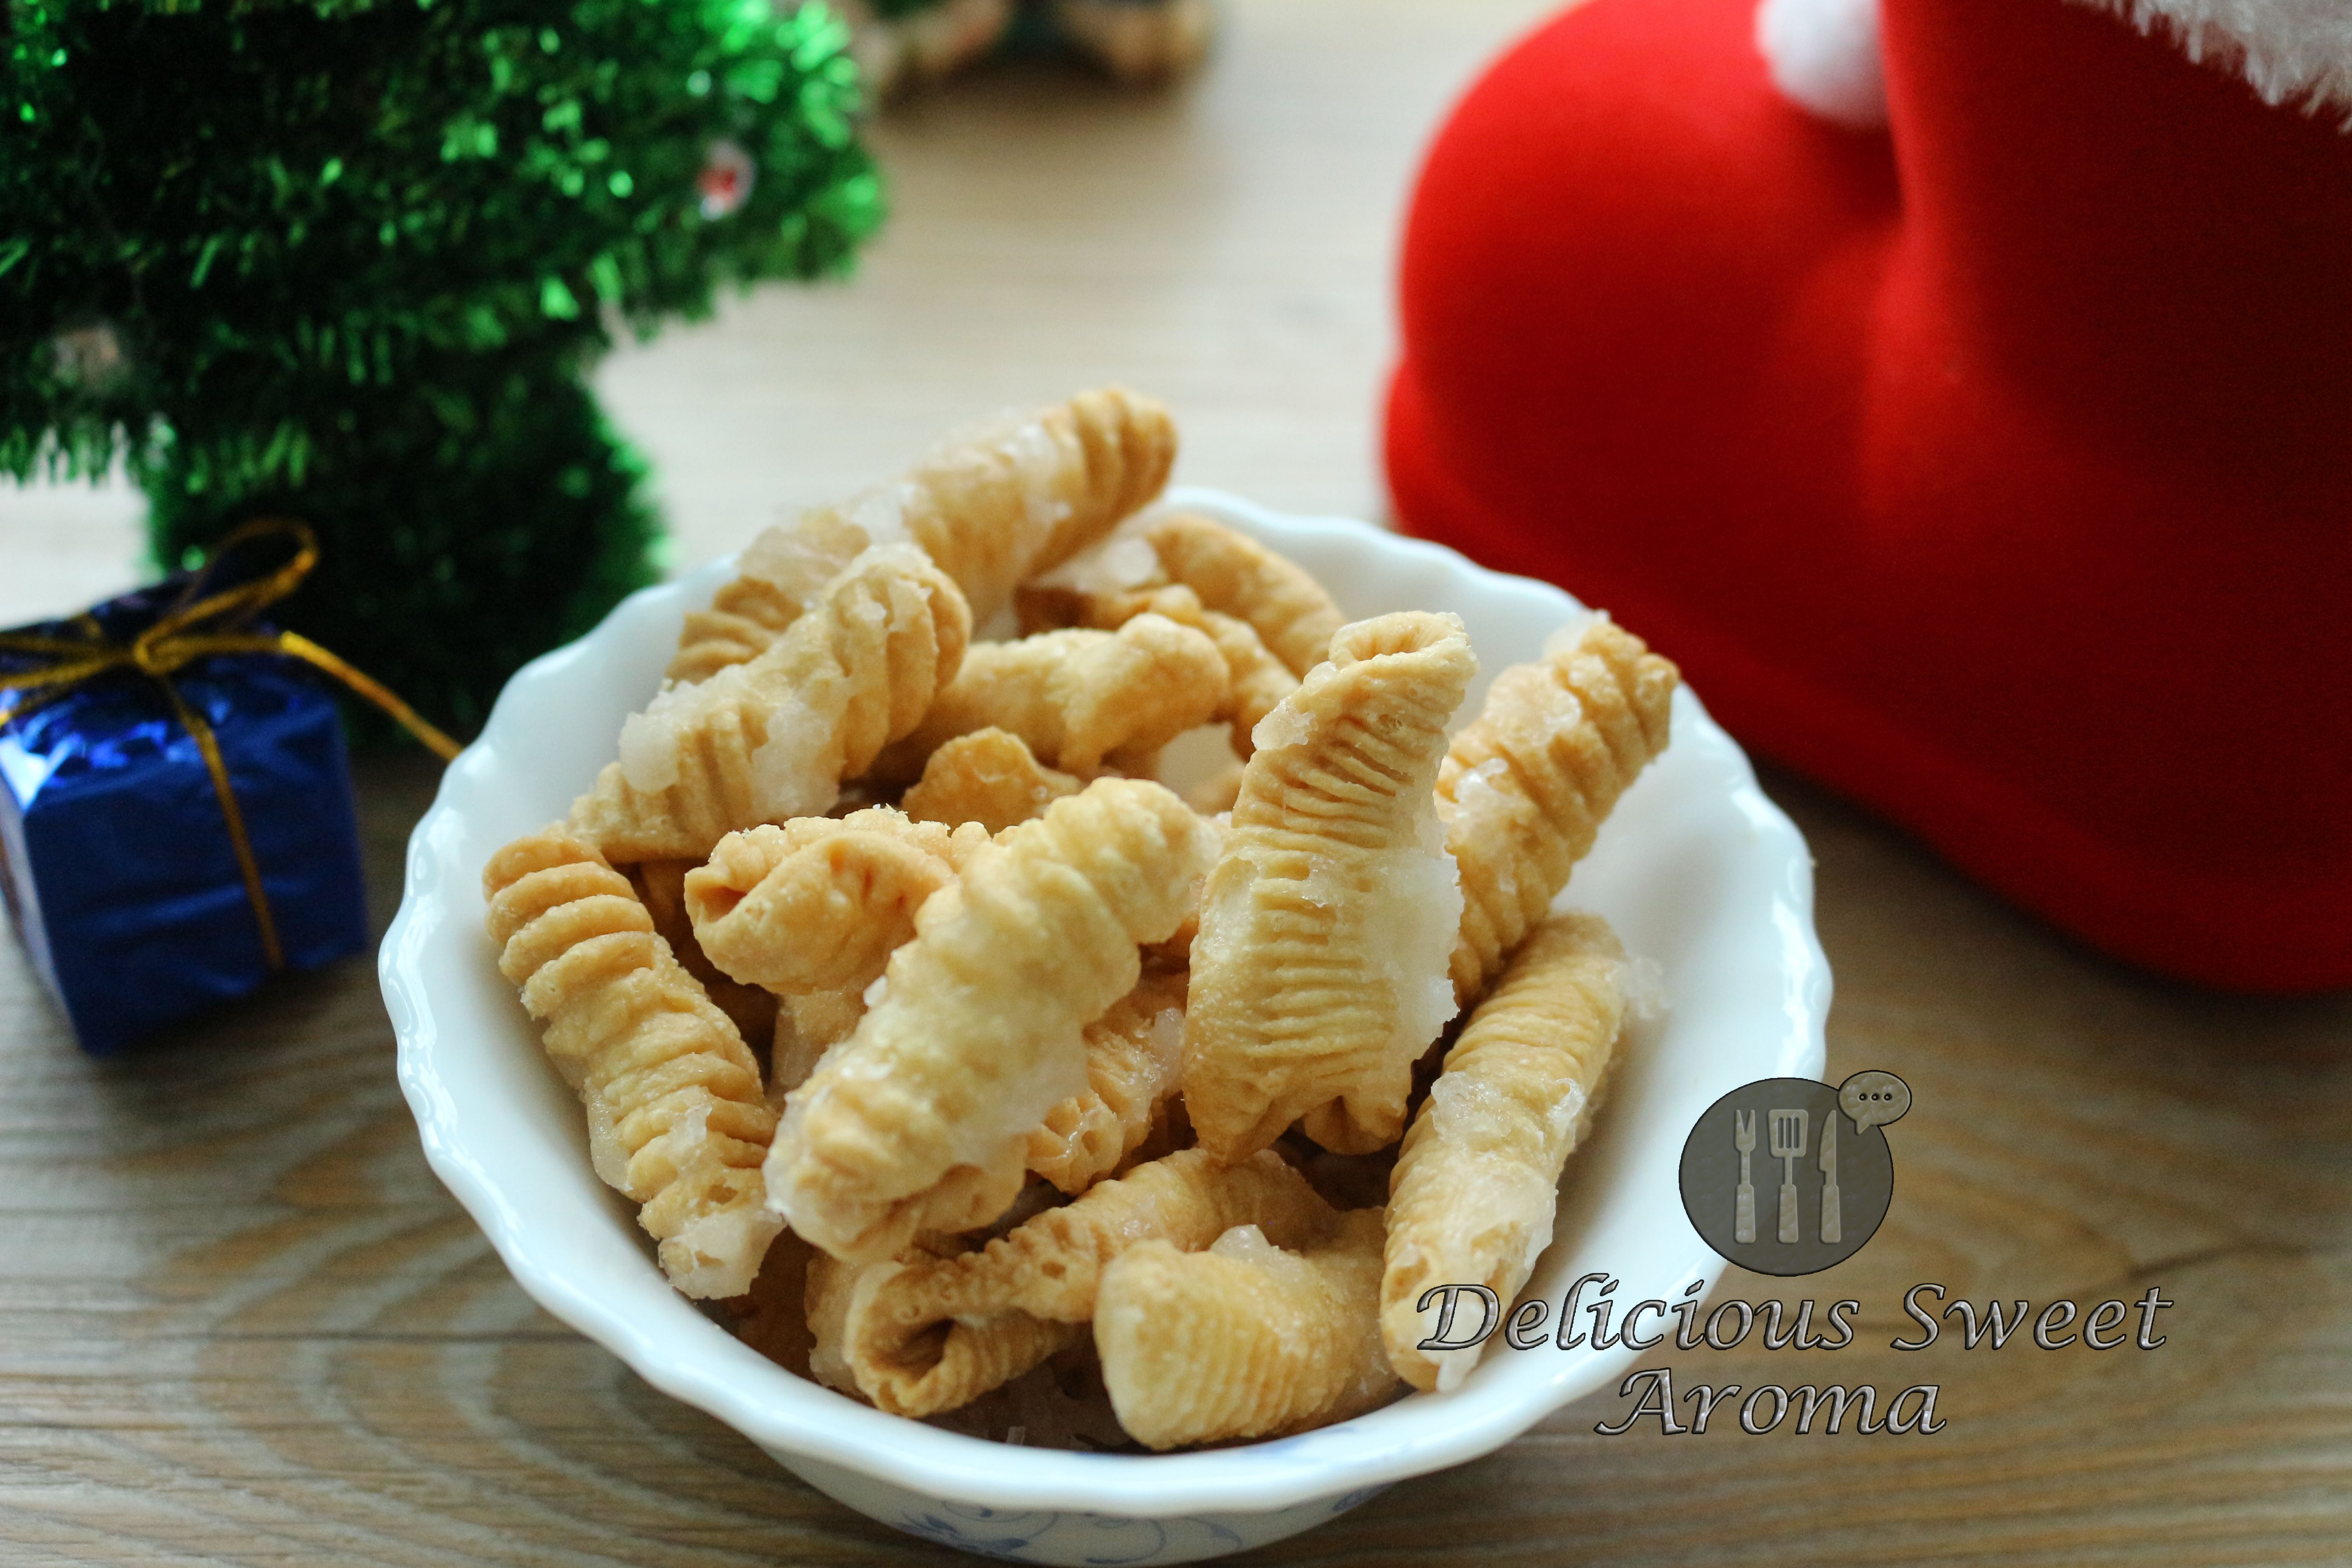
Kidyo or Kulkuls (Sweet Curls)

These are my first time actually making homemade Christmas goodies or snacks and it turned out pretty amazing.  I believe everyone celebrates Christmas differently. It’s my first Christmas with my husband and I thought of preparing these delicious snacks of crispy sweet curls we usually make at home with family, to get into the Christmas spirit.

Kidyo (Kul Kuls) in Konkani is a snack prepared as one of Christmas goodies (called Kuswar) in South-India, especially in my hometown Mangalore, during Christmas. Initially, you prepare a dough with flour, butter, salt and coconut milk, shape them into curls, deep-fry and then coat them with sugar-glaze. It is crunchy, hollow on the inside. Tastes delicious with or without the glaze. We have grown up helping my mom preparing them since childhood. Holiday treats are creative and takes a lot of effort, but it’s worth it.

I made an attempt to set a schedule to prepare it during the weekend, so my husband could help me with it as it gets done faster. More the people, the merrier it is. I made a small batch of sweet curls for just the two of us. They can be made using a fork or a medium sized comb with teeth. A fork gives a wider impression/mould and makes a smaller sized curls slightly different than a comb. I used a comb, since I was more comfortable with it and it looks more prettier with thinner striations.

Merry Christmas to you! 🎄Have a wonderful holiday.

Preparation time: 1- 1.5 hrs

Cooking time – 30 minutes

Quantity made for 2


Ingredients

Vegetable oil for deep frying

Fork / Comb with teeth (depending on the number of individuals)

All-purpose flour / Plain flour/ Maida – 500 g

Salt – 1/2 tsp

Butter – 2 tbsp, (softened at room temperature)

Coconut milk – 1 1/4 cup (or as required to make a smooth dough)

Coconut milk, salt, butter, four/maida for chris


For Sugar Glaze:

White Confectioner / powdered Sugar- 1/2 cup

Water – 1/4 cup


Directions

Making the dough:

1. In a large bowl, combine flour, salt, butter. Mix. Add in small quantities of coconut milk working it into the flour using your hands. Punch and knead the dough, until a soft elastic dough is formed. It will tend to be sticky at the beginning but as you work through it, the dough becomes less sticky.

dough for sweet kurls during Christmas

Cover your dough with a damp cloth or a lid so it doesn’t get dry.

Preparing the Kidyo: This can be done by using a fork or a medium sized comb. I used the traditional way by using a comb.

2. Prepare a working surface. Take a small portion of the dough.

dough for sweet curls

Roll it back and forth on working surface (or by placing in between the palm of your hand and roll it back and forth) applying gentle pressure to taper the dough on the outer edges. Repeat for the other end of the strand or the areas which are fatter than the rest.

dough

Using a small knife start cutting the strand into small bits of 1 cm thickness. making this gets easier and faster than removing bits  of dough directly from the large portion of dough, preventing from making unequal size of curls.

Step2a_


3. Holding a comb in hand, place the dough over the teeth of the comb (If your using a fork, place the dough on back of your fork). Press it and flatten it gently (step 2, picture) . With you thumb, roll it away from you (step 3,4,5 picture). While ending the curl (step5, picture) seal them so they don’t open while frying.

Repeat the same for the rest and place it on a large plate without sticking them to each other.

How to make kidyo /sweet curls from dough

When this strand of dough is almost done. Continue from point 2. Finish making the kidyo/curls, until atleast half of your dough left, before starting to fry them.

how to make kulkuls/kidyo


Deep Frying:

4. Heat a container with oil on medium-high. When the oil is hot enough (oil will start bubbling if it is hot enough) carefully drop a portion of kidyo/kulkuls, make sure not to over-crowd.

making kidyo and deep-frying


Stir them gently so they get separated. Let it fry, until golden brown, by stirring a couple of times in between (this might take approximately 5 minutes).

how to prepare kidyo/kulkuls/sweet curls for christmas


Strain them into paper towel. Pour the next batch until all are done.

Once they have all completely cooled down, transfer them into a sealed container or large zip-lock bags if you are gazing them the next day.


Sugar Glazing: They need not be glazed, based on personal choice. You can leave out the sweet glaze for a less sweet treat.

* Place sugar and water together in a cooking pot. 

how to sugar glaze

*Cook the sugar and water over high heat, stirring occasionally until the sugar is completely dissolved. bring this mixture to a boil.

* To check if it has turned into a glaze, drizzle few drops into a stainless steal spoon dipped into bowl of water. If it hardens. It’s done.

hot to sugar glaze

*Immediately, glaze the curls or kidyo in parts and mix as you pour the syrup to coat all the curls.

Christmas kuswar sugar glazing kidyo/kulkuls

* Let the kidyo/curls/kulkuls cool. The coated sugar glaze hardens by time.

how to make christmas kuswar or sweets

*Store them in airtight container.


Note:

*When glazing the kidyo, make sure the syrup is used immediately after it’s removed from the heat. Otherwise, it hardens quickly if left to cool at room temperature and will have to repeat the sugar glazing process. You can glaze half batch and leave the other half unglazed if you prefer non-sweet curls.

*Make sure to frequently agitate the curls when deep-frying to fry them evenly, until brown.


Stay healthy!


More on Christmas Recipes:

Diamond Cuts (Tukdi)


Read More

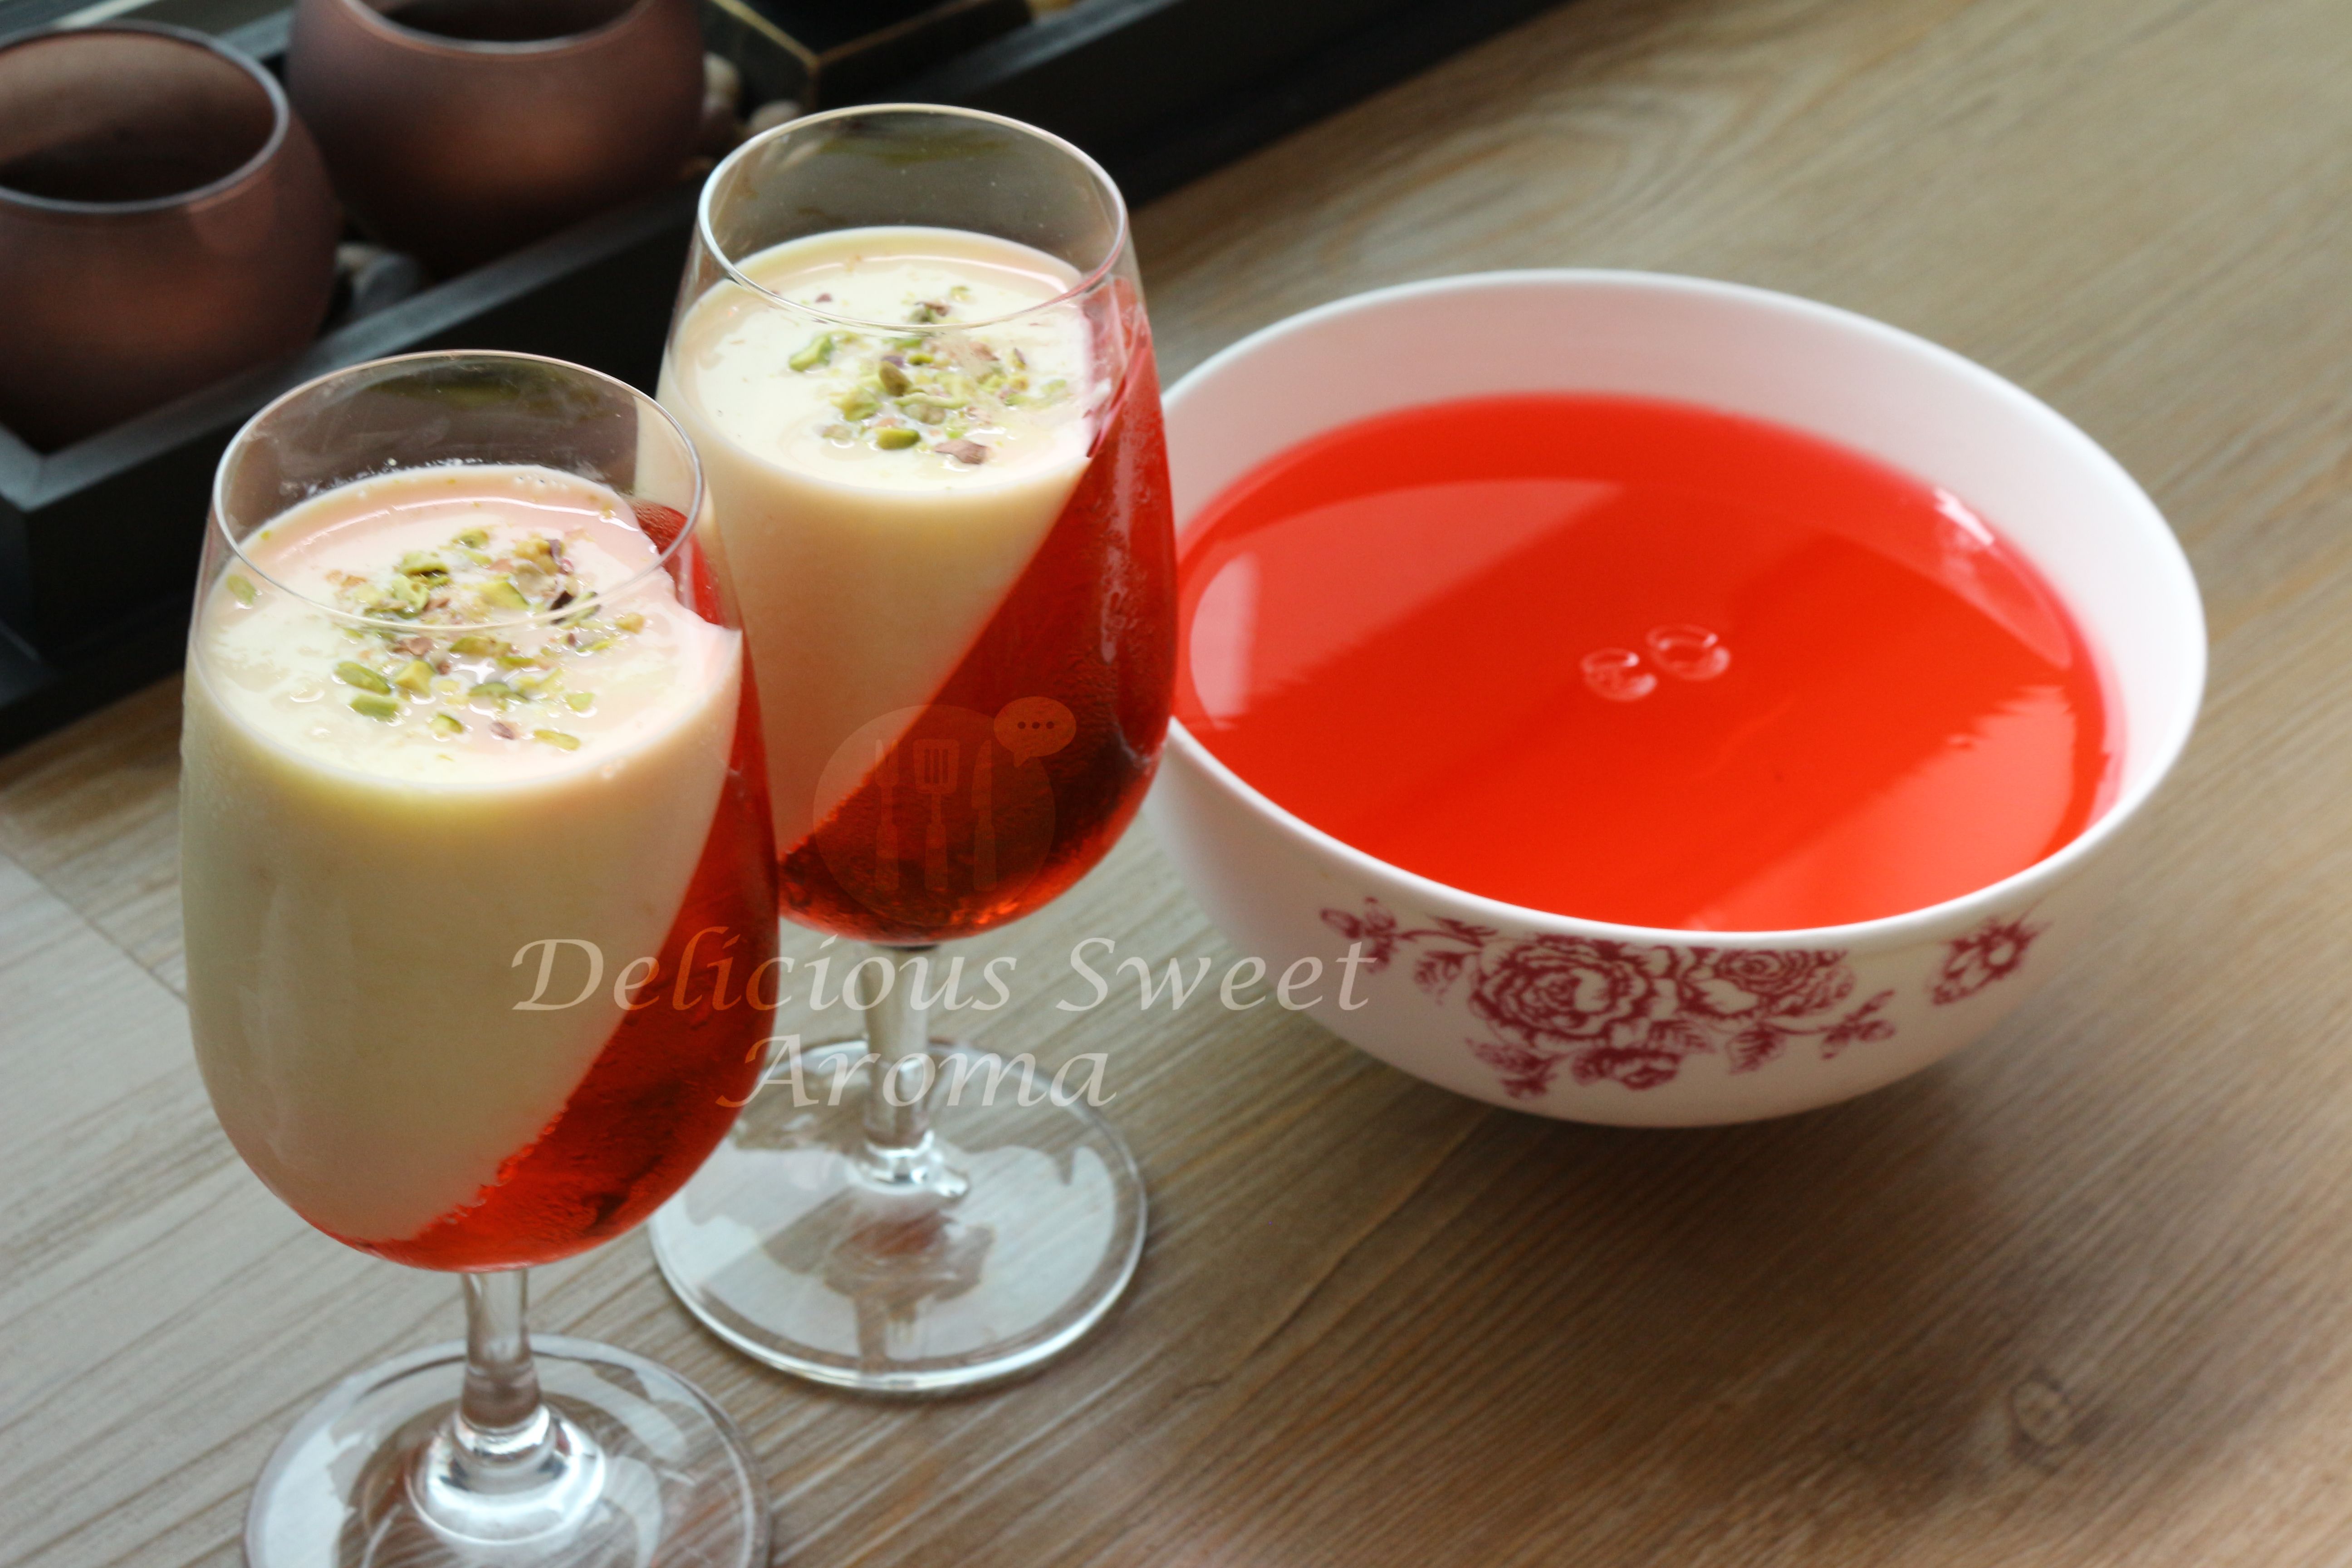
Jelly and Custard Recipe

A basic Jelly and Custard recipe is quiet simple dessert, even simpler when they have directions provided in a package. In fact, I had previously posted a photo on my Facebook page without the recipe and thought that the recipe is very basic anyone would be able to make it. However, I wanted to share the recipe that would absolutely impress anyone especially if your a beginner. So, if your on Facebook and have missed some of my posts make sure to check it out. Also, My Instagram page is very active. 🙂

Nowadays, I’m a decent from scratch cook when it comes to baking or even making desserts. Before making this dessert I had to plan ahead of time on weather to prepare jelly first or the custard while organizing my other chores. It’s very simple with less effort, mix it with fresh fruits or just eat plain. Not many think of eating plain I believe? The reason why you see a bowl of only Jello is because I love eating plain raspberry or strawberry Jello just like that!


Preparation time: 10 minutes

Setting time: 1 – 2 hrs

Cooking time: 20 minutes


Ingredients

Muffin pan & 2 Dessert/Wine glasses for setting the jelly


For the jelly: I prepared this first and kept overnight in the fridge to set.

Jello pack, raspberry flavor – 1 (90 g pack, used half the pack)

Water – 250 ml ( 125 ml hot water + 125 ml cold water)

Caster Sugar – 2 tbsp or more


For the Custard: The following day 

Custard powder – 4 tbsp (Bird’s custard powder, original flavor)

Cold milk – 900 ml

Caster sugar – 4 tbsp or more


Directions

Jelly

I used half the pack. Package comes with directions, here is a more precise method I used for half pack jelly crystals (You can double the water content for  whole pack).

1. Open the package.

Jelly pack

Heat a saucepan with 125 ml water (or you can use a microwave to heat water, container must be able to fill in 250 ml ).

2. Pour half pack of jelly crystals (I didn’t measure) into hot water. Add 2 tbsp of sugar.

how to prepare jelly

Dissolve Jelly, stir it until it dissolves. Once dissolved mix the rest 125 ml of cold water.

3. Prepare the muffin pan by spreading a long towel over it.

Start by positioning the glass and resting its base over a long towel at 45 degree angle so it doesn’t slip. Roll the opposite corner of the towel to support the rim as seen below. Now, remove the glasses without moving the tray & pour the jelly halfway.

Position them back onto the tray and place in the refrigerator at the top of the shelf for 1 hour or until they are set. They will set perfectly as long as they are not disturbed. I left it overnight in the fridge.

How to make layered jelly & Cus


Custard

1. Take any cup filled with 1/2 cup cold milk taken from 900 ml of milk. Add 4 tbsp of custard powder with 4 tbsp sugar.

Custard mixture

2. Mix smoothly until dissolved. In the meantime, place the rest of the milk in a saucepan to heat.

3. When nearly boiling. remove from heat, pour the mixed custard to milk, stir well.

Custard mixing into hot milk

4. Return the custard to heat and bring to boil, stirring continuously. Let it cool.

Preparing custard

Pour the custard into the set jelly glass. Place it back in the fridge and serve when ready.

Layered Jelly & Custard

Rest of the custard I mixed it with different fruits like papaya, apple, banana and served cold. You can serve warm or chilled.

Enjoy the creamy custard with jelly!

Custard with mixed fruits


Stay Healthy!


Note:

*Half pack of Jello is good enough to fill the glasses. The rest of the pack I used to eat plain 🙂


Read More

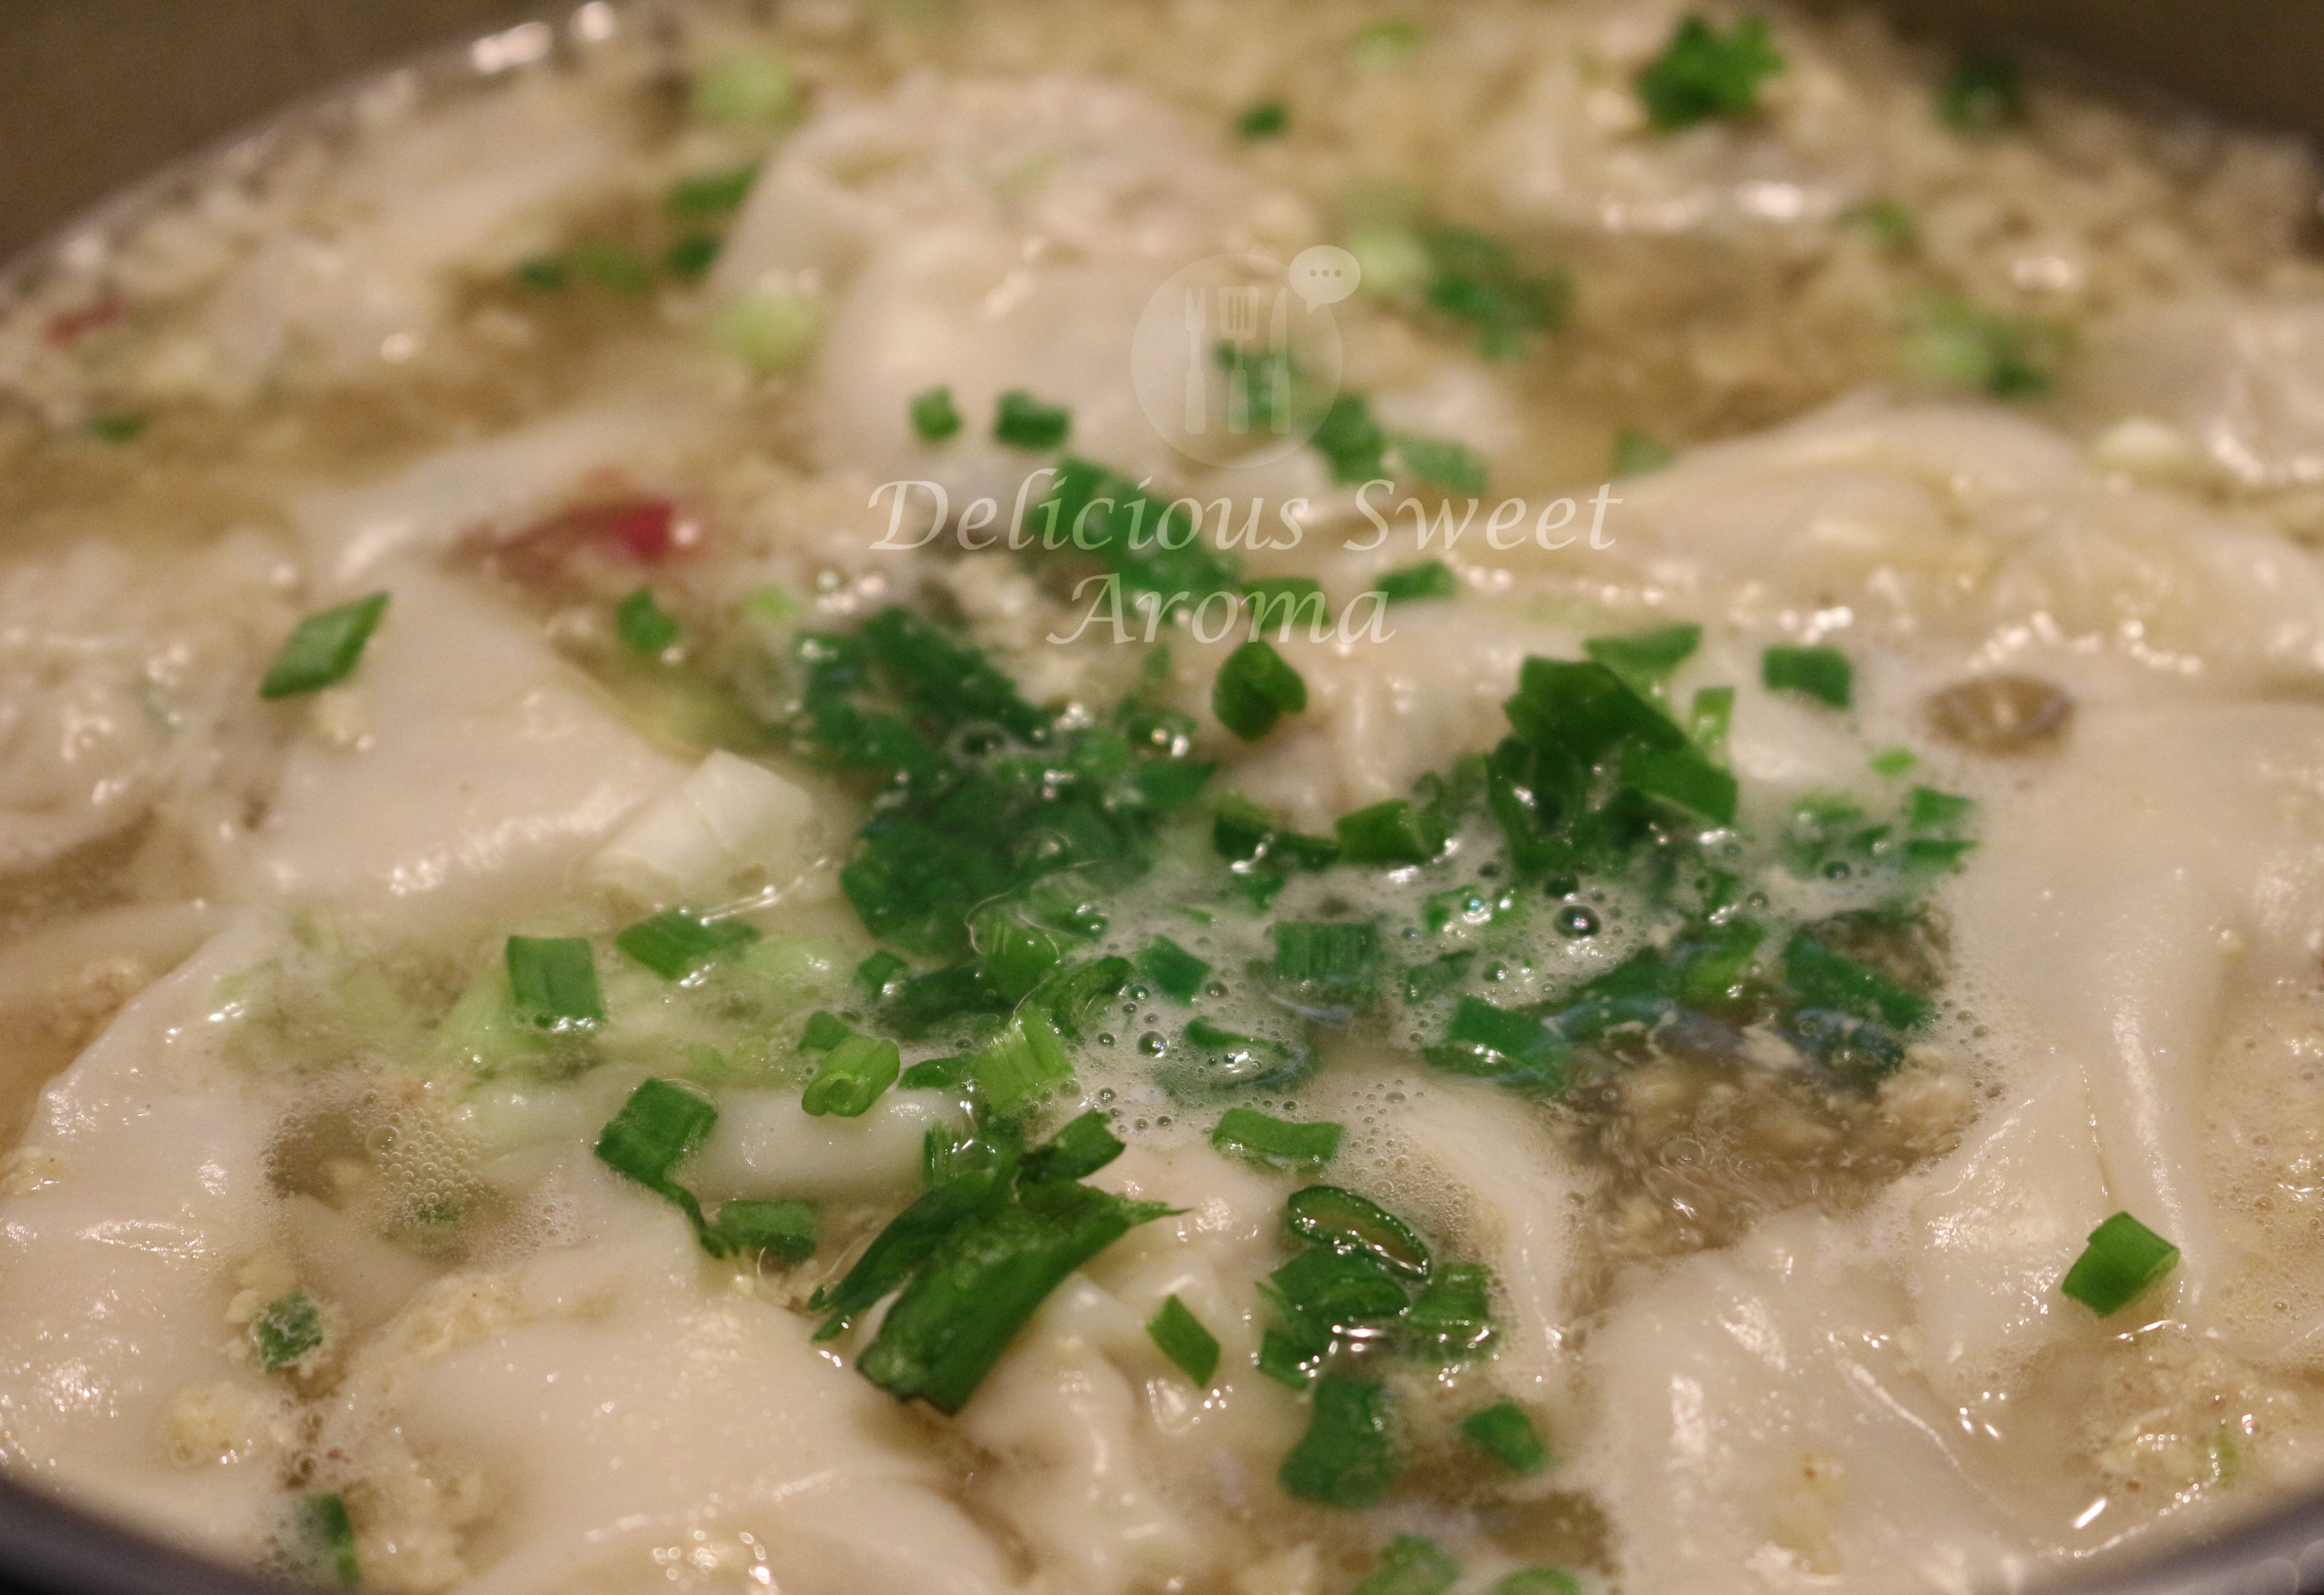
Pork Wonton Soup Recipe

Preparation time: 15 minutes

Cooking time: 25 minutes

Serves: 4

It’s lovely exploring different cultures through food especially the Chinese food. I like Chinese food a lot and we have a lot of restaurants here that provide incredible food. Chinese wontons are commonly served which made me plan on making them at home as I was curious on how it would turn out.

Did you know that there is a difference between a wonton and a dumpling? I always thought they were the same! As I did some research I got to know the difference. A wonton skin is thinner than dumpling. It has a filling of pork or sometimes shrimp which is boiled and served as a soup whereas a dumpling is steamed, sometimes served with or without soup.

Finding a wanton wrapper was easy for me. At the grocery store it was available in the refrigerator section. If you have trouble finding them at your local grocery store look into the Asian/Chinese stores. They are found in round and square shapes mostly frozen I believe. I used the square wanton wrapper to give a desired shape while filling it with pork mince. Check out the video below if you like to know how to make wantons or dumpling in a creative way if you have the time. Until my next post, have a fabulous week!

Ingredients

Corn flour – 1 tbsp

Chicken stock cube – half

Oyster sauce – 1 tbsp

Spring onions & pepper powder for garnish

For the wonton filling:

Wonton pastry – 20 wrappers

Minced pork – 200 g

Spring Onions – 15 g

Ginger-Garlic paste – 1/2 tsp

Egg – 1

Garam masala powder- 1 tsp (optional)

Water / egg yolk for sealing the pastry

Salt

Directions

1. Add all the ingredients for wonton filling and mix together. Keep water in bowl to seal them (you can even use egg yolk) .Make the dumplings as shown in video.

2. In a pot filled with 2 cups boiling water add the rest of the remaining pork mince and cook for 10 mins on medium or until it boils.

remaining minced pork added to boiling water

3. In a small bowl containing 2 tbsp hot water ( I used 2 tbsp of soup), stir in the corn flour until no lumps are found. Also mix in the chicken stock cube. Add this to the pot. Add 1 more cup of water.

Corn flour

4. Carefully drop the wontons one-by-one into the pot. Add garlic. Take a tablespoon of oyster sauce and stir in lightly (you can also add the sauce before dropping the wontons).

Let it cook on low heat for 5 – 10 minutes or until it starts boiling.

wontons ready to cook

pork wontons droppped into the cooking pot with garlic

Oyster sauce

5. Garnish with spring onions and pepper powder. Serve hot.

Pork Wonton

Pork wontons soup garnished with spring onion

Note:

* If you have the wonton wrapper in the freezer. Place it in the refrigerator section for an hour or two before making the wontons. If you plan to make it right away keep it out in a warm area so it gets easier to remove the wrapper skin easily.


Stay Healthy!

Read More