Category: Baking

Baking for beginners

Homemade Pizza Recipe

Since the time I have learnt how to make a Pizza 🍕 at home, trust me! This recipe will make your jaw-dropping 😵😱 once you learn the technique of how its done. The pizza crust is soft and crisp on the edges. A great motivation to learn how to make homemade pizza with customized toppings.

Making a pizza dough from scratch seems a bit tricky for first timers but its encouraging and promotes opportunities to learn the art of cooking. One can prepare the dough at least one day ahead and freeze them.


Preparation time: 20 minutes + rising 1 hour

Cooking time: 25-30 minutes

Makes : 10 to 11-inch / 26 to 28-cm

Serves: 1-2

Appliance: Oven


Ingredients

For the dough

Bread Flour – 1 cup / 175 g

All-Purpose flour for dusting

Salt – 1/4 tsp

Water – 1/4 cup / 100 ml

Yeast – 1 tsp

Sugar – 1/2 tsp

Olive oil – 1 tbsp

Parchment paper of 12 cm


Toppings

Tomato sauce – 3 to 4 tbsp

Mozzarella cheese balls / Bocconcini cheese – 125 g

Chicken breasts – 200 g , pan-fried (if using prawns – less than 250 g shelled, raw)

Chicken breast IMG_9191

Capers – 7

Jalapeno (non-spicy) – 7

Shallots -2 , cut into round thin slices

Nando’s Peri-Peri Sauce (medium) – 3 tbsp

Cherry tomato – 7, halved

Mini peppers / Bell pepper – few pieces, chopped

Olives – 3, pitted

Garlic paste – 1/2 tsp


Directions

Making the Dough:

1. In a cup with warm water dissolve sugar and yeast. Mix and let stand for 5 minutes at the kitchen counter or in a warm place until it turns frothy. Add Olive oil and mix.

Yeast mixture

2. In a bowl with bread flour and salt, make 2 wells and pour the yeast mixture. Stir in the flour using your hands to combine the dough. If its dry just add 3-4 tbsp more water till all the flour comes together.

Dust a work surface or large wooden cutting board with all-purpose flour and remove the dough. Knead the dough by rolling it forward and backward to push and pull using the heels of your hands. Do this for 5 minutes, it must be elastic and non-sticky.

Kneading

3. Place the dough in a lightly greased bowl of oil. Cover with double layered towel to proof for 45 minutes(*see notes). The dough will double in size.

4. Dust the work surface with all-purpose flour and remove the dough from the bowl. Give it a good punch to let any air out and work on it for 5 minutes (you can separate the extra dough at this point and freeze)

kneading 2

Place it in the greased bowl just as in step 3, covered with towel or cling film and proof or rise for another 15 minutes.


Roll out the dough:

5. Lightly dust the work surface/board with all-purpose flour, then roll it out using your hands or rolling-pin into a rough circle. When it gets unmanageable transfer to a parchment paper of 10-cm depending on the size of pizza.

Making Pizza


6. Roll the dough into 1/4 inch thick or less. Prick the pizza base all over with a fork.

roll the dough

Topping the Pizza:

7. Spoon few tablespoons of tomato sauce into the center of pizza and spread it throughout the base to the edges using the back of the spoon.

Then, top it with thin slices of cheese. Add other toppings of choice as mentioned above along with thin strips of chicken.

Pizza toppings | Mozzarella cheese, tomato sauce


8. Preheat oven to 200 degree Celsius (400 degree F) for 5 -10 minutes. Place the pizza on parchment paper carefully on the low rack. Bake on convection mode for 25 – 30 minutes or until the sides have turned slightly brown (*see notes).

IMG_9220

IMG_9222

IMG_9225

The first pizza I made was the Prawn Pizza with mozzarella cheese, some greens, capers, olives and peri-peri sauce. Delicious soft and crisp crust which I would recommend for all the seafood lovers.

IMG_8598


Notes:

*You can use all kinds of toppings for your pizza. But, it is best not to load it with too much of toppings otherwise the pizza base might get underdone.

* If you live in a colder climate, place the covered bowl in a larger bowl of warm water (not too hot) or near the heater. It might take a longer time to rise.

*I have used Bocconcini  cheese i.e mini mozzarella cheese in my chicken pizza, the size of an egg, hence one wouldn’t notice the cheese. My prawn pizza is topped with large mozzarella cheese balls which I would always prefer using.

*Chicken breasts can be pan-fried while waiting for the dough to rise.

* In case the temperature is too high reduce temperature to 175 degree Celsius (350 degree F) after 10 minutes.

*For more servings, double or triple the dough ingredients and portion the dough in Step 4 depending on the size of pizza. Wrap it with clingfirm and freeze for another day.


Follow us on Facebook for more updates here >>> Delicious Sweet Aroma <<<

To Save recipes – Click on 👉 whatsapp 📱, Pinterest 📌, E-mail 📧 or Print 🖨 at the bottom of recipe page.

✍ Sherryl


Stay Healthy!

Read More

Lasagna

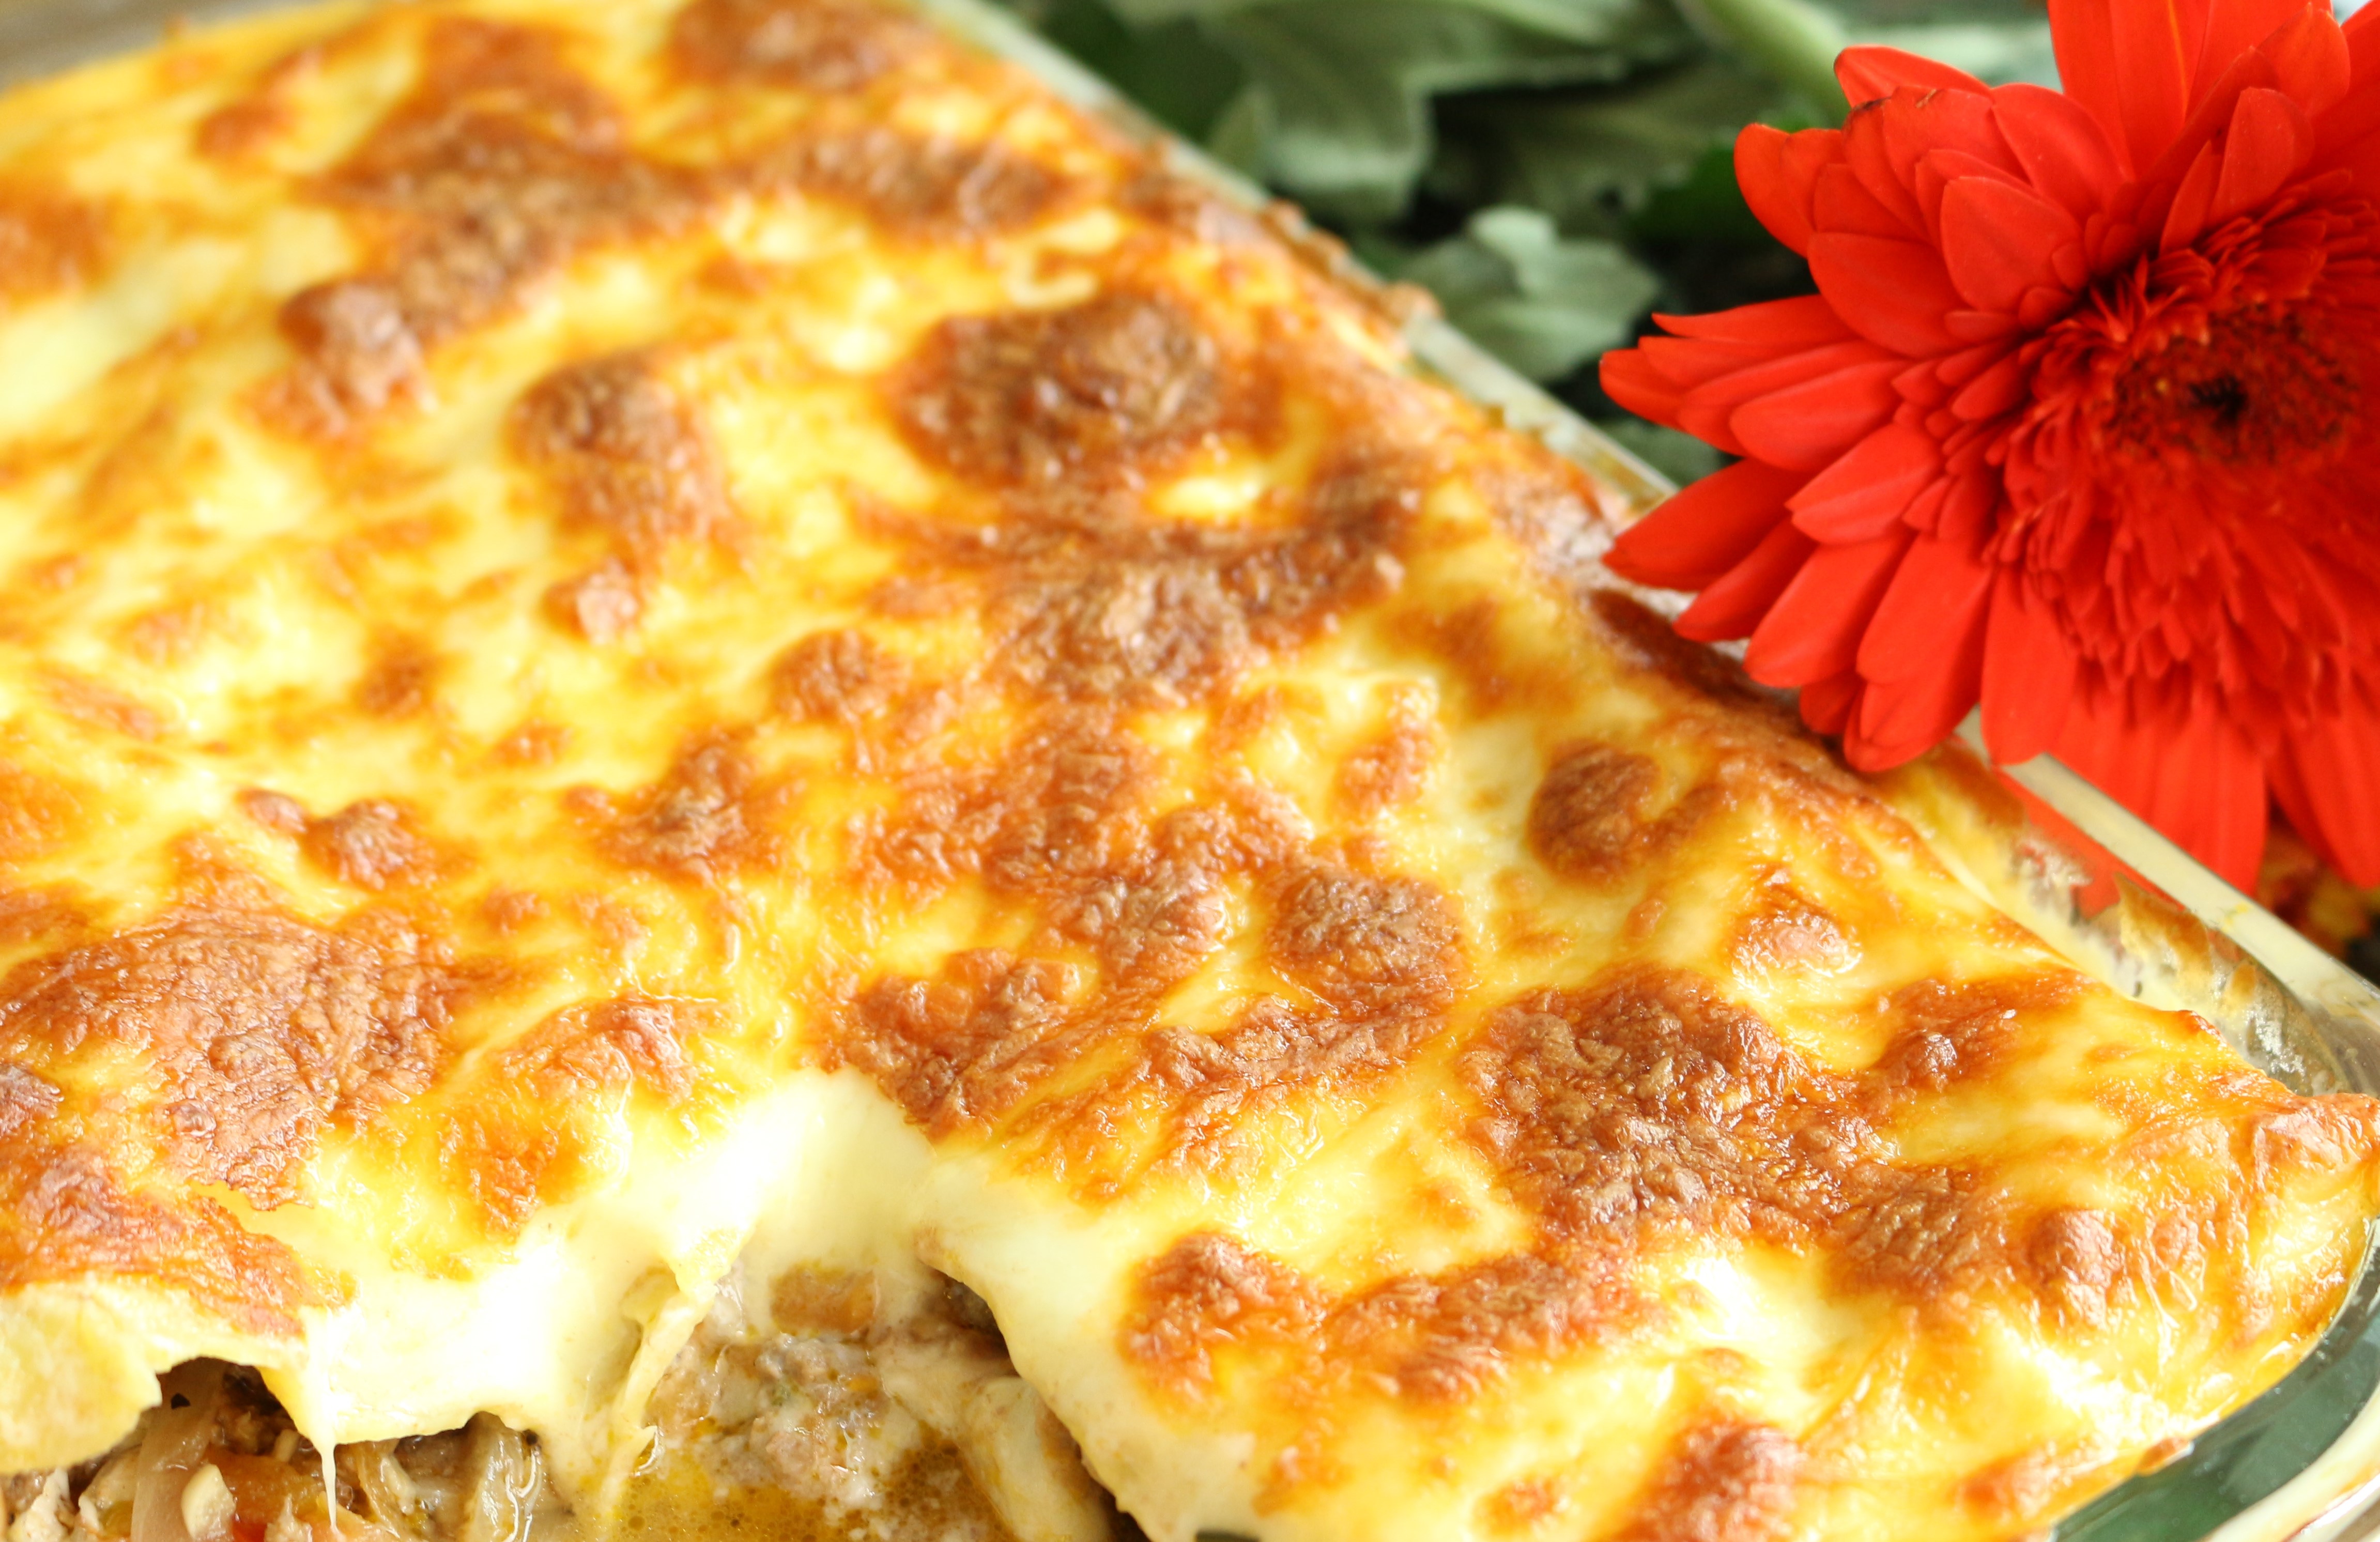
Today, I am posting this recipe of classic lasagna, everyone’s favorite. It’s a great comfort food and can be prepared to please a small crowd or for potluck parties.

Thanks to my lovely cousin who gave me this idea of making a lasagna. She loves it and I hope to see her try this recipe.


Preparation time: 25 minutes (includes layering)

Cooking time: 70 minutes

Requirement: Baking dish 9*28-cm / 4*11-inch

Serves: 4

Ingredients

Lasagna sheets – 6 or more

Jamie Oliver lasagne sheets

Beef mince / ground – 500 g

Butter for beef + 75 g bechamel sauce + coating the baking dish

Onion – 1 large, thinly diced

Garlic cloves –  2, finely chopped

Celery leaves / stick – 1/2 cup / 1 stick, finely chopped

Shredded carrot – 90 g

Nutmeg – 1/4 tsp (grated)

Pepper powder – 1 tsp

Salt

Tomato puree / sauce – 470 g / 6 small

Mozzarella / Parmesan Cheese – 50 g or more


Bell peppers – 1

Cherry tomatoes – 10 to 15, cut into halves

Bechamel sauce / White sauce: Balloon whisk is required

All-purpose flour – 4 tbsp

Hot Milk – 2 cups

Salt to taste


Directions

1. Preparing the beef:

Melt a small slice of butter in a large wok or pan at medium high heat, add onion and fry till translucent, then add garlic. Fry for a minute. Add carrot and celery. Mix and fry for 2 minutes. Stir in the beef breaking it up and brown until just changing color, but not hardening.

Beef mince filling

Add pepper powder, salt, nutmeg powder and tomato puree/paste, mix well. Cover and cook for 5 minutes or until all the water oozes out. Uncover and cook till all the water is gone.

Beef mince filling2

2. To toast the bell peppers: Heat a pan on high and place the skin side facing down. Toast them until brown. It can also be baked whole in the oven for few mins until its brown.

bell peppers

Cut into pieces of desired size and reserve with cherry tomatoes.

3. To prepare the Bechamel Sauce:

Melt 75 g butter in heavy-bottomed saucepan. When foaming stir in the flour and cook over gentle heat for about 2-5 minutes without letting it brown. Take it off the heat and add all the milk at once, whisking very well.

When all the flour and butter have been combined with no lumps, return to the heat and slowly bring to a boil whisking all the time. When it comes to the boil add salt and simmer gently for 2-3  minutes.

Bechamel Sauce or White sauce | Lasagne sauce | Delicious Sweet Aroma

4. Layering:

Spoon the white sauce into the buttered baking dish. Cover with lasagne sheets and spread the beef mince.

Add another layer of bechamel sauce, top it with bell peppers and cherry tomatoes. Continue with the beef mince. Repeat twice more, finishing with a layer of white sauce covering the whole top.

Sprinkle with mozzarella cheese and bake on convection mode in a preheated oven at 180 degree Celsius for 20 – 30 minutes.

Convection oven baking lasagne

5. After 30 mins if the top layer has not browned, increased the temperature to 200 degree Celsius (Gas 4) for 5 more minutes or until brown and bubbling.

6. Let stand for 5 – 10 minutes to settle and firm up before serving.

IMG_9038

IMG_9046

IMG_9047

My thoughts on this recipe 👉👉 I would recommend making the first step of this recipe a day in advance and freezing it to reduce time.


Cook’s tip:

* If you plan on making a day in advance, cover it with a foil and store it in the fridge. It might take longer to bake since it’s cold.

*Making few days in advance: Assemble it and bake it. Store it in the freezer unless you would want to use it within 2 days. Re-heating tastes better and might need more time to heat. So make sure you pop it in the oven without defrosting otherwise it might turn watery.

*Cover with a foil while re-heating and that’s when it comes handy when you don’t want your frozen lasagna to be browning on top and cold inside.


Hope you will love making this recipe. Please share your thoughts on comments below 👇 Untill my next post.. Bye! 👋 ☺


Stay Healthy!


Read More

Oven-Roasted Spiced Chicken Thighs

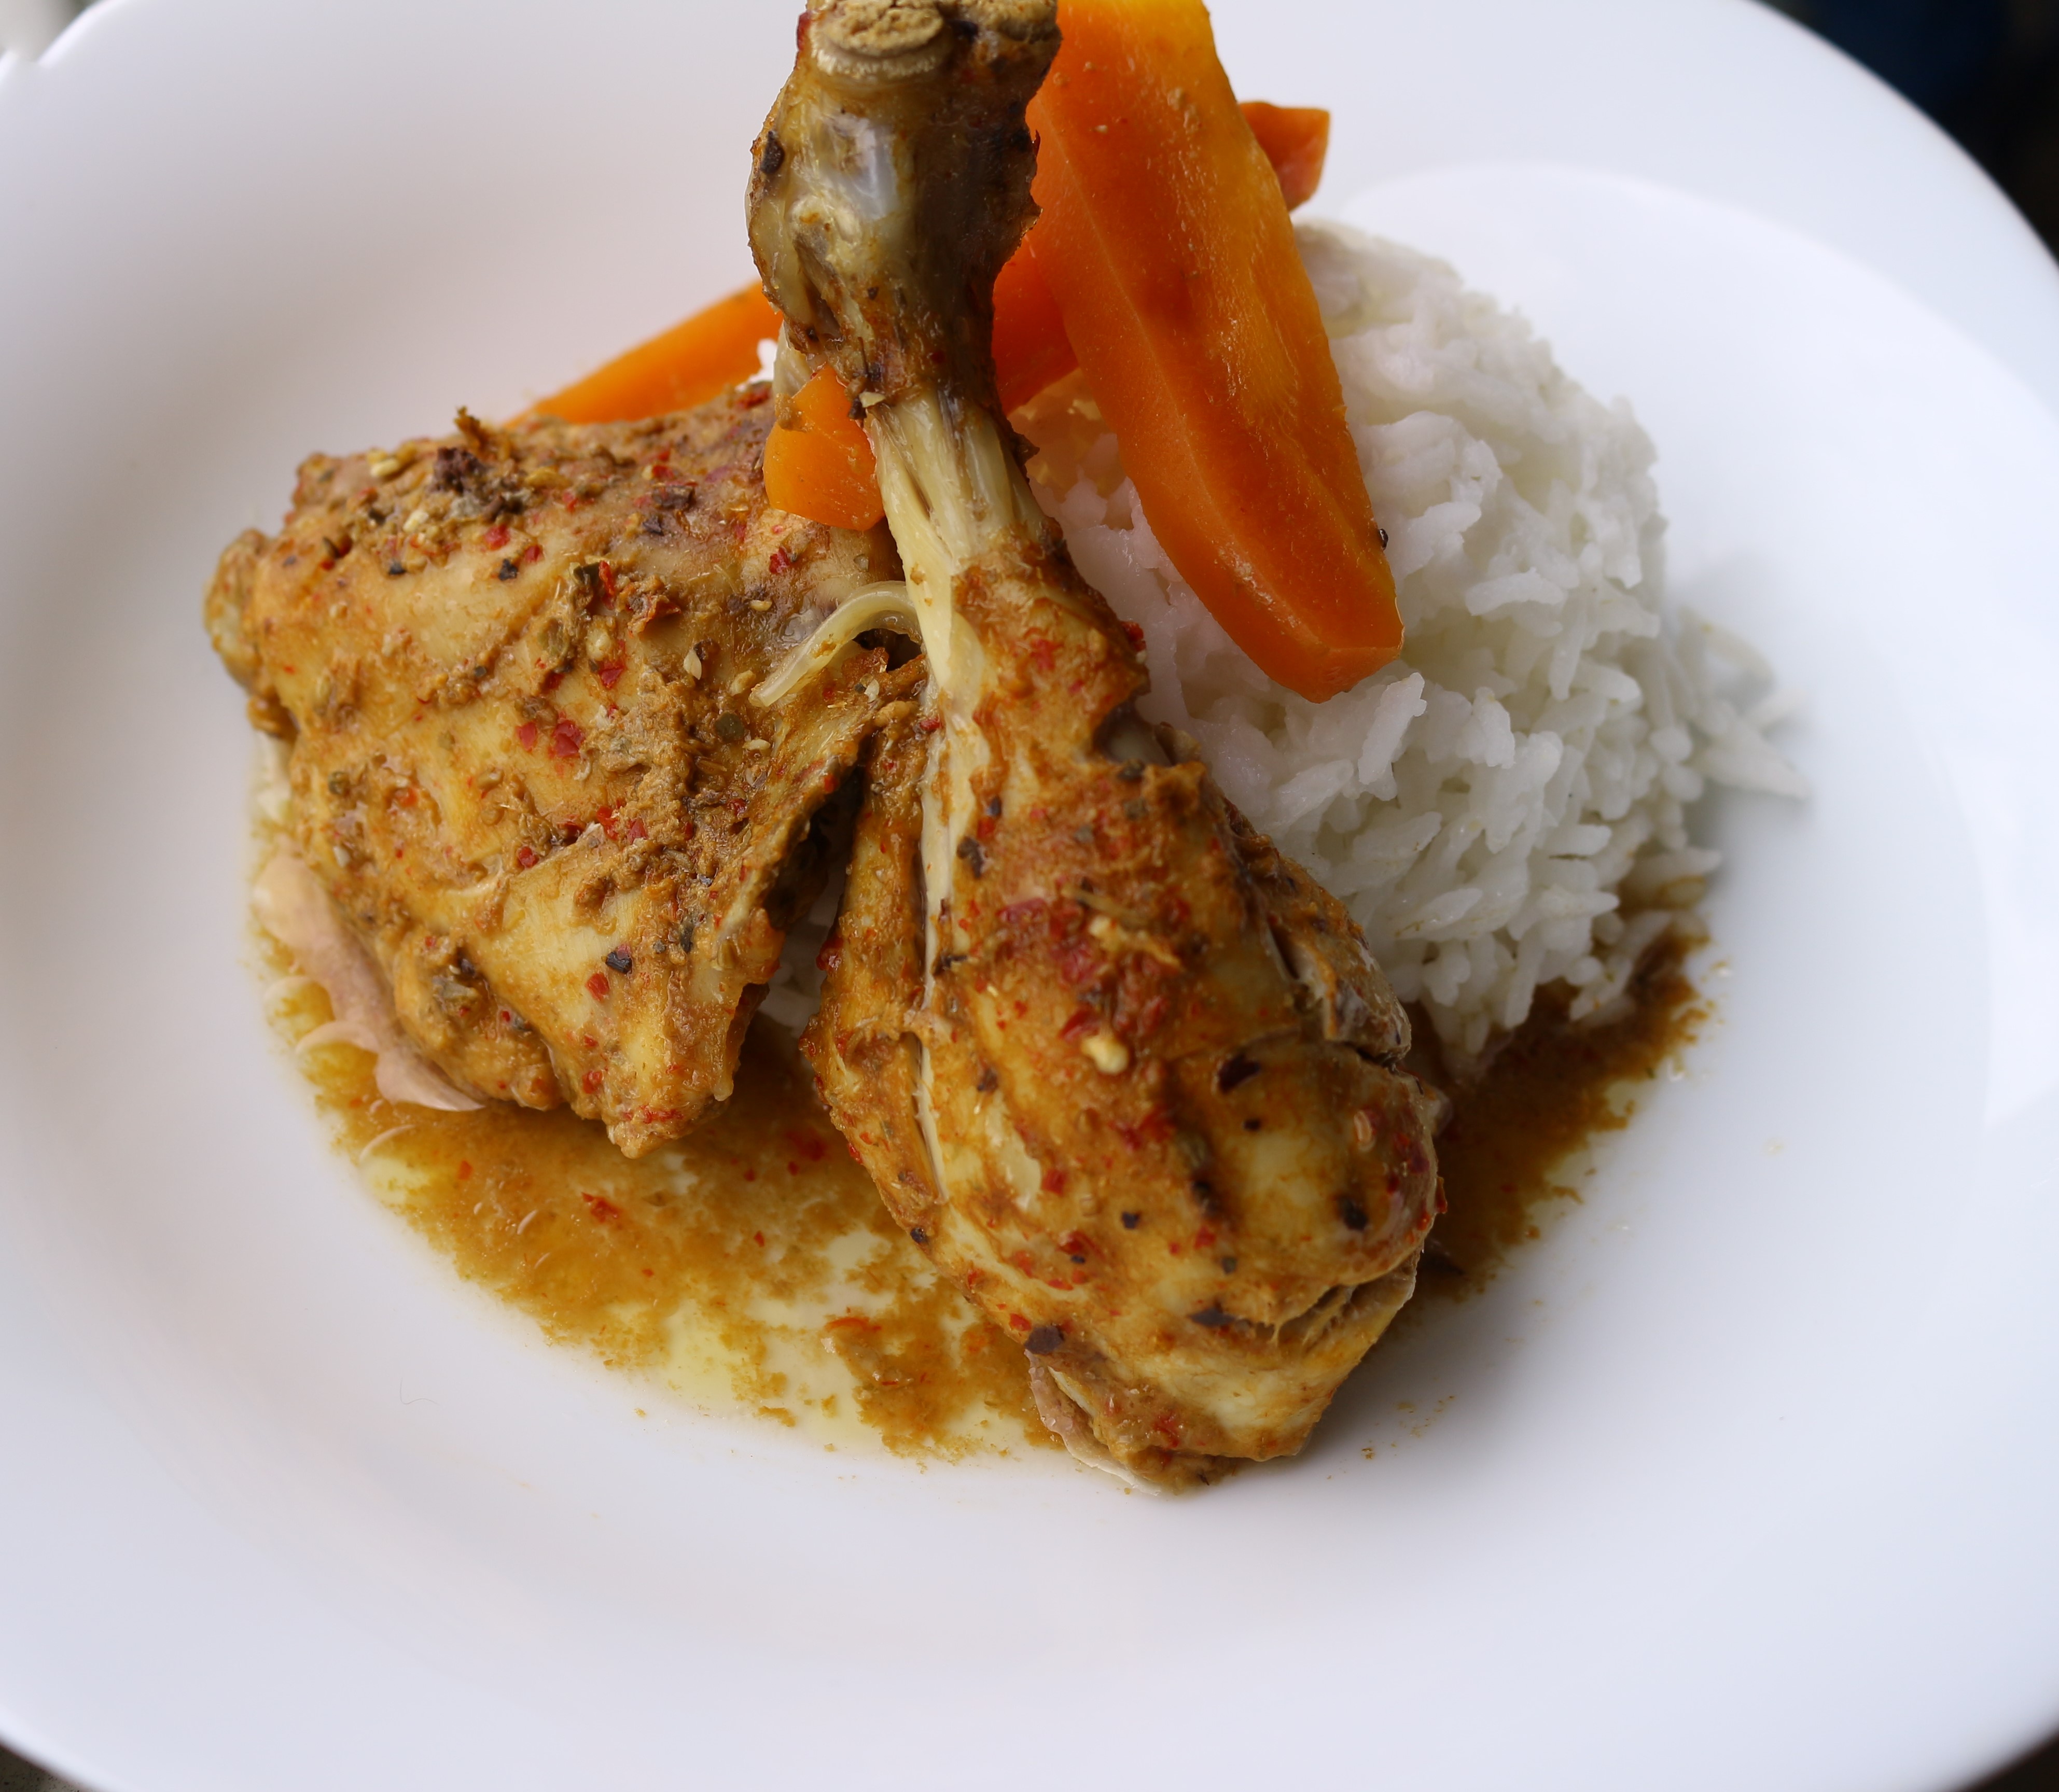
Chicken thighs marinated with few blended spices makes it a fantastic easy recipe for an incredible flavor of thirty-minute meals. Roasting in the oven makes it effortless to spend less time in the kitchen during busy hours.


Preparation time: 5 minutes (excluding marination)

Cooking time: 30 minutes

Ingredients

Olive oil 

Skinless chicken thighs – 3

Coriander leaves – 2 stems

Red dry chili – 1

Coriander seeds – 1/2 tsp

Cumin seeds – 1/2 tsp

Ginger-Garlic paste – 1 tsp

Salt – 1/2 tbsp

Dry Oregano – 1/2 tsp

Yogurt – 2 tbsp

Carrot – 1 large, cut diagonally into 2-inch chunks


Directions

1. Into a blender add the coriander leaves, red dry chili, coriander seeds, cumin with some water and make a paste. You can also use a pestle and mortar and pound to a paste.

Add the paste to chicken pieces.

Marinated spices for chicken | Hungry?! That's what I made!

2. Additionally, add ginger-garlic paste, oregano, salt and yogurt. Coat the mixture.

Marination for chicken | Hungry?! That's what I made!

Yoghurt for marination | Chicken oven roast recipe

Cover loosely and leave in the refrigerator to marinate for 3 – 4 hours or overnight.

3. In a roasting dish sprinkle some olive oil. Place the carrots. Remove the chicken and arrange them over the carrots. Pour the rest of the marination sauce over the pieces of chicken.

Chicken thighs | Ready to oven roast

Cover with an Al- foil.

4. Bake in a preheated oven for 25 – 30 minutes at 200 degrees.

Oven-Roasted chicken | Hungry?! That's what I made!

The above picture was taken in the dark, hence the color difference in picture 📸 🙂

Oven-Roast Chicken Thighs | Spiced | Delicious Sweet Aroma

Serve with leafy vegetables 🥗 or a bowl of rice 🍚.

Roast Chicken Thighs | Easy Chicken Recipe | Hungry?! That's what I made!

Some pieces of left-over chicken I used the following day and managed to take a clear shot in broad daylight 😅 yay!


Related chicken thigh recipe:

Baked and Spiced Chicken Thighs


Stay Healthy!


Read More

Parmesan Stuffed Chicken

There is no reason why one cannot try this recipe of Parmesan Stuffed Chicken. It doesn’t require fancy ingredients to make a phenomenal delicious filling dinner/lunch.


Preparation time: 15 – 20 minutes

Cooking/Baking time: 25 minutes

Ingredients

Chicken Breasts / Boneless chicken – 4

Baking tray 13-in. × 9-in.

Olive oil for greasing

couple of toothpicks


Filling:

Spring onions – 4 bulbs, only greens finely chopped

Garlic cloves – 2, finely chopped

dried Oregano leaves – 1/2 tsp

Cheddar cheese – 2 tbsp

Parmesan cheese – 1/2 cup


Coating:

Flour – 1/2 cup

Butter/Eggs – 50 g / 2 eggs lightly whipped

Mixed together —> Bread crumbs 1/2 cup, salt 1/2 tsp, chili powder 1 tbsp, parmesan cheese 1/2 cup, Cumin powder 3/4 tsp


Directions

1. Prepare the filling by mixing all the ingredients mentioned under filling. Set it aside.

stuffing of cheese mixture | Chicken

2. Place a plastic wrap on the cutting board and place the chicken breasts over it. Place a second layer of the plastic wrap over the chicken of equal length.

Now, flatten the chicken  to 1/8-in. thickness. Do the same for the rest of the pieces.

Place the filling (about 2 tbsp) in the center and roll up. Roll up the other end and secure with toothpicks. Check link here on how to do the filling.

Chicken stuffed Parmesan cheese mix | Delicious Sweet Aroma

3. Prepare  a bowl or plate, combine bread crumbs, salt, chili powder, Parmesan cheese and cumin. Mix together. Place flour in another plate. Place whipped egg or butter in a third bowl. Meantime, preheat oven to 200 degree Celsius (400 deg F)

Coat all sides of each chicken roll-up with flour, then dip in butter and toss it in bread crumb mixture.

Coated chicken roll-ups | Hungry?! That's what I made!

Place roll-ups in a baking tray, seem side down, lined with butter paper and greased with olive oil. Place it on a low oven rack uncovered at 200 deg C for 25 minutes.

Remove the toothpicks before serving.

Parmesan Stuffed Chicken (2)


I almost forgot to take a picture right after baking. Was too excited that I got hungry and couldn’t wait to grab a bite. We enjoyed the stuffed chicken with tomato rice. The stuffing was CHEESE-LICIOUS!


Hope you enjoy this delicious chicken roll-ups. Thank you for sharing and being supportive!


Note: 

If you do not have an oven consider deep-frying to get a golden crispy texture.


Related recipes of Chicken:

Chicken Schnitzel

Cream of Chicken Soup

Crispy Chicken Fry

Chicken Bites


Stay Healthy!

Read More

Lemon Cake

This is a delicious pound cake infused with lemon juice and zest. Lemon cake is an easy baked cake especially for beginners who are learning to bake.

With a nice cup of tea it tastes amazing. I did not add any topping or sugar glaze because I do not have a sweet tooth. The same reason why you find less of my posts on desserts. If it were a decision between sweet and savory, I pick savory always. However, sometimes I would still have a bite or two if I had a choice of sharing it with someone.

I hope you have a lovely week! 🙂


Preparation time: 15- 20 minutes

Cooking time: 25 – 30 minutes

Required appliance: Hand mixer


Ingredients

Rectangular tin – 12”x 8” (30 cm x 20 cm) 

Unsalted butter – 125 g, soft at room temp

Caster sugar/ Fine sugar – 1/2 cup

Large Eggs – 2

Plain flour (unbleached) / Self-raising flour – 175 g  (skip the baking powder & salt if your using self-raising flour)

Baking powder – 2 tsp

Pinch of salt

Lemon – 1, grated zest & juice


Directions

Preheat oven to 180 degree Celsius or 350 degree Fahrenheit for 10 minutes before baking. Grease the rectangular tin with butter and set aside.

1. In a large bowl, add butter, sugar and cream together until soft and fluffy.

butter, sugar

butter & sugar cream

2. Beat the eggs in small bowl with a spoon, then gradually add a little of the egg to the creamed mixture.

To the flour mix baking powder and salt.

Add a little flour after each addition of egg mixture. Do this until all the egg and flour are well combined.

adding egg in small portions to the cream

adding flour after the egg in small portions


3. Now, add the grated zest of lemon into the cream mixture and stir. Beat well.

grated lemon zest for lemon cake

4. Squeeze the juice of lemon, strain and then add it to the mixture. Beat to make it smooth.

Extracting lemon juice for lemon cake

5. Spoon the cream mixture into the rectangular greased tin, level the surface. Bake in the preheated oven at 180 degree Celsius or 350 degree F for 25 – 30 minutes.

lemon cake cream mixture before baking

6. With a fine skewer, prick the cake all over to check for doneness. Let the cake sit in the oven for 5 minutes if your using a convection oven. Once its cooled, cut into desired pieces and serve.

baked lemon cake

pound cake

Notes

*Since I didn’t have enough butter I added ghee to make up 175 g.

*You will notice that I added granulated sugar as I was out of caster sugar or super-fine sugar. But I recommend using caster sugar as it dissolves quickly.

*If your using self-raising flour, skip the baking powder and salt. Self-raising flour already contains a bit of salt & baking powder.


Stay Healthy!


Read More

Butter Biscuits

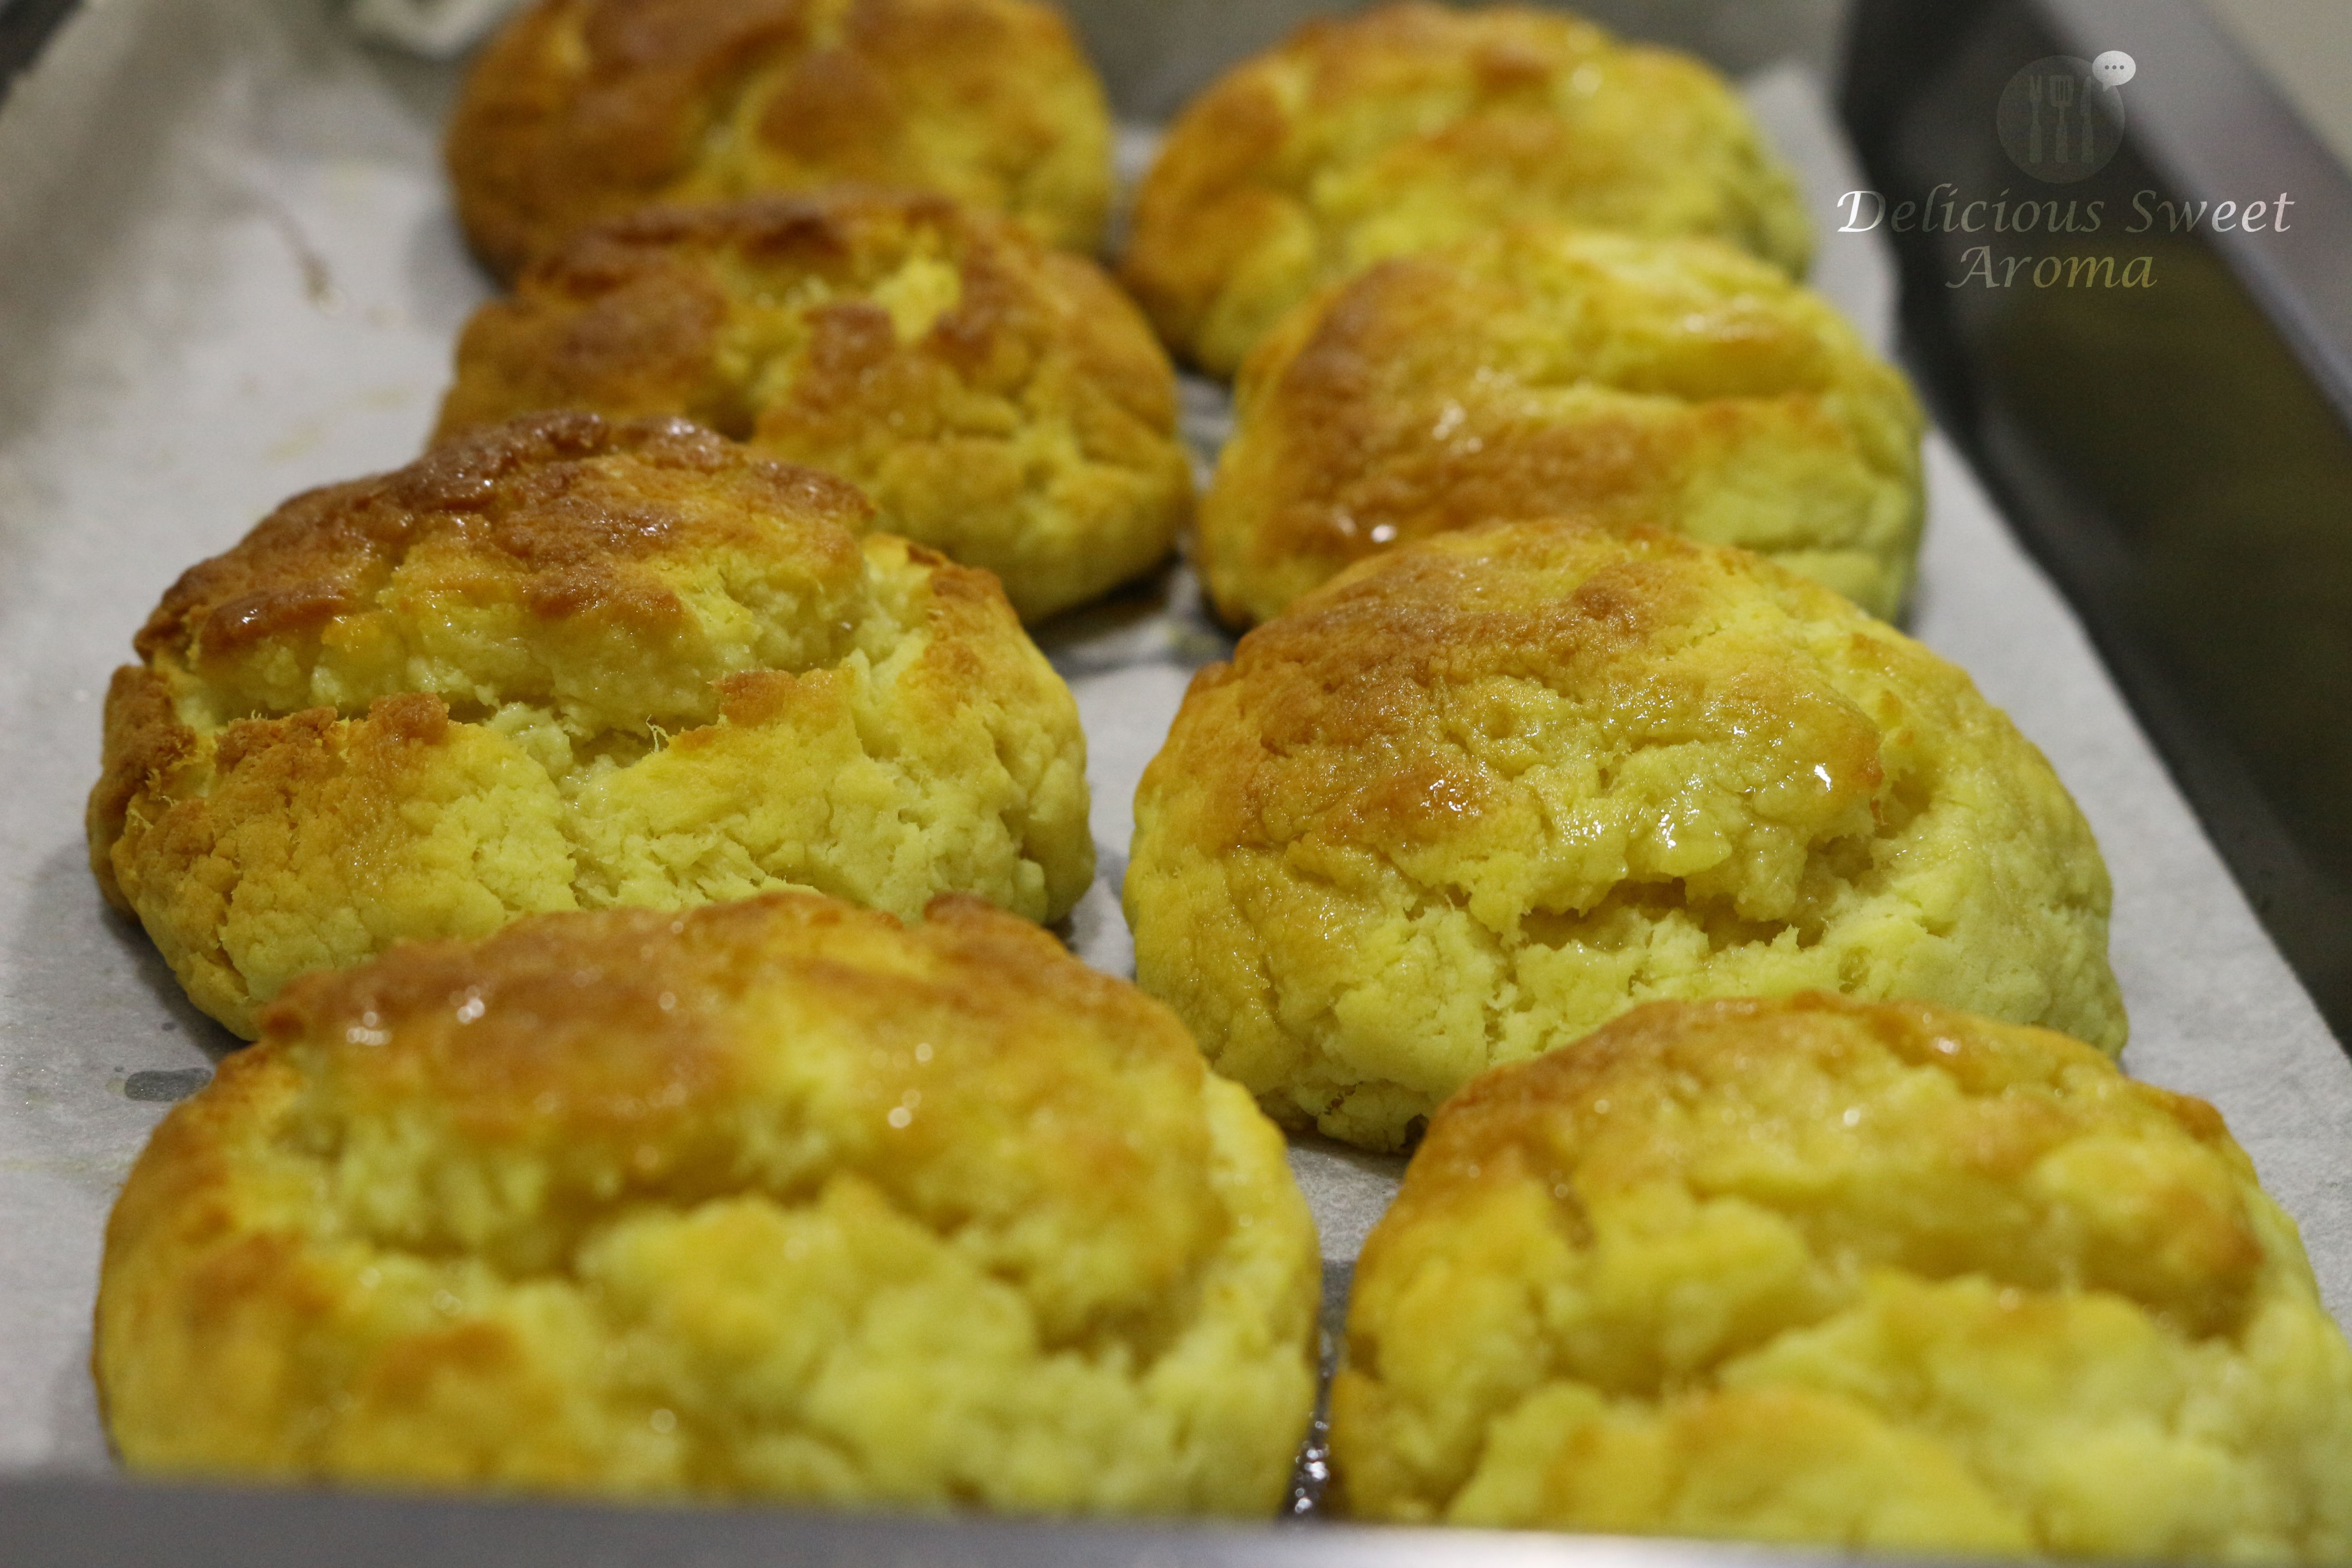
I love biscuits that are very light flavored, so I thought of baking something easy like the butter biscuit. I had this at Texas Chicken and I loved the idea of making it on my own. This recipe is similar to the recipe I found in allrecipes.com of Kentucky biscuits but I made some adjustments in the ingredients.

Preparation time: 15 minutes

Cooking time: 15 minutes

Makes: 13

Ingredients

Parchment paper for lining the tray

Top flour/Cake flour/Self raising flour – 2 cups

Baking powder – 1 tbsp

Cream of tartar – 3/4 tsp (see notes for a substitute)

Unsalted butter (solid cubes) or vegetable shortening – 1/2 cup, 4 oz


Milk – 2/3 cup

Sugar – 3 tsp

Salt – 1/2 tsp


For Brushing the biscuits:

Melted unsalted butter – 1/8 cup or 2 tbsp

Honey – 1/3 cup

melted butter and honey mixture for brushing the butter biscuits


Directions

1. Preheat oven at 200 degree Celsius. Coat a 12”x 8” (can use a bigger size) rectangular tray with butter and line with parchment paper. Grease the paper lightly with butter.

2. In medium bowl add the sifted flour, baking powder, solid butter cubes, salt and cream of tartar. Mix with your hands until crumbly.

preparing the mixture of flour, baking powder, salt, sugar and butter

3. Pour milk and knead to make a dough by pushing the dough down and out until it gets less sticky for 5 minutes.

dough for butter biscuit

4. Scoop out the dough by tablespoons and roll into balls. Space the balls 11/2 inches apart on baking sheet. Brush the balls with the melted butter and honey mixture.

balls of dough for butter biscuit

5. Place the tray in the center of the oven and bake at 200 degrees Celsius for 10 – 15 minutes.

6. Bake until golden brown or until puffy. Remove the tray out of the oven and brush again with melted butter and honey.

Fresh butter biscuit from the oven

Butter Biscuit


Note:

*If you do not have cream of tartar just substitute fresh lemon juice or white vinegar.


Stay Healthy!

Read More

Pineapple, Honey and Pistachio Flapjacks

It’s been a while since my last post. I have been out of town and hence didn’t find time to post. So, hold your horses, because soon I will be posting about my getaway experience.

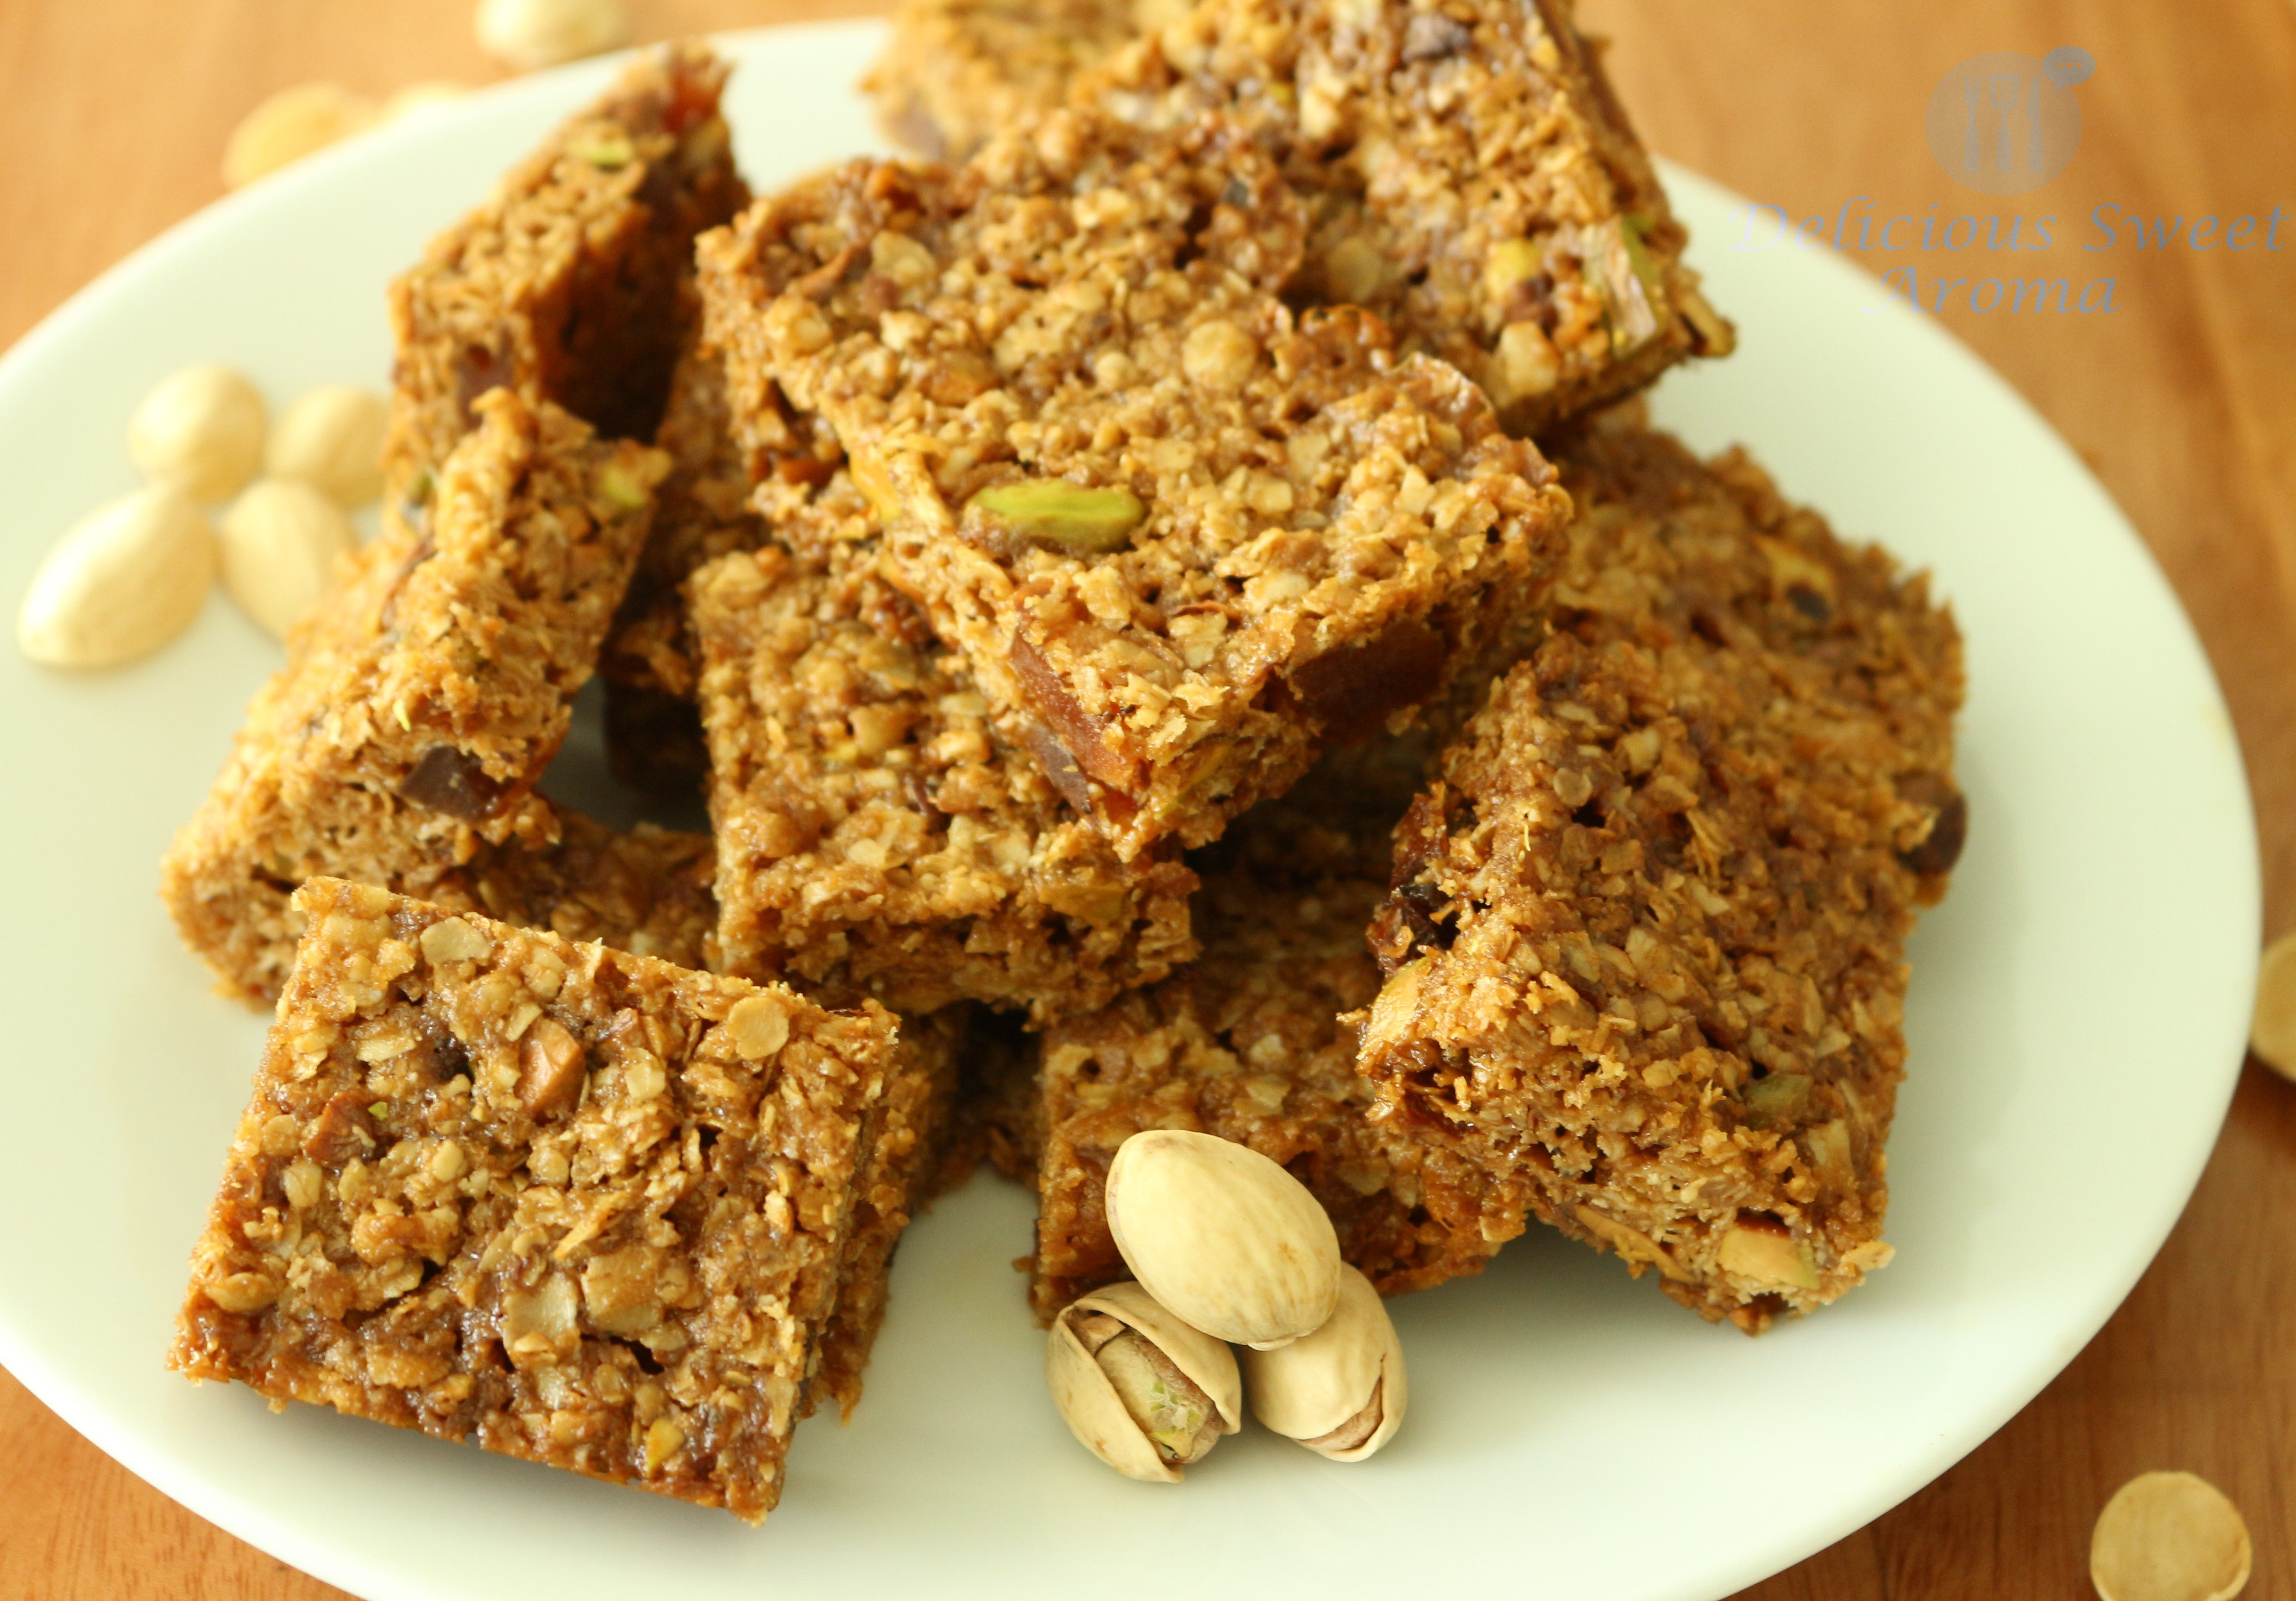
Now since I’m back, after settling in, I tried this delicious easy snack, flapjacks recipe like an oat bar which makes it simply the best and perfect recipe to try out for family and kids with a fantastic combination of buttery sweetness that gives it a heavenly taste. It is crispy and chewy, good for all-time lunchtime or tea time snack. You can add any fruits, nuts and still get a great taste.

Preparation time: 25 minutes

Cooking time: 35 minutes

Ingredients

Dried pineapple – 90 g

Pistachio nuts – 40 g

Rolled oats – 120 g

dry fruit, pistachio, oats

Unsalted butter – 160 g, plus extra for greasing

Brown Sugar – 160 g

Honey – 2 tbsp


Directions

1. Preheat oven to 160 degree Celsius / 325 deg F.

2. Put the butter, brown sugar and honey in a small saucepan. Heat on medium until melted for 3-4 minutes.

brown sugar,honey, butter

3. Into a mixing bowl, tip the oats, dried pineapple and pistachio. Pour over the melted melted butter mixture and stir to combine.

dry fruit, pistachio, oats

Dried pineapple, oats and pistachio nuts

butter, brown sugar, honey

Melted butter, brown sugar and honey

4. Tip the above mixture into a 12”x 8”- rectangular greased and lined with parchment paper baking tray. Press down to flatted the surface. Bake for 30 minutes, at 160 degree Celsius or until golden brown.

flapjacks

5. Remove baking tray from the oven and cool in tray until crisp. Slice the flapjacks into desired pieces and serve.

Pineapple, Honey and Pistachio Flapjacks


Storing

*Keep in an airtight container for up to 3 days.


Stay Healthy!


Read More

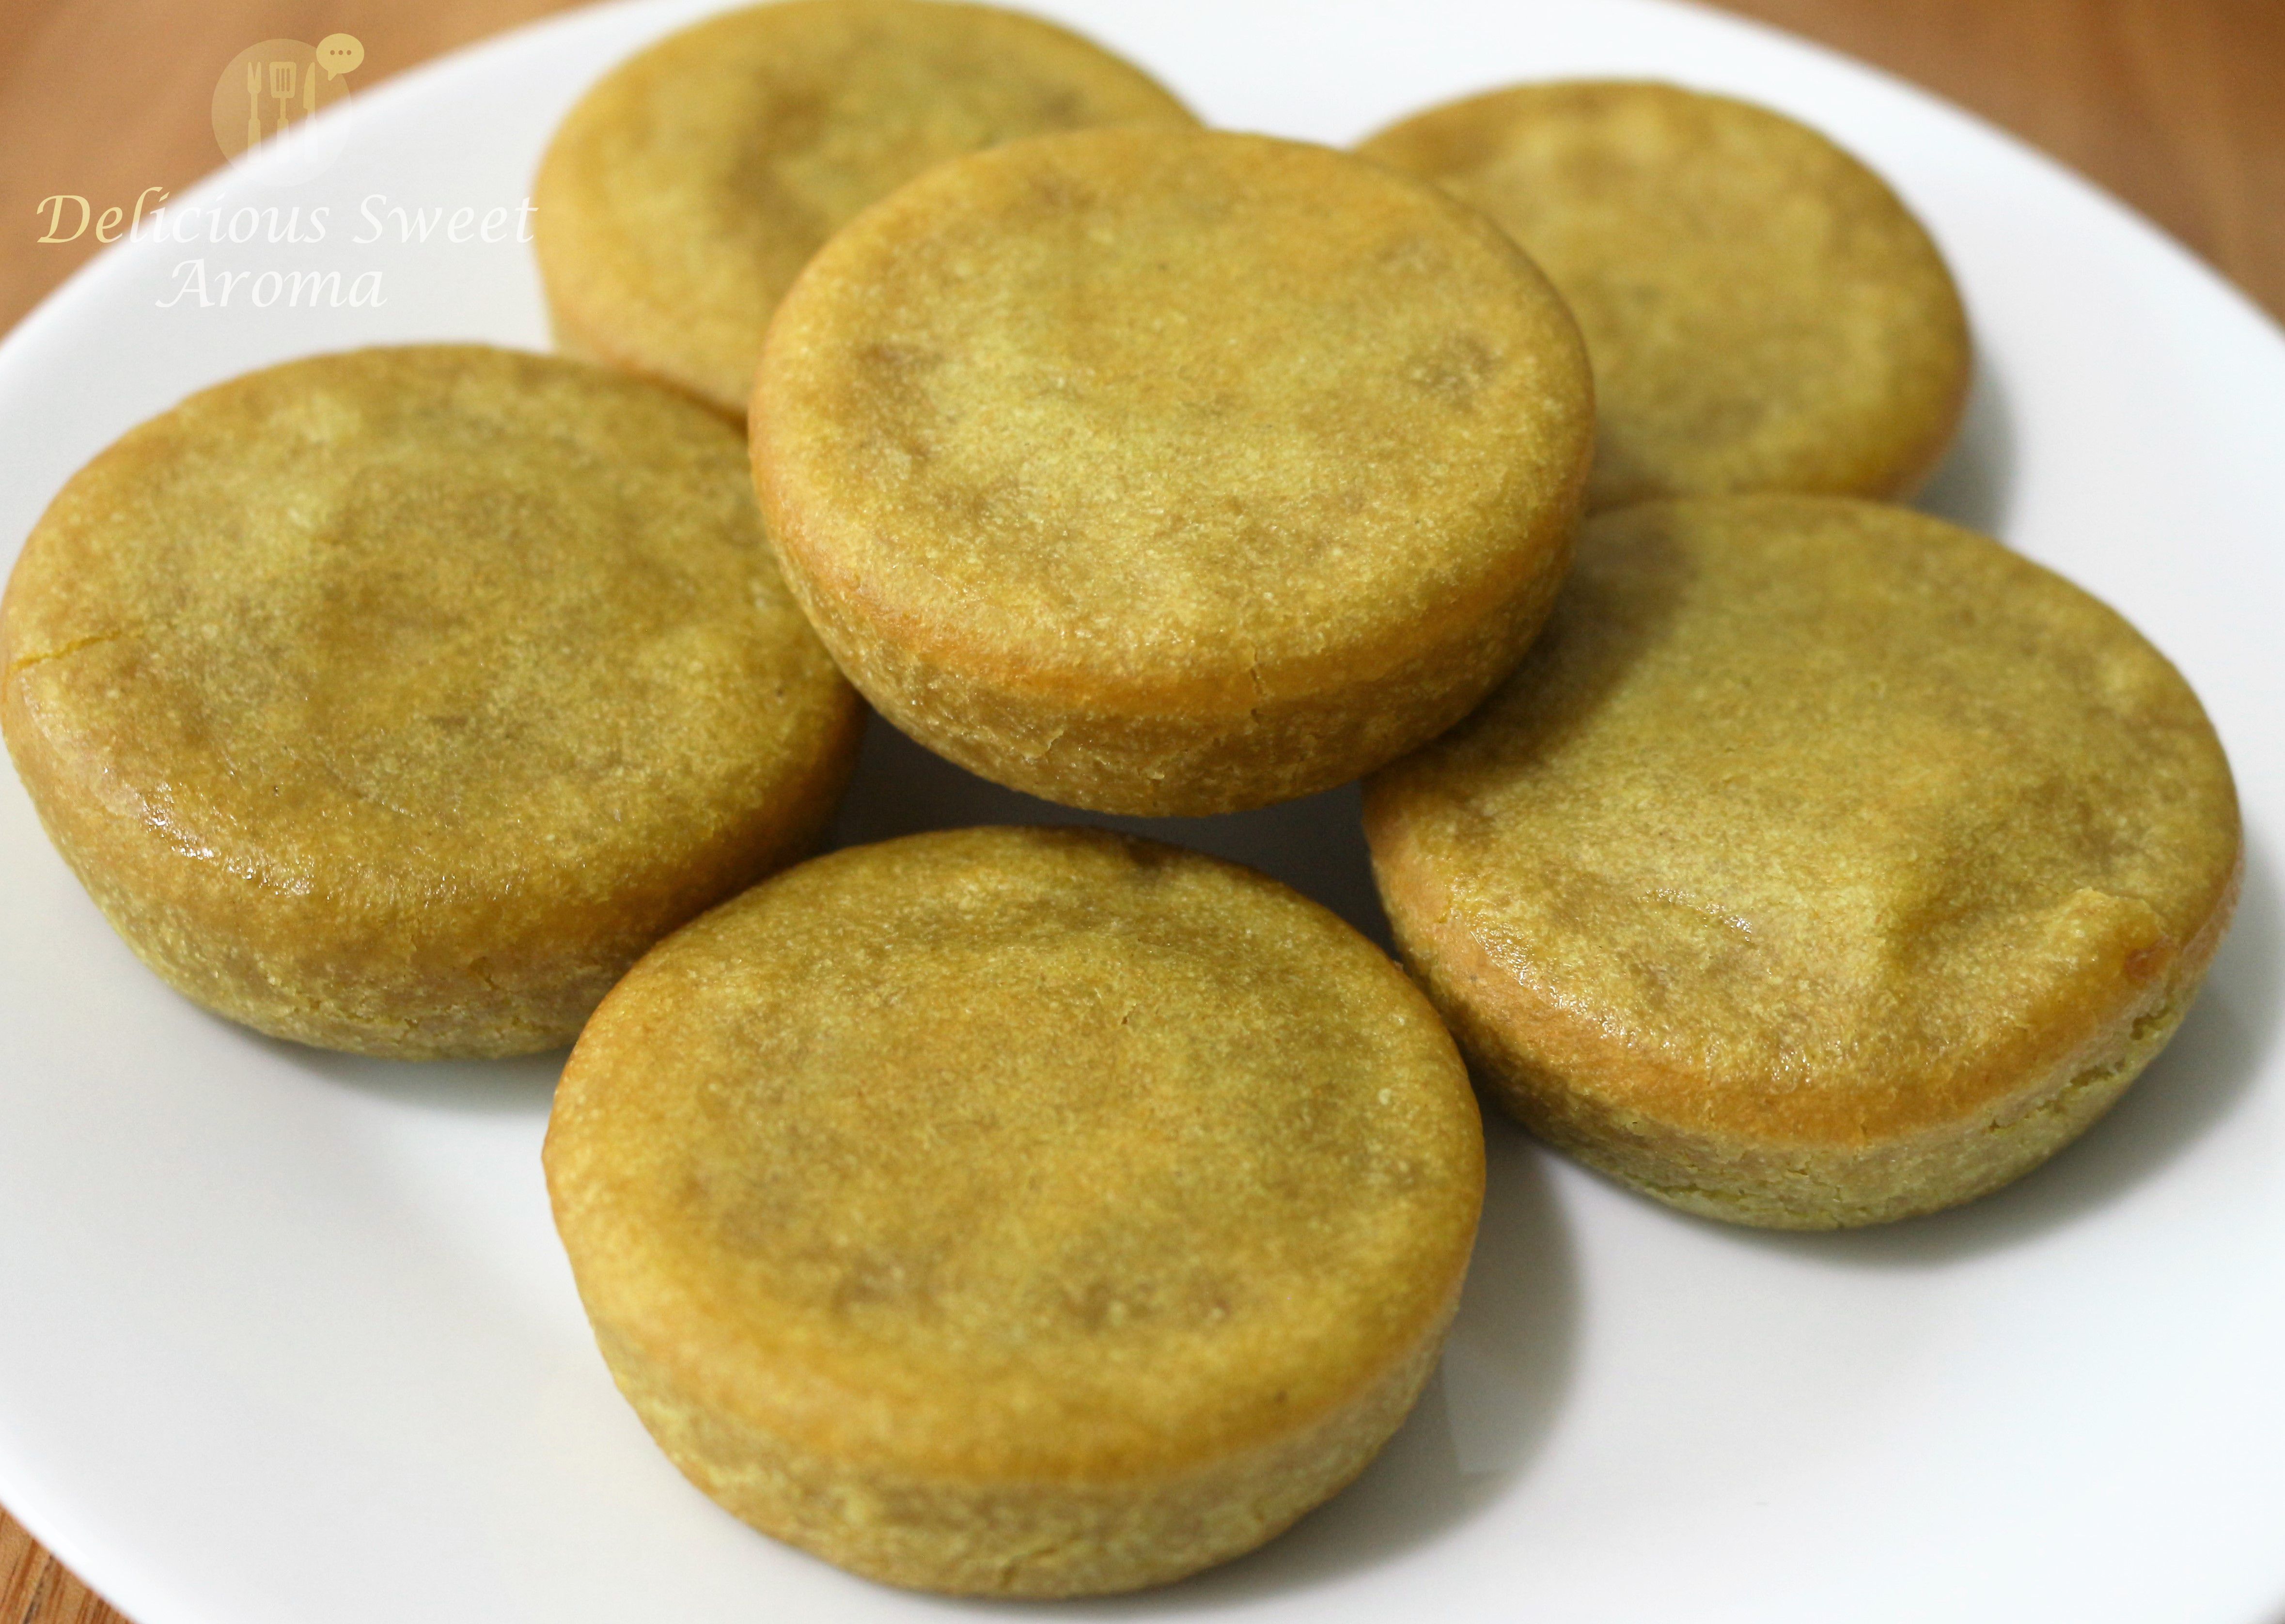
Baked Jaggery Pancake Muffin

I love this version of baked muffin, as it gave me a taste of all the flavors of snacks we used to have as a kid and even now. The main components being jaggery and cinnamon, is just a lovely combination! It’s an evening snack recipe, easy to prepare in less than an hour.

In South Indian Mangalorean cuisine, the same recipe is used to make “Appa” (pancake balls) traditionally  prepared during festive seasons mostly by the Hindu households. It is sweet and light. It is cooked/steamed on a stove top in a aebleskiver pan, with a distinctive shape of a sphere.

Preparation Time: 10 minutes

Cooking time: 7 minutes

Makes: 6

Required Appliance: Electric Blender

Ingredients

Beaten rice – 1/4 cup

Jaggery – 1/4 cup, pounded into small pieces

Fresh grated coconut – 1/4 cup, (can use desiccated coconut, if fresh coconut is not available)

Salt – 1/8 tsp

Baking powder – 1/4 tsp, (or baking soda 1/8 tsp)

Coarse semolina – 1 tbsp

Cardamom pods – 1, seeds crushed

Chapathi flour – 1/2 cup, if necessary can add more

Ghee to coat the pan

Directions

1. Preheat oven at 200 degree Celsius (390 degrees Fahrenheit).

2. Place the beaten rice in a strainer and wash under cold running water so that the beaten rice flakes are wet and soft. Tap to strain excess water.

beaten rice

3. Now, using an Electric blender, add the beaten rice, jaggery, coconut and salt with 1/4 cup (75 ml) water. Blend for 2 mins to form a thick batter.

beaten rice, jaggery, coconut

batter

4. Transfer the batter to a bowl  and add  1/4 cup water into the blender to recover the rest of the batter. Pour this into the bowl.

5. Stir in the baking powder, semolina, cardamom. Gradually, stir in the chapathi flour mixing between each addition.

baking powder, batter

Batter, semolina

cardamom, batter

Batter, flour

6. Make a thick batter of pouring consistency. After they are well combined. Let the batter rest for 30 minutes at room temperature.

Baked Jaggery Muffin

7. Prepare the muffin pan by brushing it with ghee.

muffin pan, cup cake tray, ghee

8. After 30 minutes, pour the batter into the pan and insert it into the middle of the oven. Bake at 200 degree Celsius for 10 minutes or until you see it starts browning. Remove it out of the oven and flip them upside down. Place the tray back in the oven and bake for another 2 minutes.

batter

9. Remove the pan out of the oven. Carefully remove the each muffin and place it on a serving plate to cool. It tastes good when it is hot or cold. Enjoy!

Baked Jaggery Muffin
After the flip
Baked Jaggery Muffin

Note

*Double the ingredients if you want to prepare more quantity of muffins.

*I used Pillsbury ‘Chakki Atta’ (Indian chapathi flour) for this recipe.

Stay Healthy!

Read More

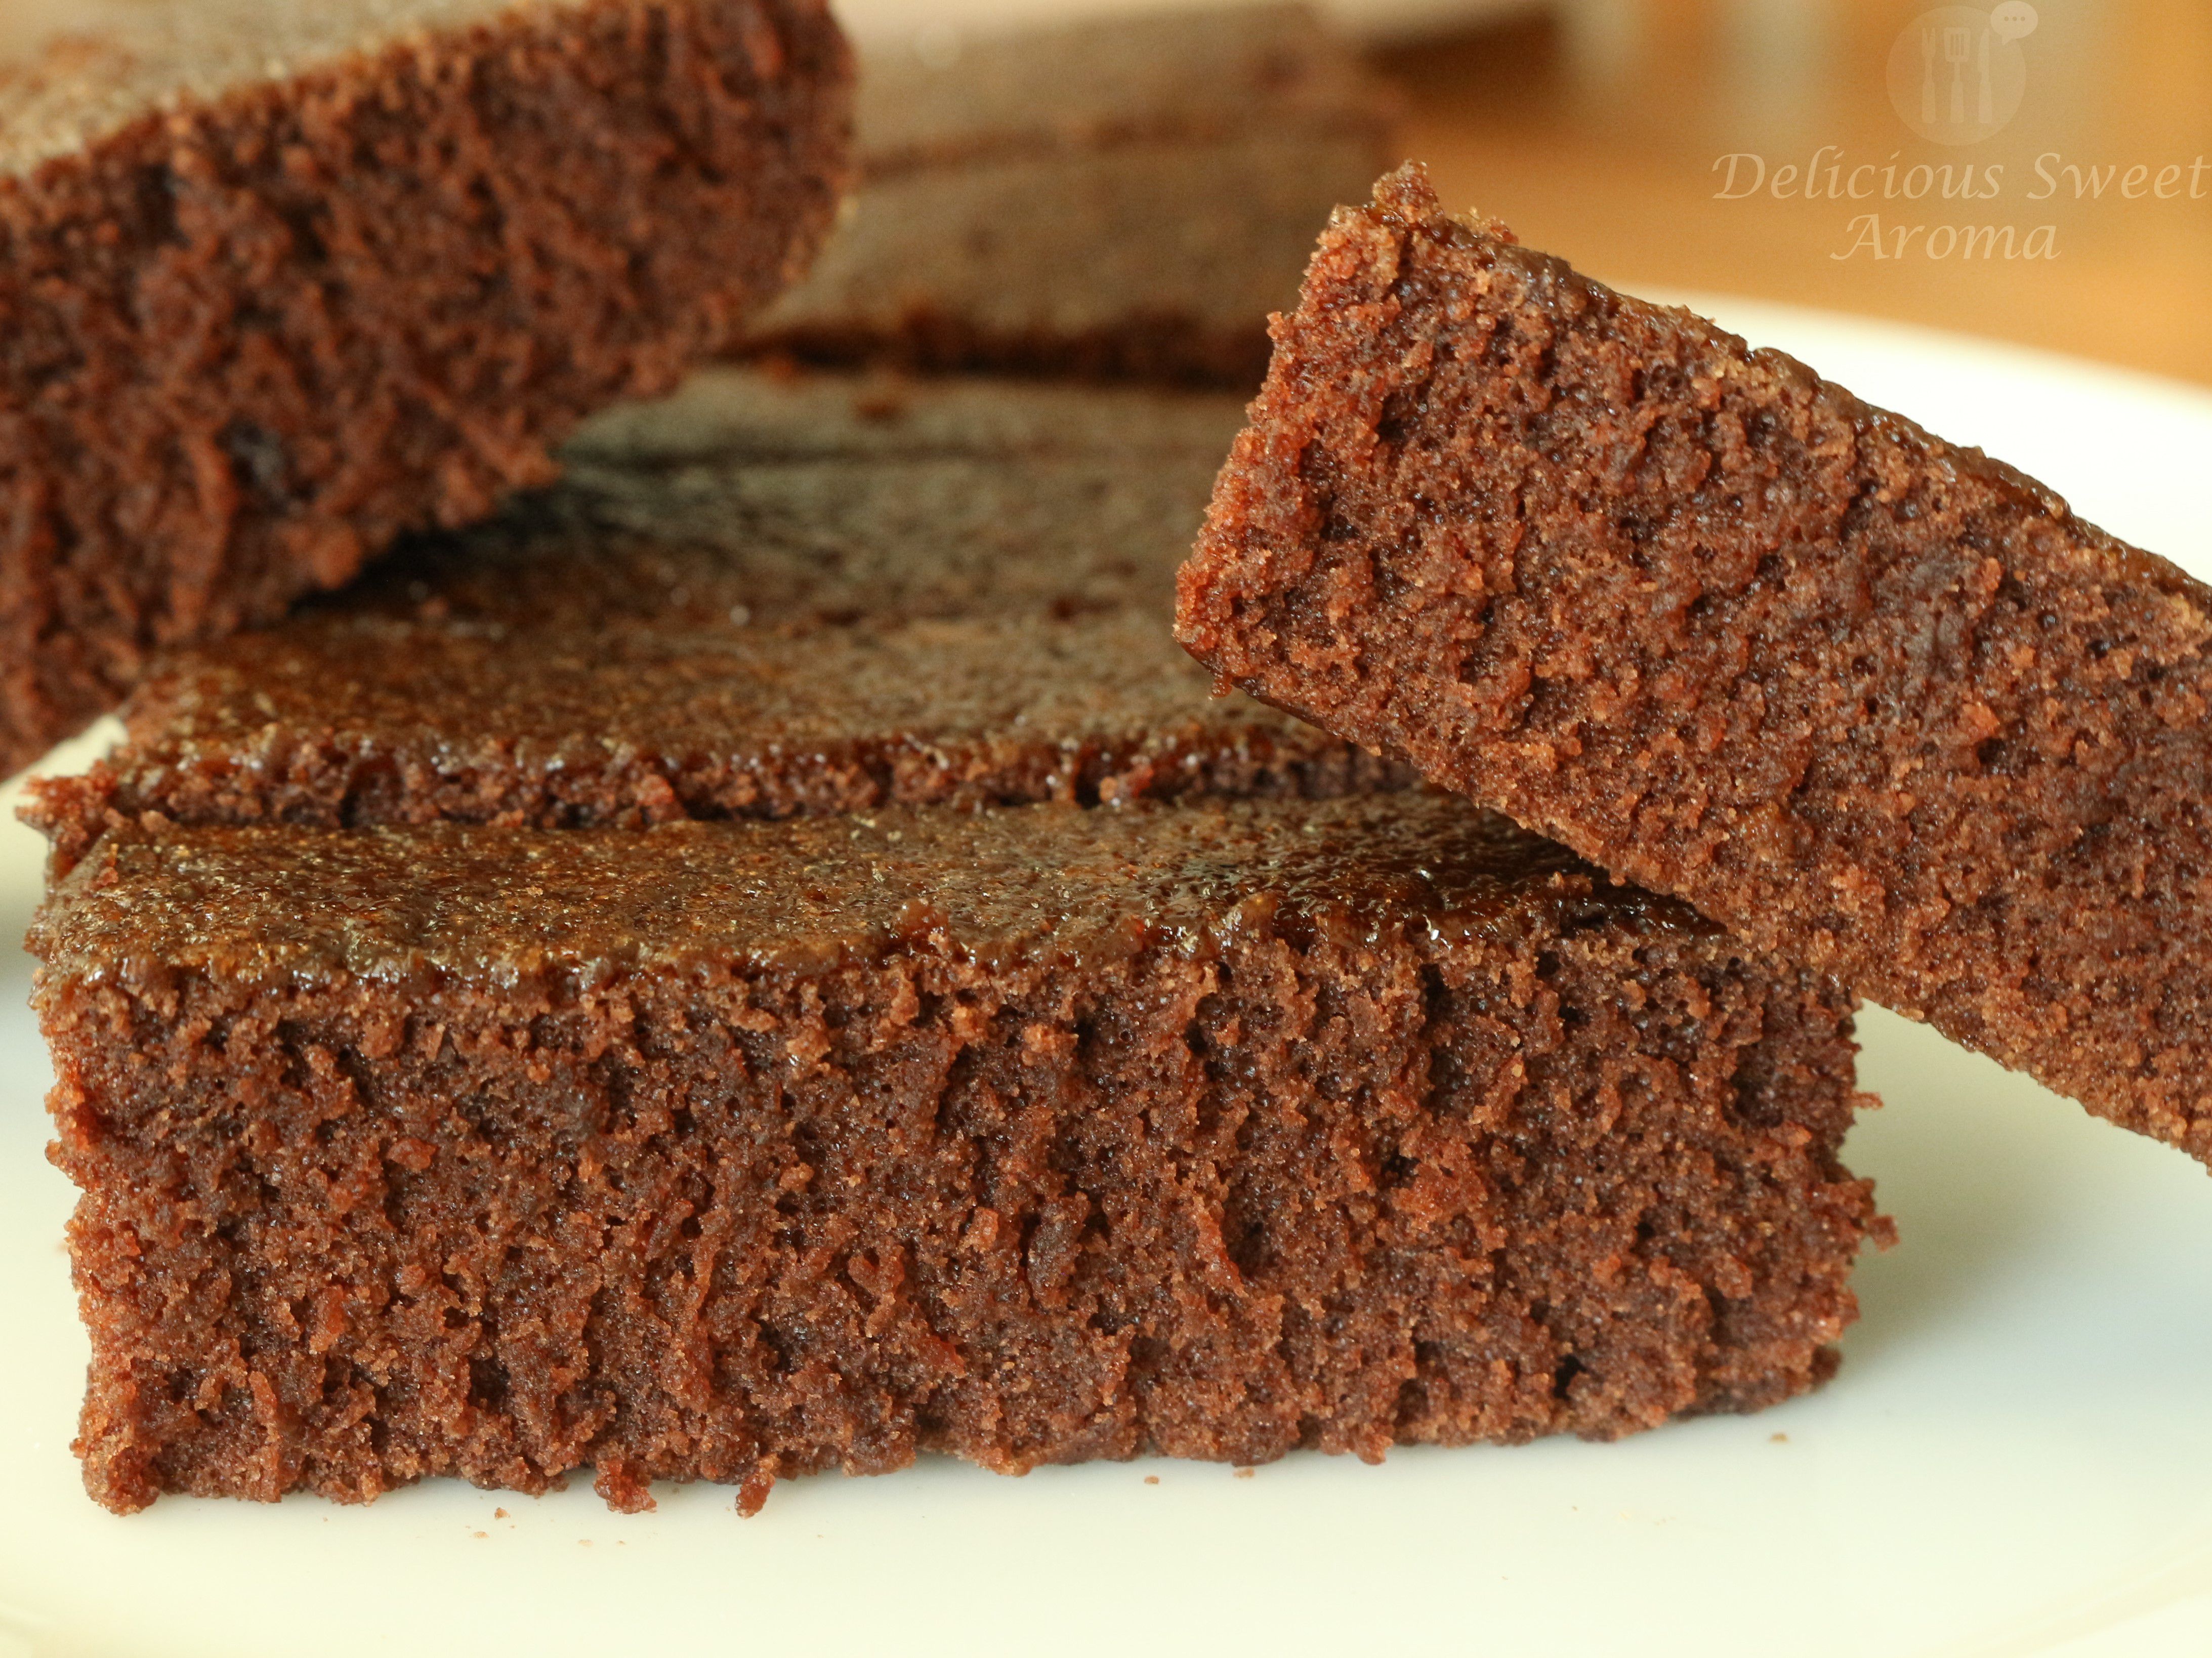
Cocoa Easy Cake

No matter what level of baker you are, this  quick and easy cake recipe can be done in a matter of few minutes. No butter, no eggs, no milk, no whipping! It has a dense texture.

The first time I prepared this cocoa flavored cake it was on my husband’s birthday. It was my first cake with cocoa, the ingredient which acts as a mood elevator and  natural antidepressant.

Preparation time : 10 minutes

Bake : 35 minutes


Ingredients

Baking pan 20 cm (8 inch)

All-purpose flour – 1  1/2 cup

Unsweetened Cocoa powder – 3 Tbsp

Baking powder – 1 tsp

Granulated sugar – 1 cup

Table salt – 1/4 tsp

White vinegar – 1 tsp

Vanilla extract – 1 tsp

Vegetable oil – 5 Tbsp

Water – 1 Cup


Directions

1. Preheat oven to 170 degrees Celsius ( 340 degrees Fahrenheit). Grease the baking pan with butter and then line with parchment paper. Sprinkle some flour evenly.

2. In a bowl add flour, cocoa powder, baking powder, sugar and salt. Mix with a spoon. 

all-purpose flour

cocoa powder, salt, sugar, all-purpose flour, baking powder

cocoa powder mixture

3. Now, pour white vinegar, vanilla extract, vegetable oil and water. Mix well until the there are no lumps in the mixture. 

white vinegar, vanilla extract, vegetable oil, mixture


Cocoa Crazy Cake

4. Pour the above mixture into the prepared baking tray. Tap the tray for an bubbles trapped inside. Bake at 170 degree Celsius for 35 minutes. 

baking tray

5. Once its baked, remove it out of the oven to cool on a rack until its completely cooled before serving (Check if its baked by inserting a skewer at the center).

Step5_IMG_2880


Serving suggestion

+ Since I prefer less sweetness, plain was just perfect for me. Just like a brownie.

+ if you wish, topping it with a chocolate frosting gives it a rich flavor.

+ For a mid- afternoon snack


Note:

* Using  a smaller baking tray would turn it into a nice thicker cake.


Stay Healthy!


Read More

Baked and Spiced Chicken Thighs

This easy recipe of spicy baked chicken thighs could be very satisfying with any food that comes along with it. It is a healthy alternative to deep frying your chicken. My hubby loves this recipe. So, go ahead and satisfy that hungry belly.

Preparation time: 2 minutes

Cook time: 30 minutes

Ingredients

De-skin Chicken thighs – 2

Ginger-Garlic paste – 1 1/2 tsp

Turmeric powder – 1/8 tsp

Salt – 3/4 tsp

Red chili powder – 1/2 tsp

Cumin powder – 1/2 tsp

Garam masala powder – 1/2 tsp

Paprika powder – 1/2 tsp

Coriander powder – 1 tsp

Pepper powder –  1/4 tsp

Lemon – 2 thin slices ( or add 1 tbsp vinegar to the marinade )


Directions

Marinating the chicken 2 – 3 hrs in advance or stored overnight in the fridge would let the chicken absorb all the spices for an enhanced flavor before baking it.

1. Make small cuts on the thighs.

Step1_IMG_3172

2. Prepare the paste for the marinade in a small bowl with all of the spices and some water mentioned under ingredients.

cumin, red chili, coriander, garam masala, paprika, turmeric, ginger-garlic, salt

3. Using your fingers, marinate the chicken.

chicken thighs, marinade, pepper

4. Place the thighs in the baking tray and rub some olive oil on the chicken. Bake  at 200 degree Celsius (390 degree F) for half an hour  or until its nicely roasted and cooked.

baking tray, chicken thighs, lemon, olive oil

Spicy baked chicken thighs are ready.

chicken thighs, cooked, baked, roast


Note:

* If it is too spicy add some lemon or lime to neutralize it.


Stay Healthy!


Read More