For decades, my secret weapon for a quick, delicious vegetarian meal has been chickpea curry. Chickpeas, also known as garbanzo beans, are a type of legume that is widely cultivated for its edible seeds. They are one of the most popular and nutritious plant-based foods, commonly used in various cuisines worldwide. It’s perfect when I’m short on time but craving something hearty and flavorful.

Chickpea curry comes together with just a handful of basic spices. A splash of whipping cream creates a luxuriously creamy texture. This makes it absolutely perfect to enjoy with fresh bread. You can either cook the chickpeas yourself. Alternatively, pick up a jar of ready-cooked chickpeas. These are known as Kichererbsen in German and can be bought from the bigger supermarkets.
I always keep a stash of uncooked chickpeas ready to go. When I’m planning meals for the week, I soak them for a few hours. Then, I use my amazing mini pressure cooker to have them perfectly cooked in under 10 minutes.
Cooking Chickpeas
How to cook Chickpeas?
- Rinse and Soak:
- In a large bowl, rinse the chickpeas in cold water.
- Cover them with plenty of water. Make sure the water level is about 2-3 inches above the chickpeas as they will expand.
- Soak for at least 8 hours or overnight
- For quick method: bring chickpeas and water to a boil for 1-2 minutes. Remove from heat, and let it sit for 1 hour.
- Drain:
- Drain the soaked chickpeas
- Cook:
- Place the chickpeas in a large pot or a pressure cooker.
- Add water until it’s 2 inches above the level of chickpeas. Also, add 1 teaspoon of salt.
- Cover the pressure cooker with the lid and pressure regulator.
- Cook on high until you hear 3 whistling sounds.
- Turn off the heat and set aside the pressure cooker until all the pressure has dissipated on its own.
- If using a pot: Once boiling, reduce heat to low. Cover the pot and let the chickpeas simmer for about 1 hour. Simmer until tender. Check them periodically and add more water if needed to keep the chickpeas submerged.
- Check for Doneness:
- Taste for tenderness. They should be soft but not mushy. IF they are not done, continue simmering for 10-15 minutes.
Tips:
- Storage:
- After cooking, chickpeas can be refrigerated for up to 5 days or frozen for up to 3 months.

For more vegetarian recipes
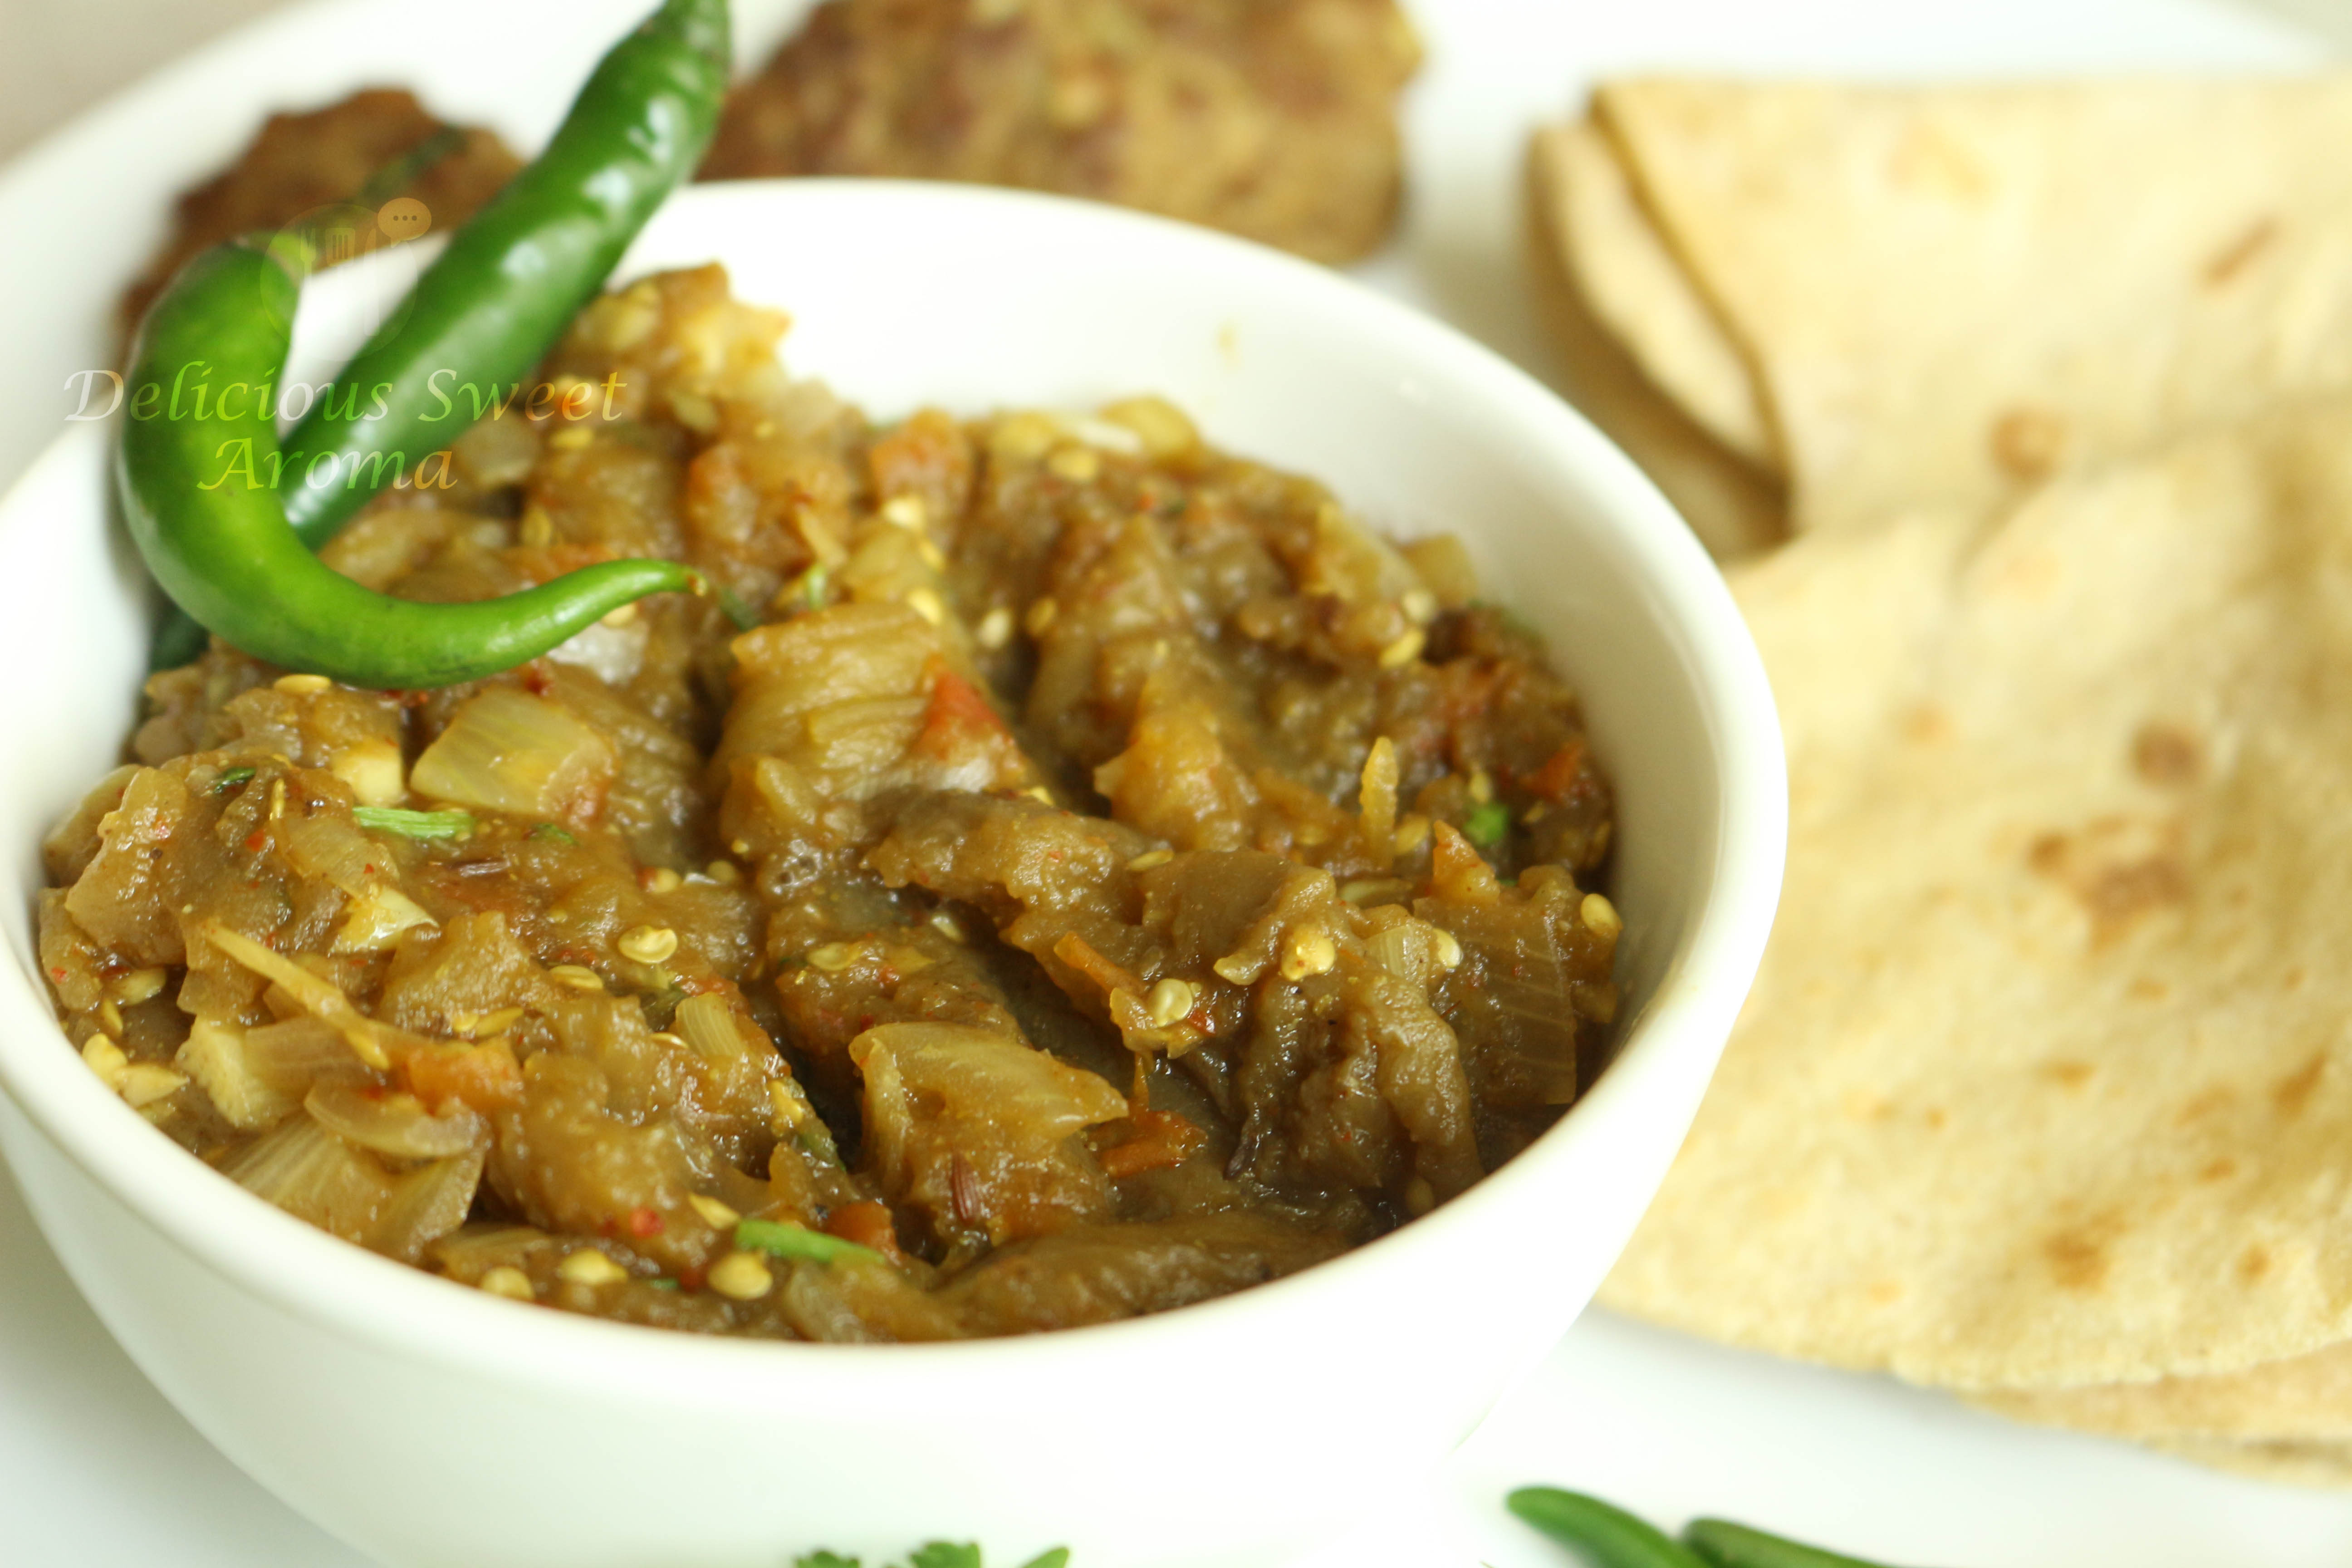
Baingan Barta – Eggplant recipe

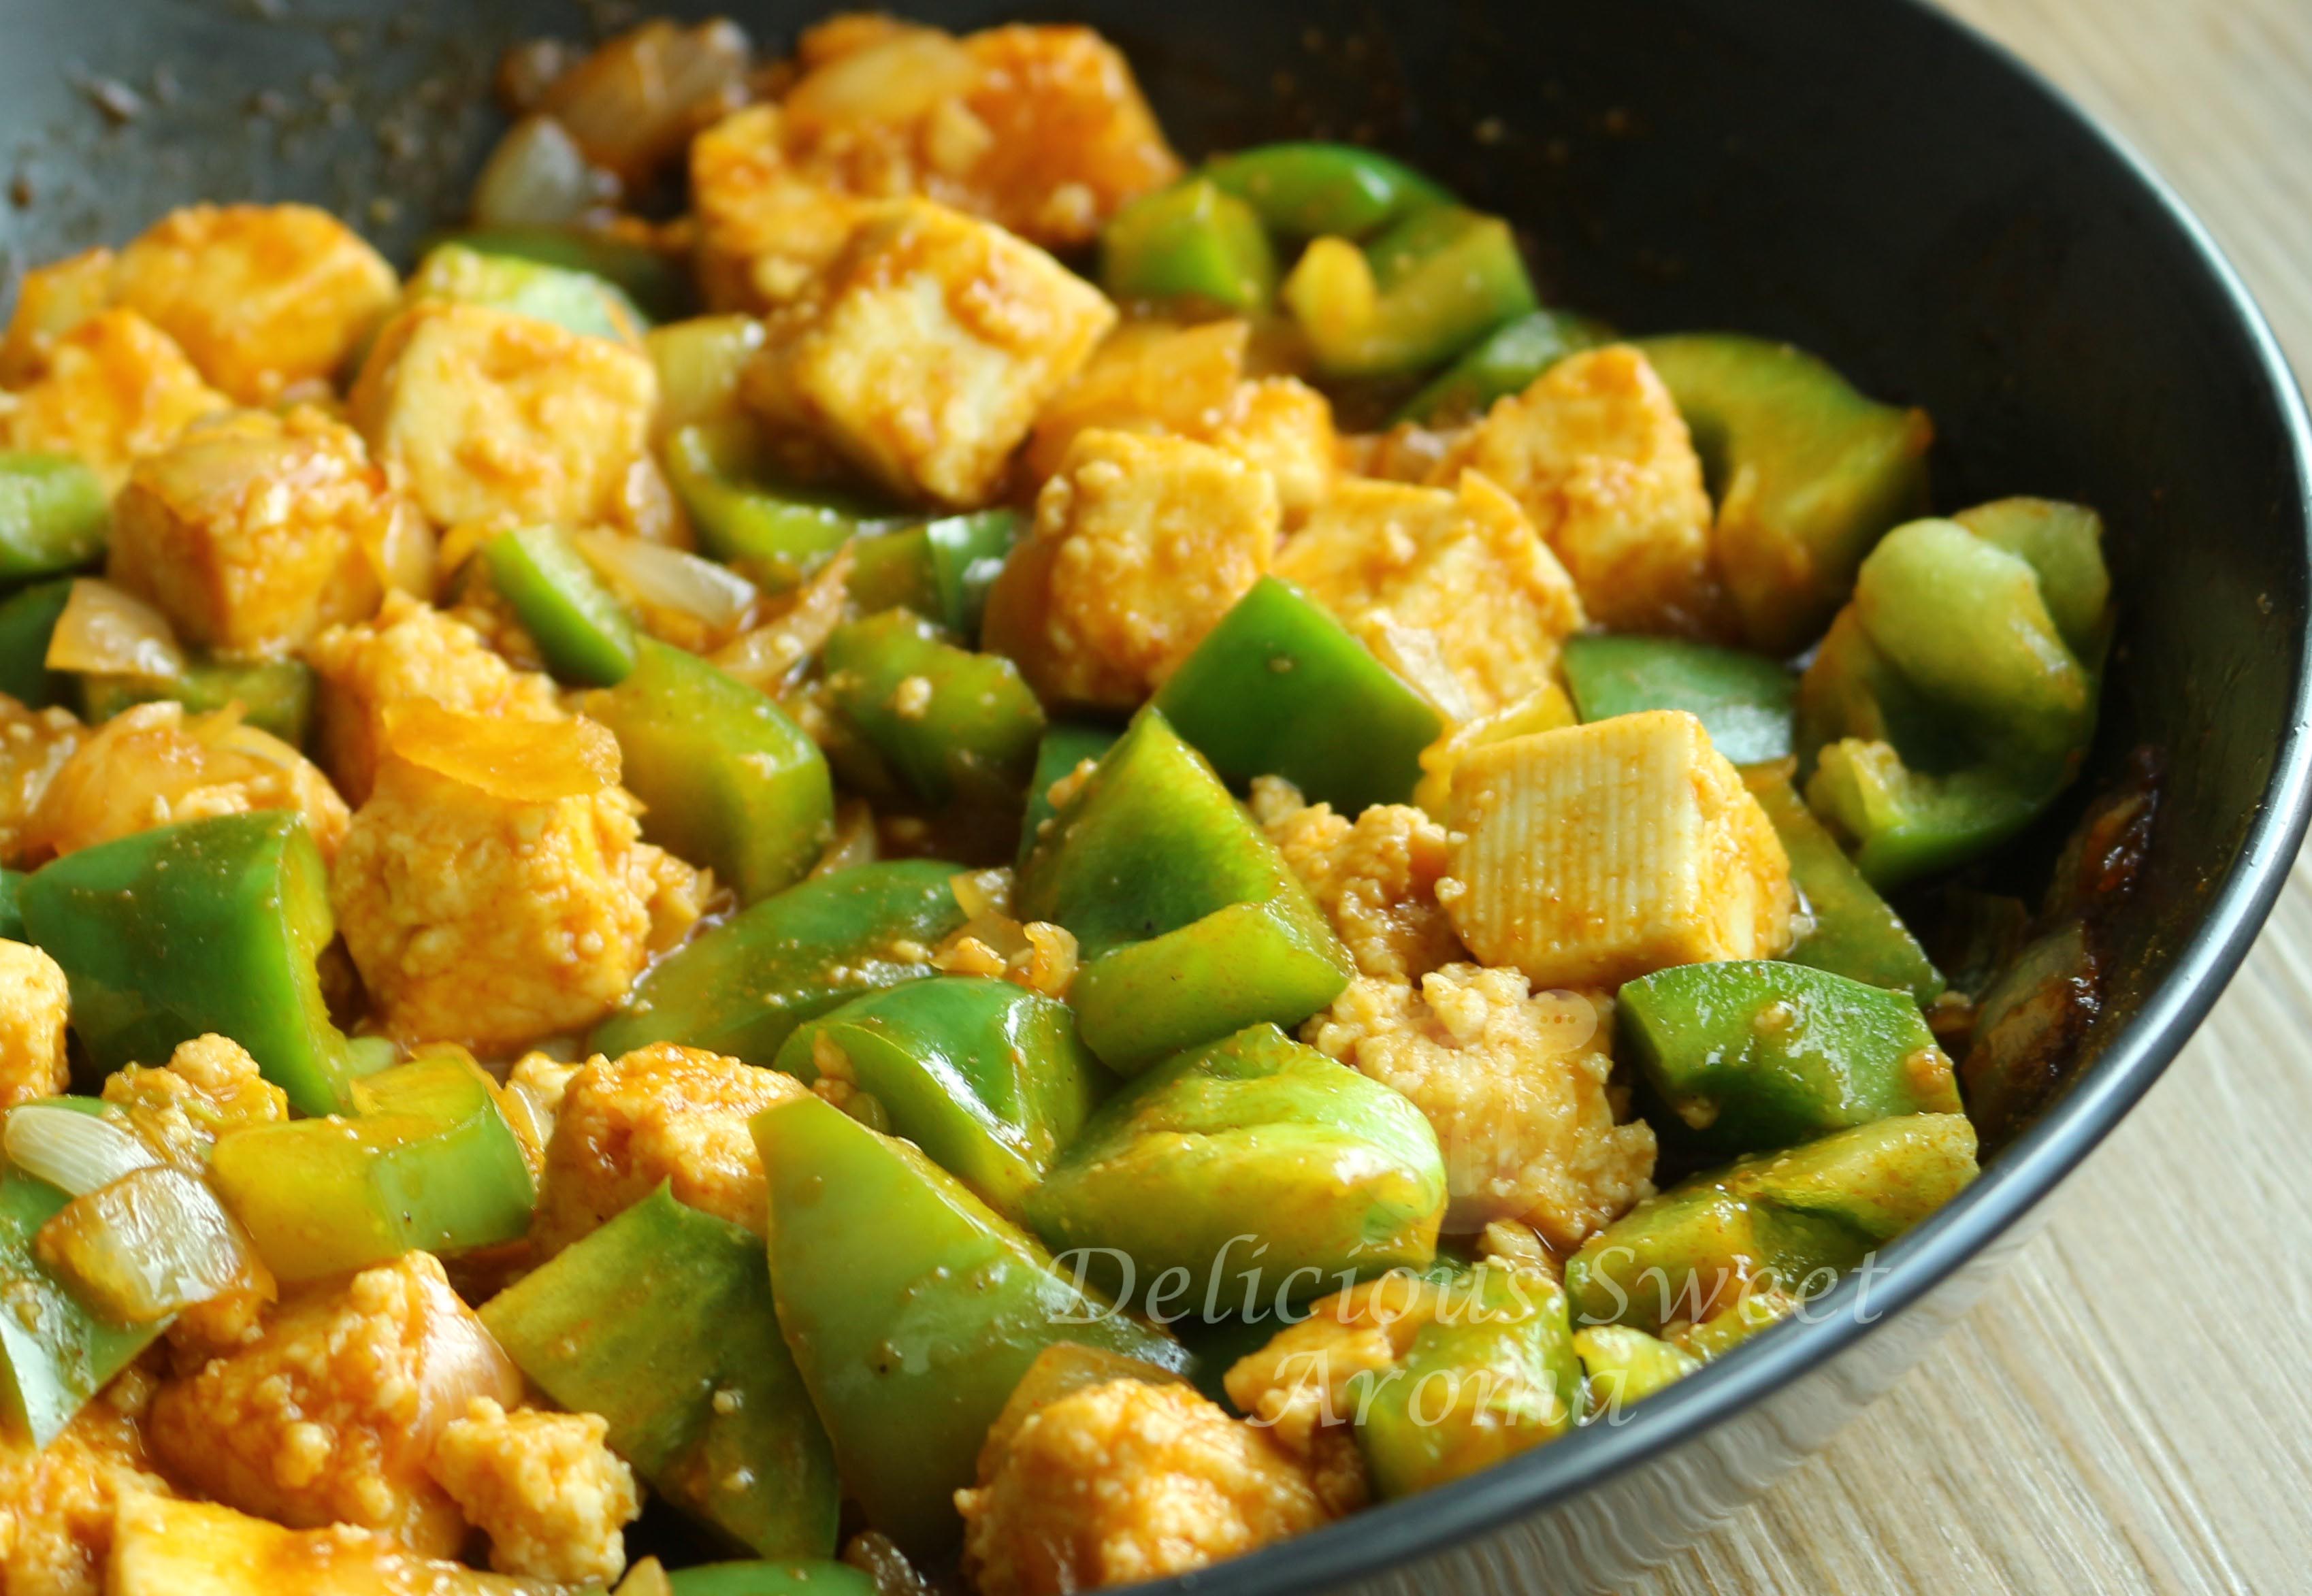
Creamy Chickpea Curry
Equipment
- 1 Pressure cooker optional
Ingredients
- 1 cup chickpeas or cooked chickpeas or garbanzo beans
- 2 tbsp Olive Oil
- 1 medium onion thinly diced
- 3 cloves garlic minced
- 1 tsp garam masala
- 1 tsp turmeric powder
- 1 tsp coriander powder
- 1 tsp chili powder as required
- 1 tsp vegetable powder optional
- 100 ml tomato paste or 2 large fresh tomatoes, chopped
- 2 tbsp lime
- salt as per taste
- 150 ml whipping cream / Schlag sahne (as required)
- 2 tbsp light soya sauce
- 1 tsp brown sugar /maple syrup
- Fresh coriander for garnish
Instructions
- Heat the 2 tbsp olive oil in a large pan over medium hear
- Add the onions and saute until they are golden brown.
- Add minced garlic and saute for a minute.
Add Spices
- Add 1 tsp of garam masala, turmeric, coriander, chili powder and vegetable powder (if available) to the pan.
- Stir well to combine and cook for 1-2 minutes, allowing the spices to release their flavors.
Add Tomato paste
- Add the tomato paste and 2 tbsp lime juice for a touch of acidity. Stir and mix together.
- If using fresh tomatoes, add it to the pan and cook for 5 minutes till they break down.
- Pour in whipping cream and stir well.
Add Chickpeas
- Add the cooked chickpeas to the pan and stir in to coat with the spice mixture.
- Pour in soya sauce. Add sugar or maple syrup and salt to taste.
- Bring the curry to a gentle simmer and let it cook till it comes to a boil. Stir occasionally.
- Garnish the chickpea curry with fresh coriander.
- Serve hot with your favorite flatbread, rice or naan.