Author: Sherryl Andria

Onion Fritters / Onion Bhaji – Vegan

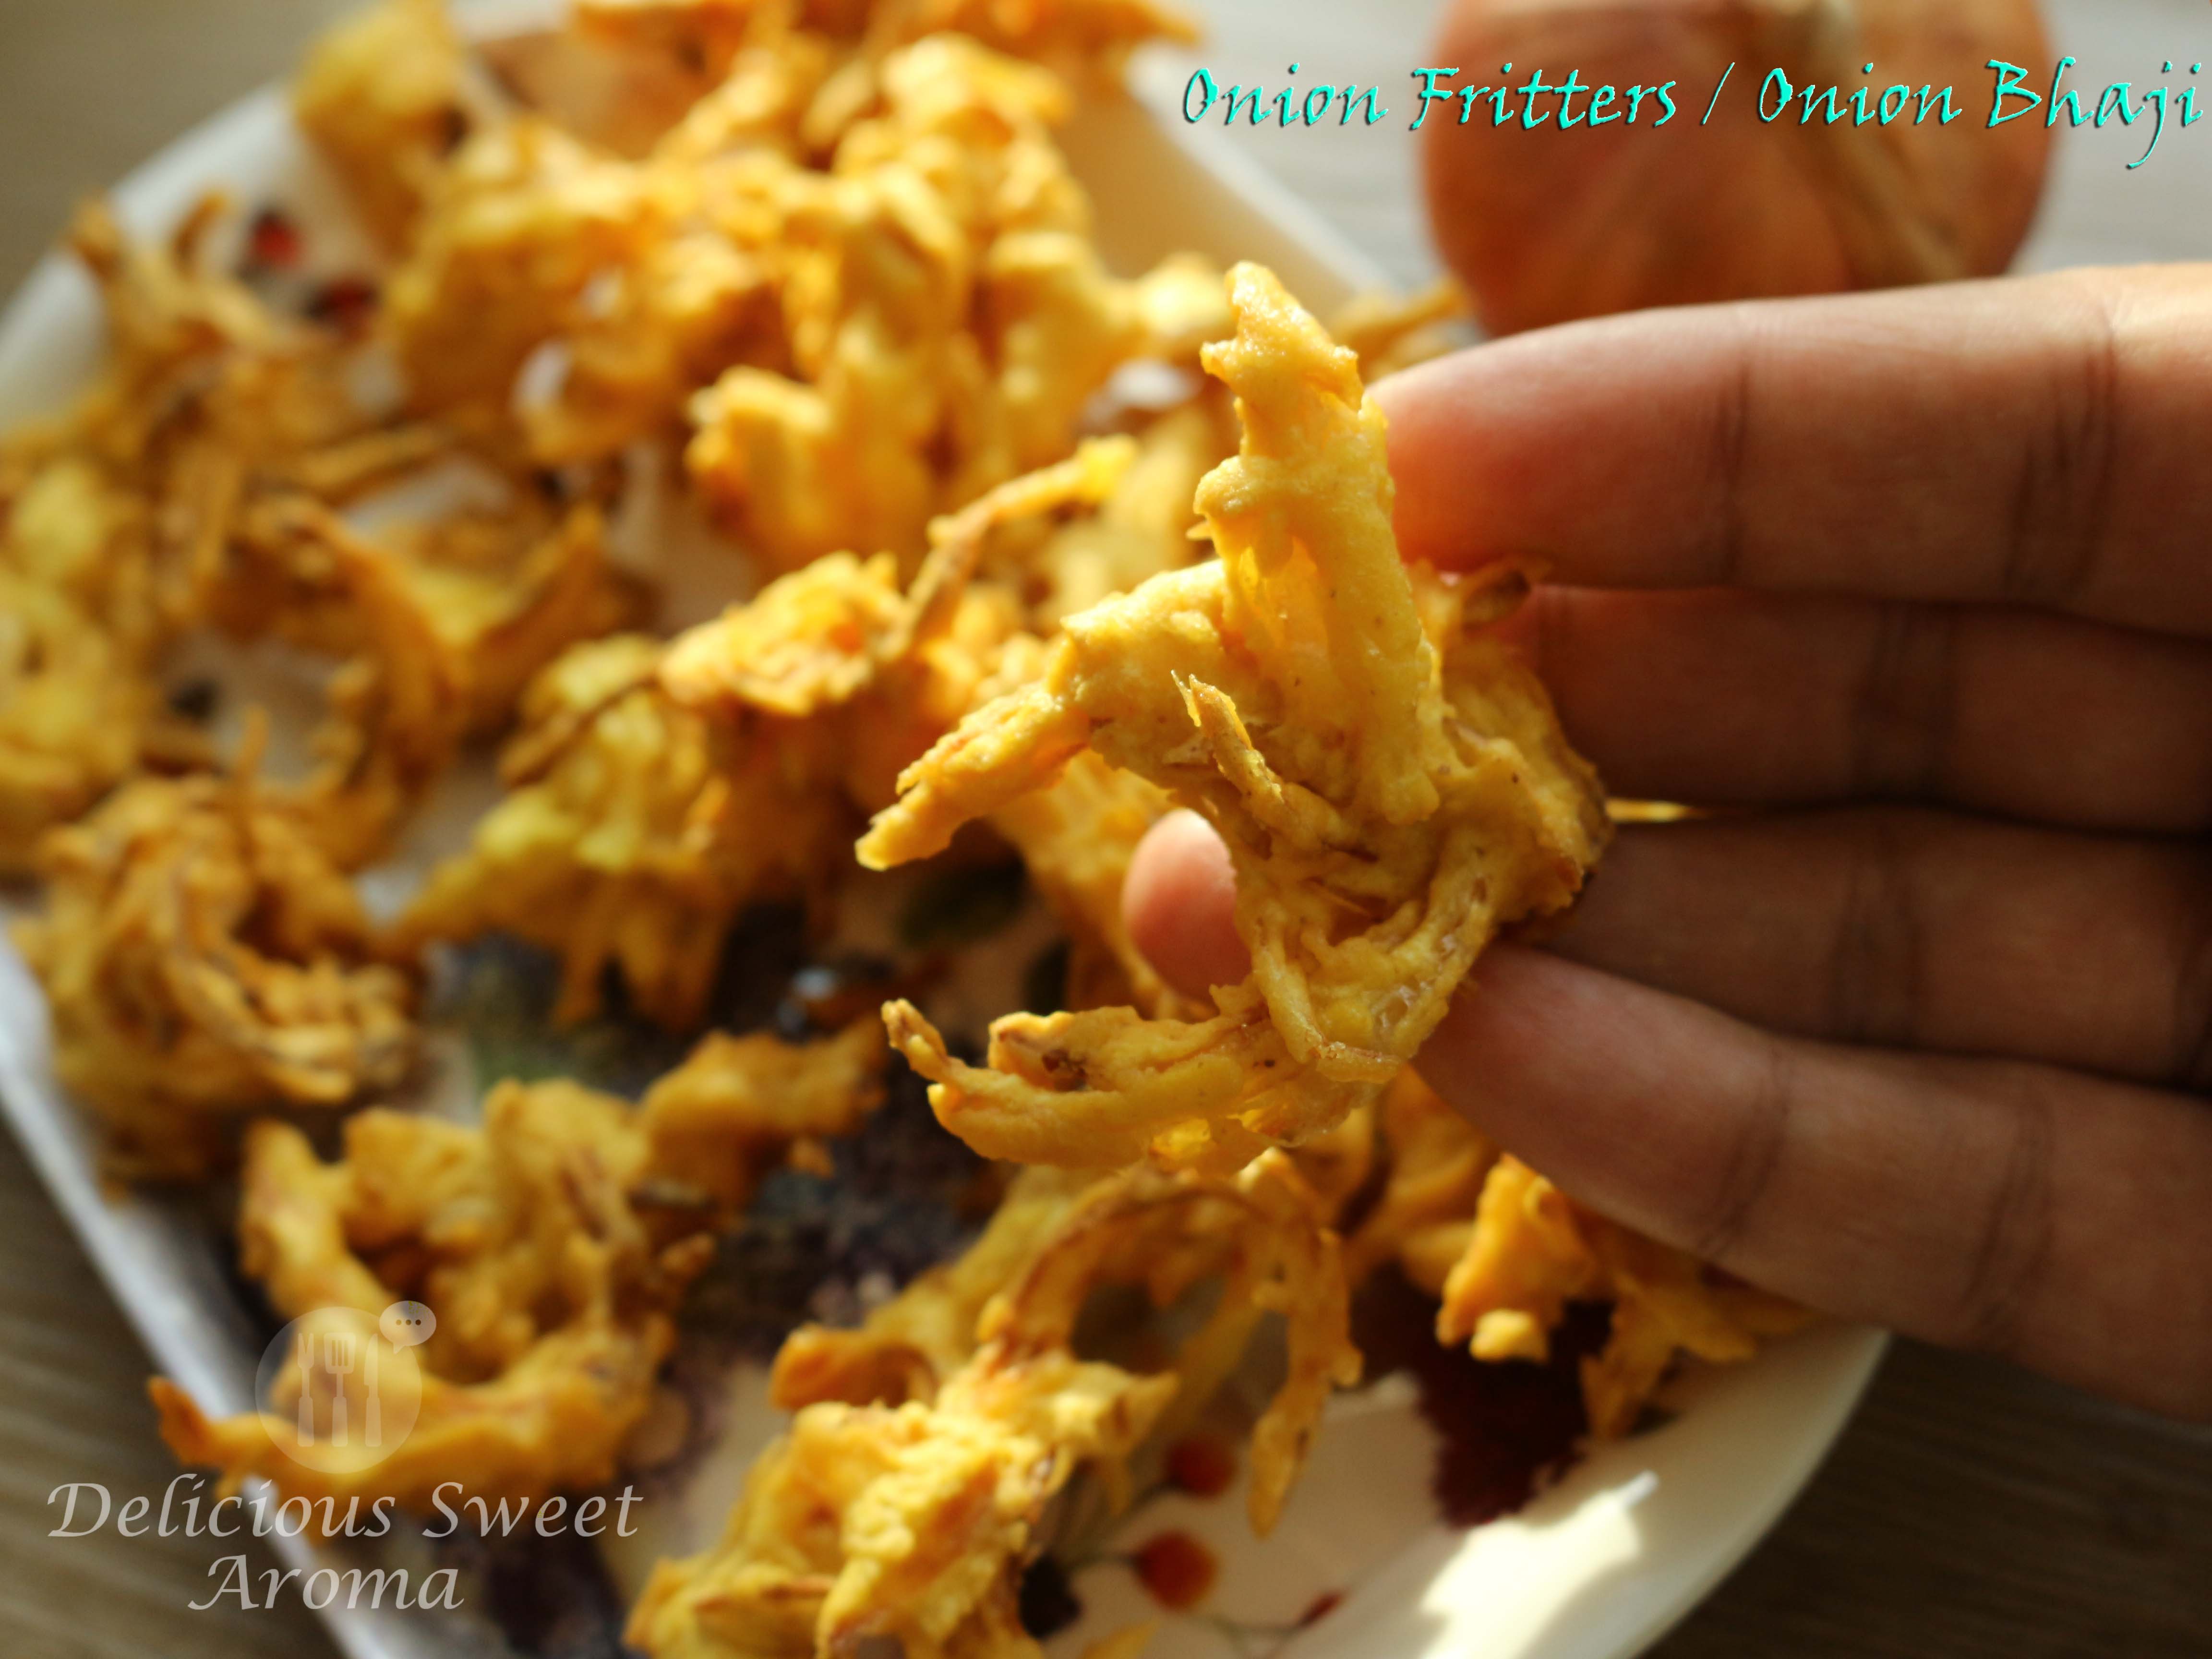
Quick and easy vegan recipe of crispy Onion fritters also known as Onion Bhaji in Indian cuisine, mainly served as a snack or starter before a main course. Its also sometimes named as pakora (fritter) which are deep-fried in a batter of chickpea flour.

I make this quiet often when we want to munch on snacks and this is quick to prepare during weekends. Most of the recipes call for many ingredients for Onion Bhaji and I made it super-quick for minimal prep and time in the kitchen.

Preparation time : 5 minutes

Cooking time: 10 minutes

Serves: 2

Ingredients

Vegetable oil for deep-frying

Onion – 1 medium, thinly sliced

Chickpea flour/ Gram flour / Besan – 1/2 cup / 70 g

Rice flour – 2 tbsp, for crispness

Water – 25 ml if required

Red chili powder – 1 tsp (optional)

Salt – 1/4 tsp


Directions

1. Peel and wash onion. Cut into thin slices.

2. Add chickpea flour or besan, rice flour, salt. Mix and coat together using your hands or spoon. It will turn sticky as onions release water while mixing. Do not add water yet until well mixed for half a minute.

Ingredients for Onion Fritter | Vegan Recipe | Delicious Sweet Aroma

Now you can add little water but not too much.

4. Heat oil in a deep-bottomed container of 2-inch. Drop the batter in small amounts as shown.

Frying Onions | Deep-fry | Delicious Sweet Aroma

5. Fry in batches for 2 minutes or until it changes color to light brown. Strain with a slotted spoon and place on kitchen paper towels.

Frying Onions | Vegan | Delicious Sweet Aroma

Onion Fritters or Baji | Vegan | Delicious Sweet Aroma

Serve hot with tea ☕ or any spicy dip. We have this quiet often in the evenings and by the time I’m done frying with my last batch they are almost over ☺. However, this time I managed to get a picture while my hubby patiently waited.

Onion Fritters or Onion Baji | Vegan Recipe | Delicious Sweet Aroma

A quick picture before crunching into them.

Onion Fritter | Vegan/Vegetarian Recipe | Delicious Sweet Aroma


You can pin it for later use. If you have tried it please share your views . I would like to hear your thoughts👇 ✍. Thank you for visiting my post.


For related recipes of fritters and Ingredients click below:

Goli Baje Recipe

Spicy Banana Pepper Fritters 🌶

Jackfruit Fritters

Banana Fritters 🍌


Stay Healthy!

Read More

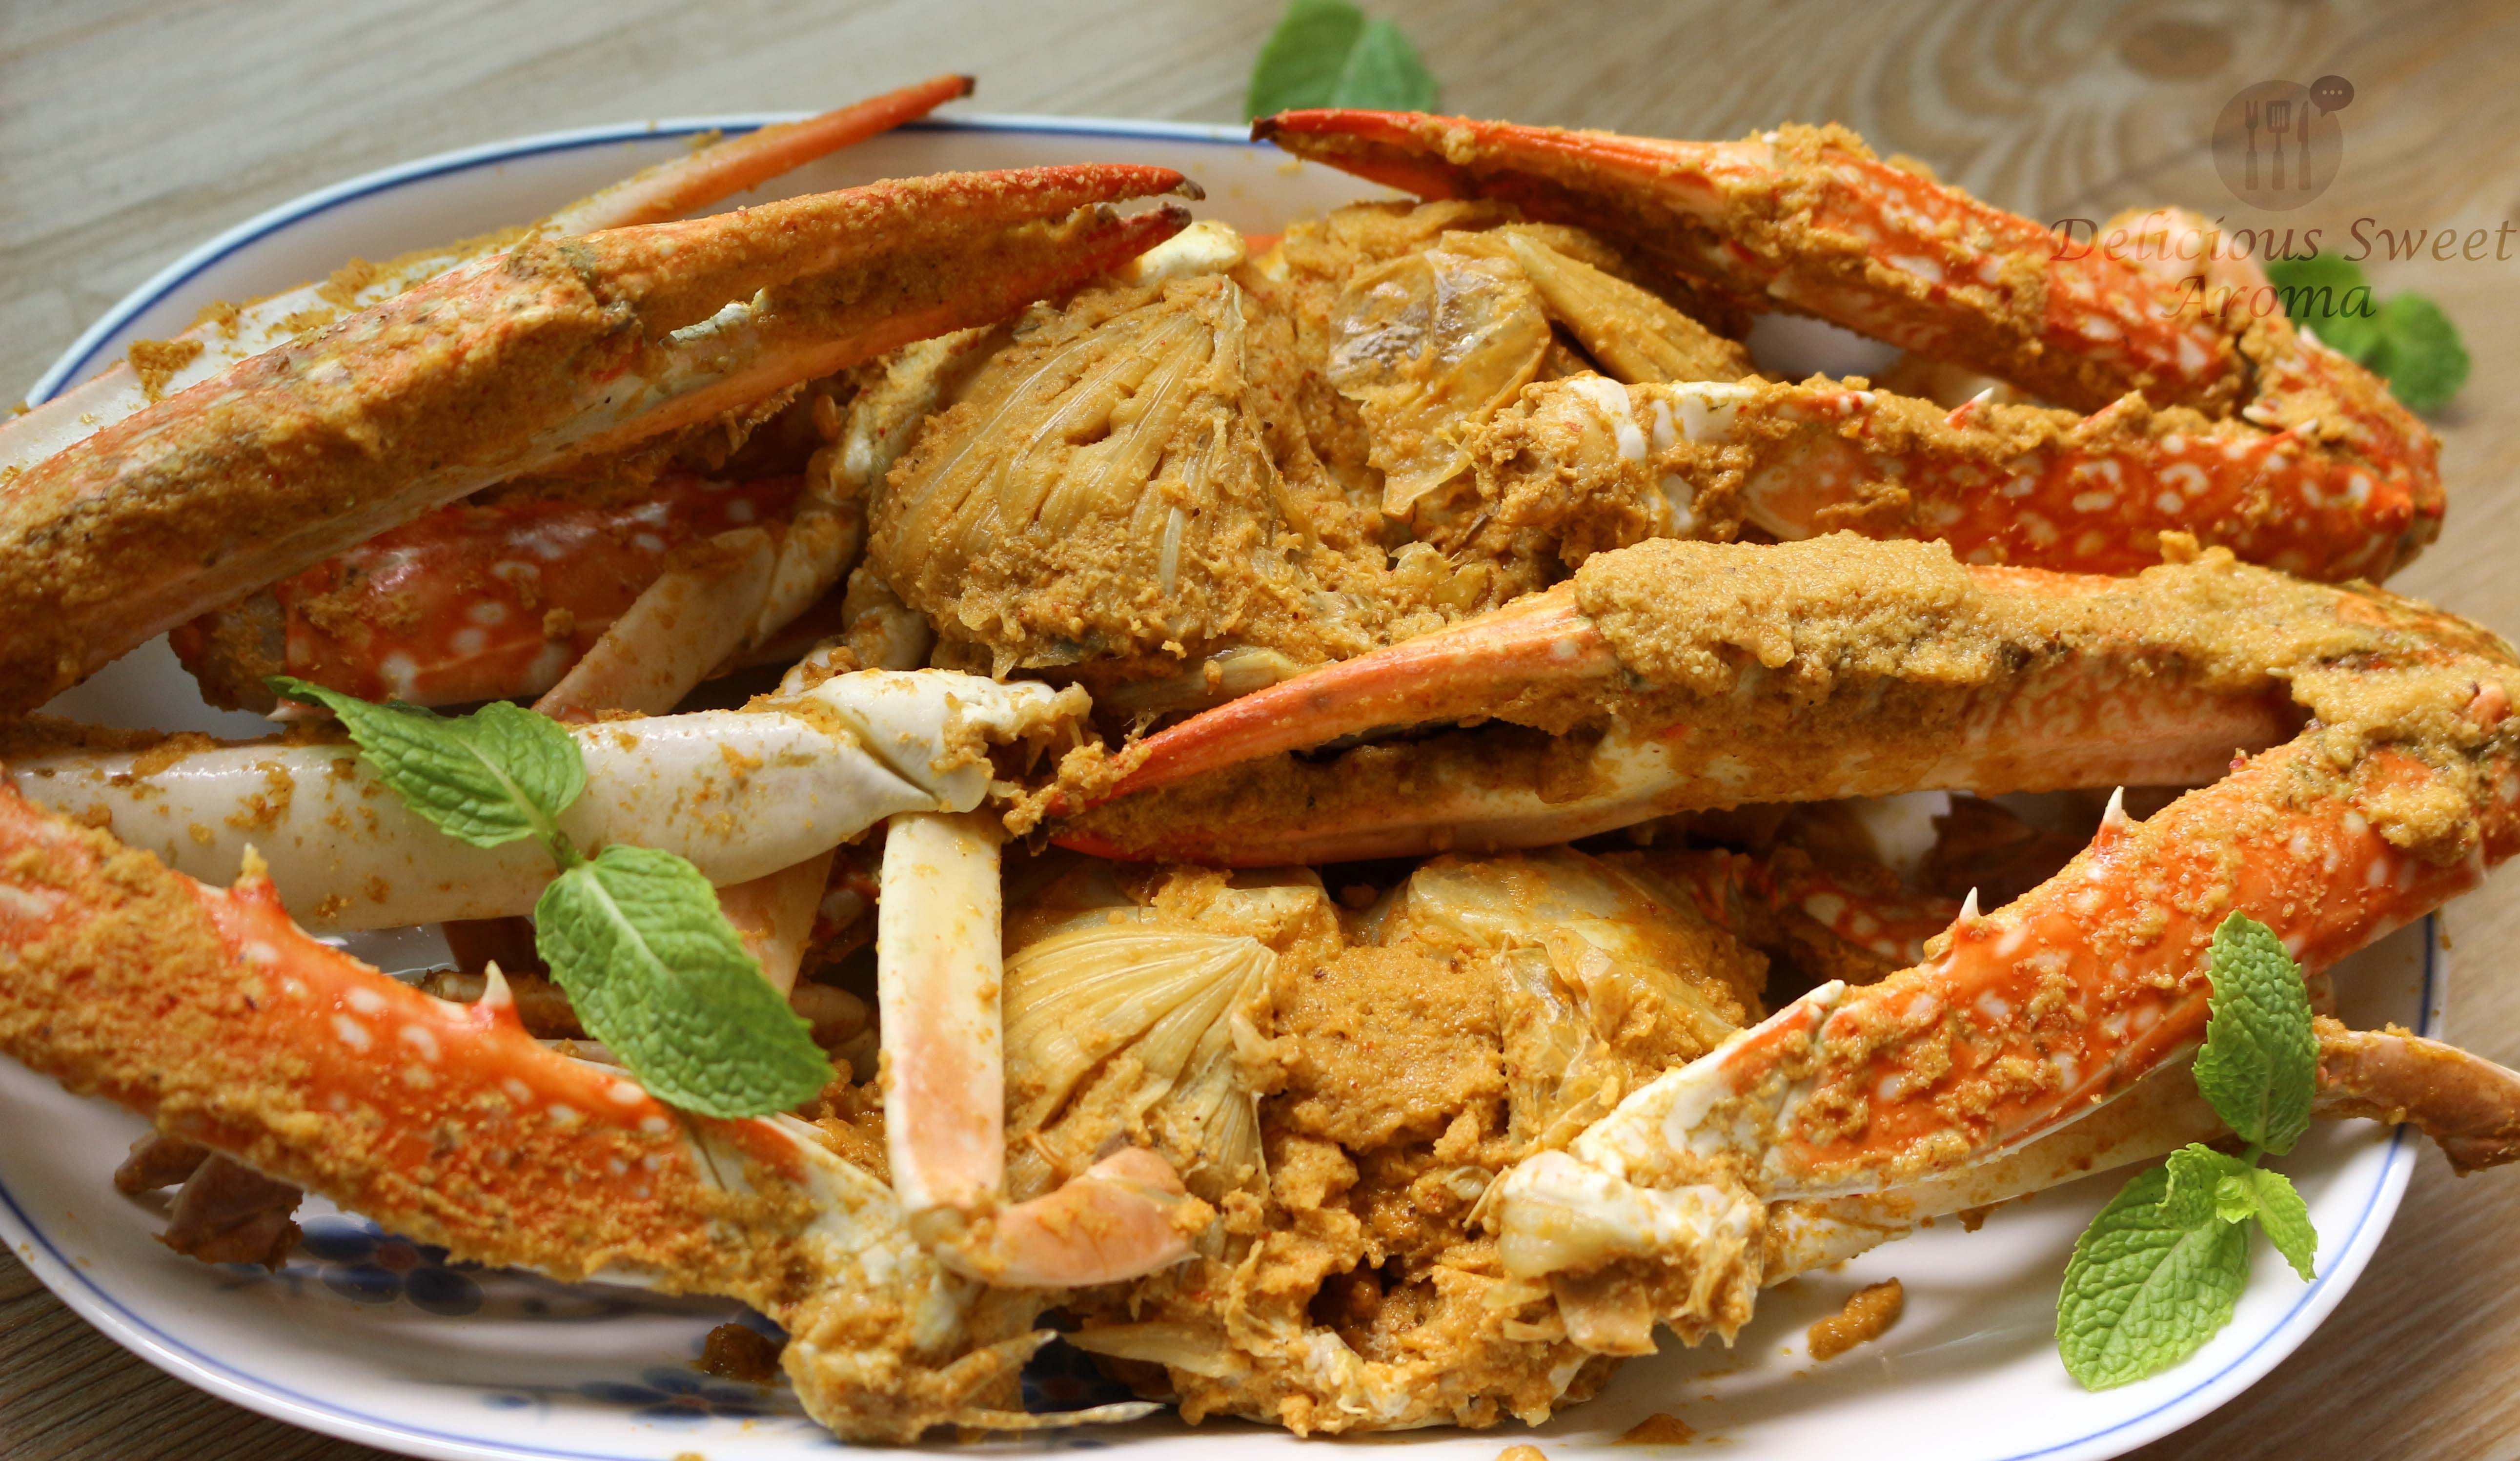
Flower Crab – Curry (Mangalorean Recipe)

I have been wanting to make these crabs for so long but always had something else planned for the weekend. I have never cooked crabs nor had the slightest idea what should be done if the crab is alive, neither did my husband. I told my husband: “My job is to cook the crab yours is to kill it” (fair enough right? 😜). So, on Sunday we finally managed to wake up a bit early with excitement to get fresh crabs from the wet market near us. Hoping they were still available at the market we happily found them at one of the stalls I intended to buy from. I was expecting the crabs to be alive but they were slightly cold when touched, mostly frozen when transported from the port I believe, tied with rubber bands not moving. Husband: “My job is done!” with a grin. We let the person at the stall pick the crabs for us as he was better at picking the fresh ones, 4 huge crabs for 22$.

The process of cleaning crabs takes less than 15 mins for 4 crabs. Prepare a curry paste and let the crabs cook in the spice paste for 20 minutes. You must definitely give it a try by referring to pictures below 👏. Happy cooking!

IMG_8198

Preparation time: 20 minutes

Cooking time: 20-25 minutes

Ingredients

Flower crabs 🦀 – 1.5 kg, 4 large size

Olive oil – 2 tbsp

Curry paste:

Grated coconut – 150 g / 1 1/2 cup

Red dry Kashmir chili – 6, medium long

Coriander seeds – 1 tbsp

Garlic cloves – 3

Cumin / Jeera seeds – 3/4 tsp

Mustard seeds – 1/4 tsp

Black peppercorns – 8 

Turmeric powder – 1/4 tsp

Medium Onion – 1/2, roughly chopped

Tamarind – tennis ball size, soaked in water 

IMG_8203


Directions

>> How to clean Flower Crabs? It’s easy!


1. Turn the crab upside down. Lift the flap and discard.

IMG_8207

2. Grab the bottom end in one hand and the upper end in the other. Lift the upper end of the shell and discard. Use a spoon to scoop out the soft roe (mostly in brown) out of them.

IMG_8209

3. Remove the gills (spongy brown stuff) on both sides of the crab. I didn’t know those were gills until after I cooked them and realized they were inedible.

Gills_IMG_8198

4. Using kitchen scissors ✂ cut the walking legs (with hair) and discard.

Crab legs

5. Remove the entire claw of each crab (to make space in the cooking pot).

IMG_8211

6. In the end give it a through rinse to remove all the inedible stuff. If your container doesn’t hold the crab body, cut them into halves.

The crab is all ready to be cooked now.


1. Prepare the curry paste by adding all the ingredients in a blender. Grind to a smooth paste with water.

2. Heat oil in a wide deep-bottomed container. Add the curry paste and 1.5 cups of water for consistency along with 1 tsp of salt.

IMG_8218

3. Add the crabs to coat with the paste enough to stick to the crabs. Cover and cook on medium-high heat for 20 minutes.

IMG_8219


In 20 minutes they are done! It reminded me of mom making this for us when we were kids.

IMG_8224

We served them in separate plates with a bowl of rice 🍚. Used our hands and teeth (or crab Cracker) to bite and suck the juices. They tasted delicious and flavorful 😋😍. When they are hot juices ooz out as you break them apart and the flesh can easily be sucked out.

IMG_8229


Even if you have never tried cooking crabs. This is still the BEST recipe for a beginner. I hope you enjoyed reading though the fun process of how to clean and cook a crab in this post.


Cook’s tip:

*For left over crabs store it in an airtight container in the freezer. Since seafood tends to go bad soon it’s best not to store it in the fridge.


Stay Healthy!


Read More

Coconut Shrimp Fry

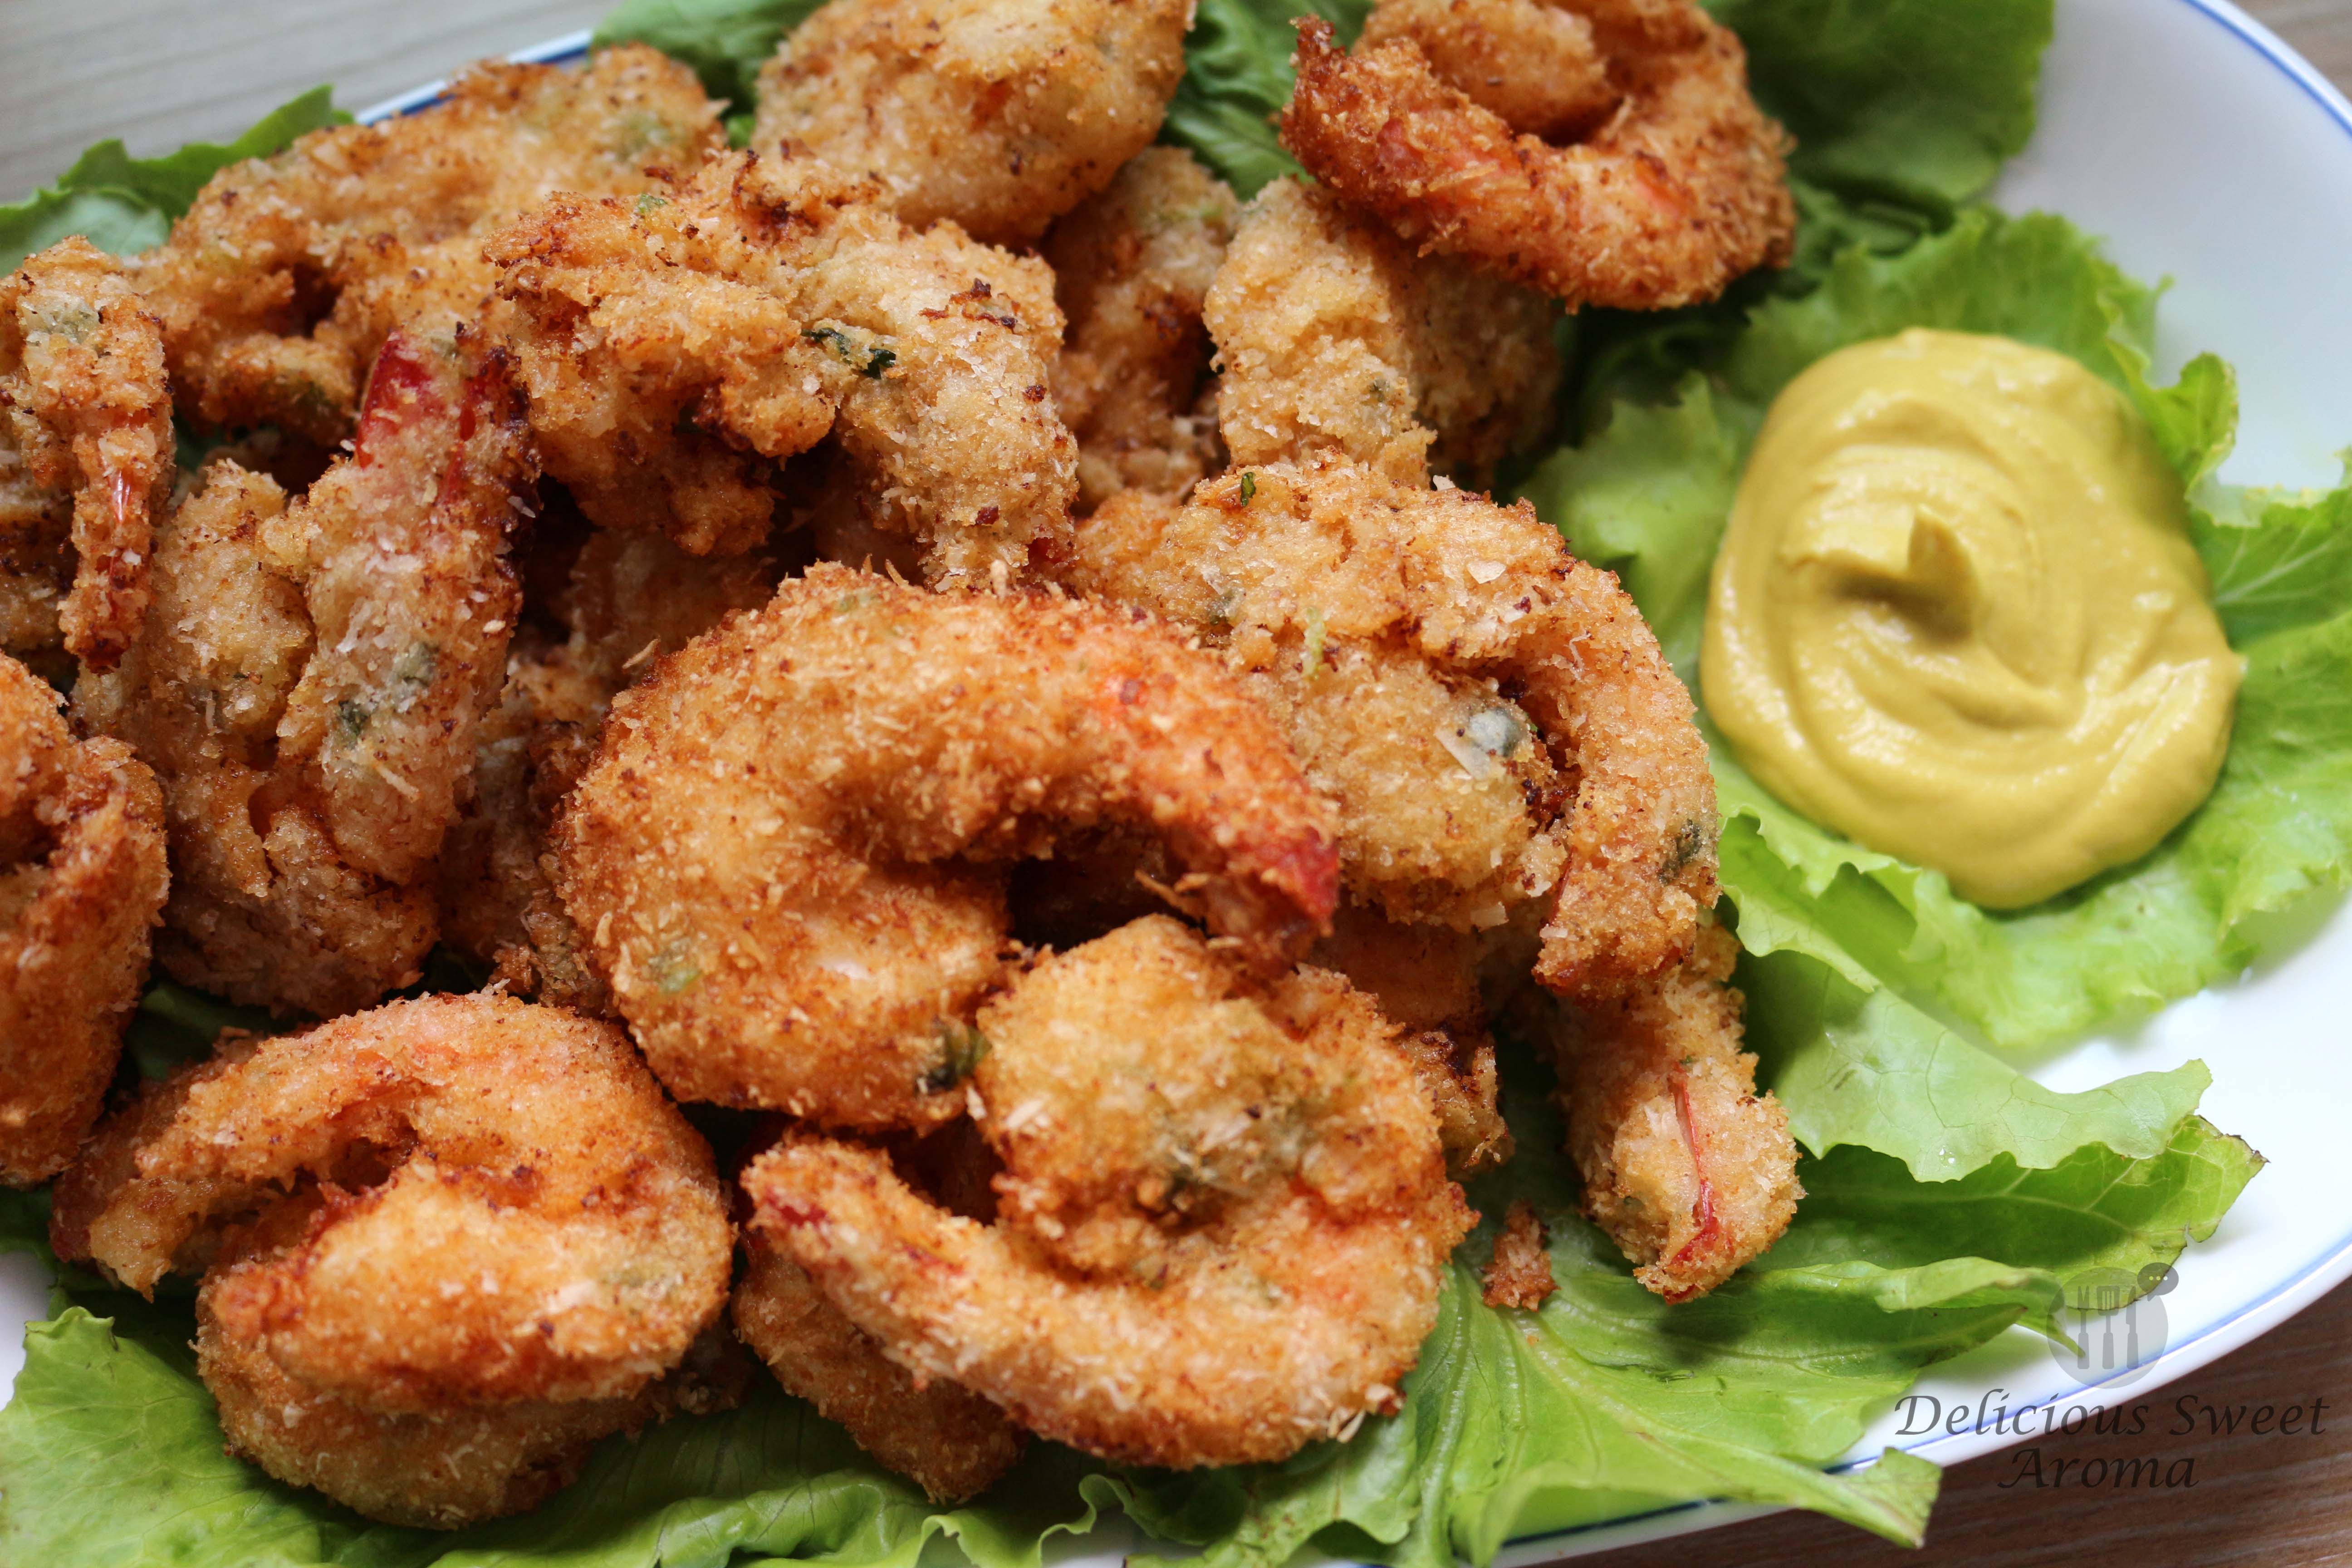
It’s been far too long since I’ve deep-fried food and had a crazy craving for some seafood. Shrimp fry with a lovely twist of coconut and breadcrumb mix was a great treat.

Coconut Shrimp Fry 🍤 has a delicious coating of sweetness and light crunch. Although I had fresh grated coconut I wanted to try out the dry desiccated coconut 🥥. It’s available in most supermarkets especially when fresh coconut is not available locally.

For the two of us it was a good amount of shrimps as a side. I prefer buying fresh shrimps than the pre-packed peeled ones as I am always not too sure how fresh they are.

Preparation time: 15 minutes(excluding marination & peeling)

Cooking time: 20 minutes


Ingredients

Shrimps medium large – 500 g (with shell), peeled with tail intact

Vegetable oil for deep-frying

Marinade

Coconut milk – 250 ml

Red chili powder – 1 tbsp

Coriander leaves – 3 stems, finely chopped

Oregano – 1 tsp

Salt – 1/2 tsp


Coating

All-purpose flour – 1 cup or as needed

Egg whites – 4 small, lightly whisked

Desiccated coconut (dry) – 3/4 cup

Breadcrumbs – 3/4 cup


Directions

1. In a medium bowl, mix the coconut milk, chili powder, oregano, salt, coriander leaves. Add the shrimps soaked in the mixture. Cover with plastic wrap and refrigerate for 1 hour.

After an hour, discard the marinade.

marination for shrimp fry with coconut milk and spices

2. Place flour in one plate, egg-whites in another with a pinch of salt and in the third place the coconut and breadcrumb mixture (equal portions of both).

Coat the shrimps first in flour, remove excess flour. Dip it in egg white and then coat it with coconut-breadcrumb mixture.

Shrimp coating for deep-frying

3. In a large deep-frying pot, pour enough oil at a depth of 2 inches. Heat at a temperature by testing the oil.

Fry in batches, add coated prawns to hot oil turn side in 2 mins and fry until it changes color or cooked through. Do not overload the pot while frying.

Deep-Fried coconut shrimp recipe | Hungry?! That's what I made!

Serve with any sauce of your choice. We had it with a quick dip of yellow mustard sauce.

Coconut Shrimp Fry Recipe | Delicious Sweet Aroma

Coconut Shrimp Fry


More recipes on Seafood hover on the recipe and click below:

Garlic Shrimp Fry

Prawn Fried Rice Recipe

Squid with Coconut Milk


For any updates on this page or website please follow the Fb page ➡www.facebook.com/delicioussweetaroma/


If you like my page I am looking forward to hear your views on my recipes ✍ 😇. Wishing you a lovely weekend🌞. Stay Healthy!


Read More

Sweet Pulav – Rice Recipe

Pulao or Pulav is a delicately flavored rice. It is lightly toasted in Ghee and then cooked in spices like cloves and cinnamon. There are different variations of making a pulav in Indian Cuisine with assorted veggies.

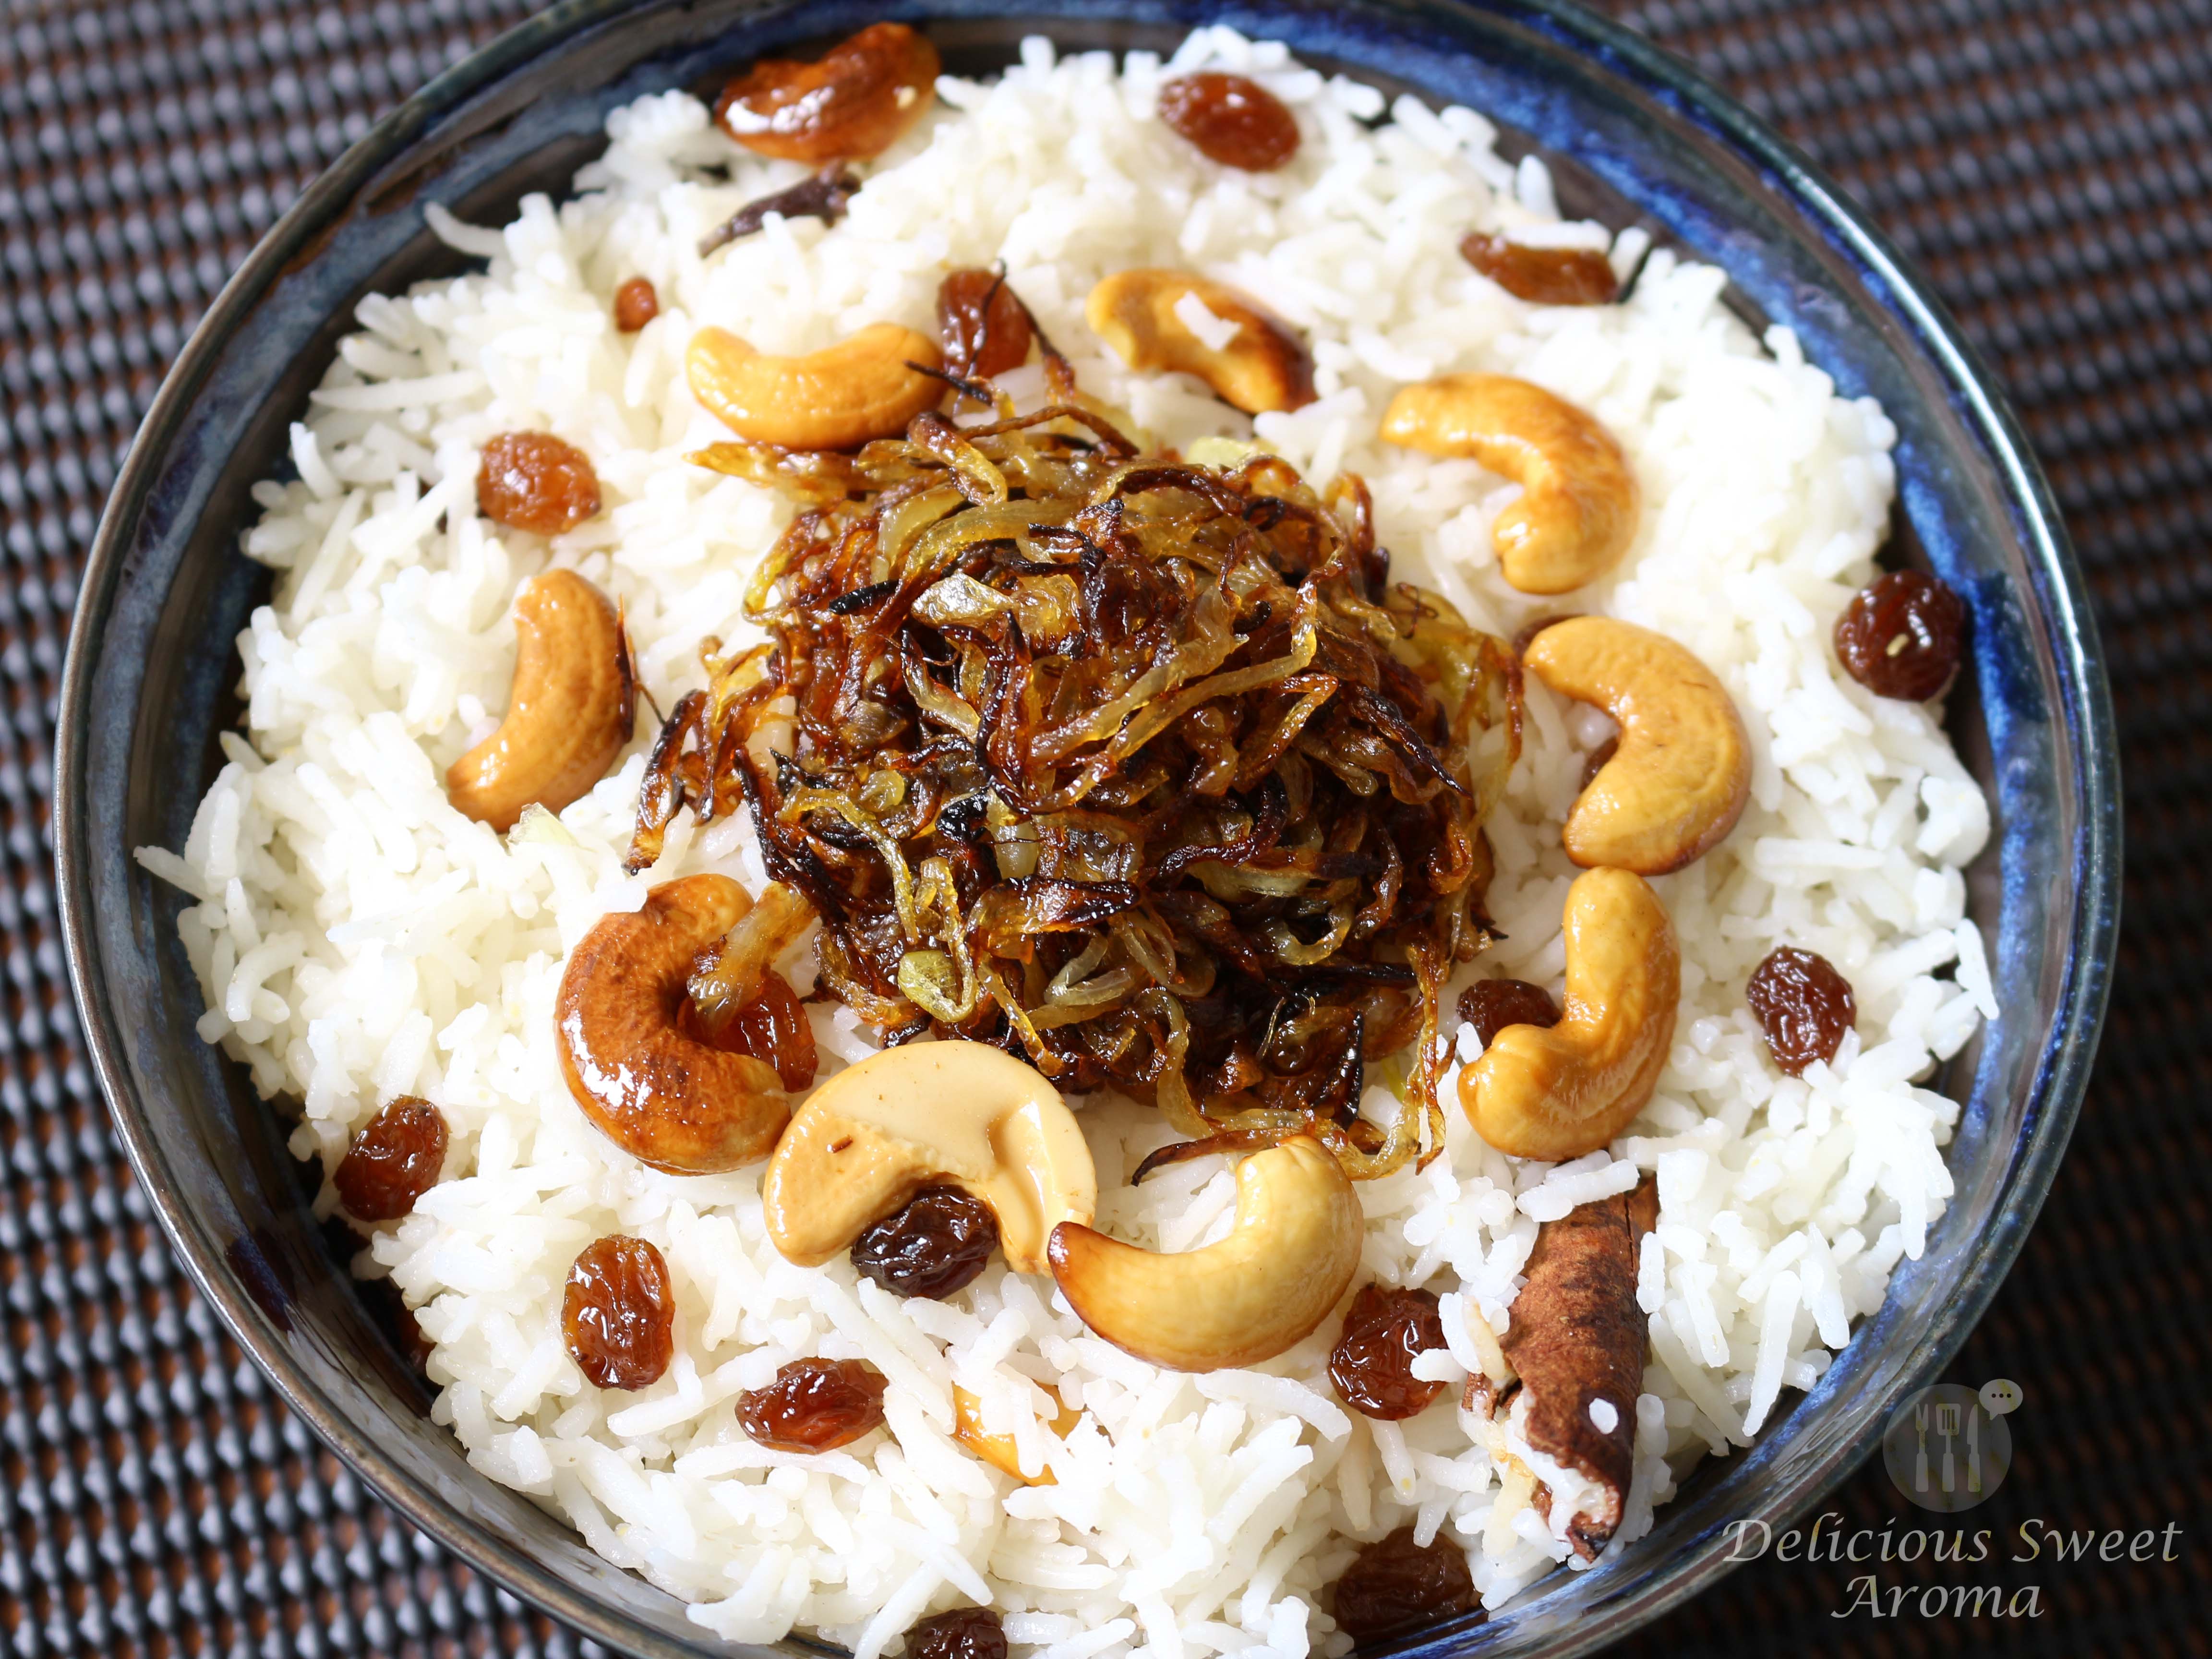
Sweet Pulav is mainly served during occasions in Mangalore. The main flavor of this dish comes from the gorgeous golden brown onions. Adding raisins and cashew nuts provides a pleasing crunch and flavor. Mangalorean weddings often have this served with beetroot+raisin or date chutney for a traditional taste.


Preparation time: 10 minutes

Cooking time: 45 minutes

Serves: 4


Ingredients

Basmati rice – 1 cup

Salt – 1/2 tsp

Caster Sugar – 3 tbsp

Ghee/olive oil – as required (see directions)

Onions – 1 large, thinly diced

Raisins – 1/4 cup, soaked in 1/2 cup  warm water (15 mins)

Cashews – 1/4 cup, slit at the center

Cloves – 4 pieces

Cinnamon stick – 1

Water – double the quantity of rice


Directions

Soak the raisins in warm water for 10-15 mins. Drain and dry with a kitchen towel.

1. Frying Cashews, Raisins and Onions separately and setting aside in one plate.

Toss the cashews in 1 tbsp ghee and fry on high heat in a frying pan until its lightly toasted. Set it aside.

Cashew-nut | Toasted

Toss in raisins in the same pan with ghee, they will have plumped up. Set aside.

Raisin | Toasted for Pulao Recipe

Toss the onions in the same pan, add 1 more 1 tbsp of ghee and stir-fry on medium-high heat. Keeping eyes on them, they must turn dark golden brown and not black or burnt. This might take a while. Also, avoid tossing them too much.

The Onion | Fried for Rice Recipe | Delicious Sweet Aroma


2. In the same frying pan add the rice and toast it lightly with 2 tbsp ghee or oil. Transfer to a large pot.

Toasting Basmati RIce | Rice Recipe

3. Add cinnamon, cloves, salt and sugar. Pour 2 cups of water. It must be at-least 1 inch above the rice level. Cook on medium heat and bring to a boil. Keeping an eye, cover and cook until the rice is tender.

Basmati Rice | Aromatic | Delicious Sweet Aroma

4. Garnish with the fried onions, raisins and cashews.

Garnish food | Rice Recipe | Delicious Sweet Aroma

Serve hot with any curry dish.

Sweet Pulao Recipe | Mangalorean Recipe | Delicious Sweet Aroma


Sweet Rice Recipe / Sweet pulao Recipe | Delicious Sweet Aroma


Cooks tip:

*To obtain a caramelized texture of onions add enough ghee or oil. Wider the space faster is the frying process for larger portions. Keep stirring every minute for even browning.


Thank you for your likes and comments. For related rice recipe please click the recipe below. I have a few rice recipes which I prepare occasionally at home that saves a lot of time. When I have taken pictures of them will be sure to post it here and share.


Stay Healthy! 🙂
Read More

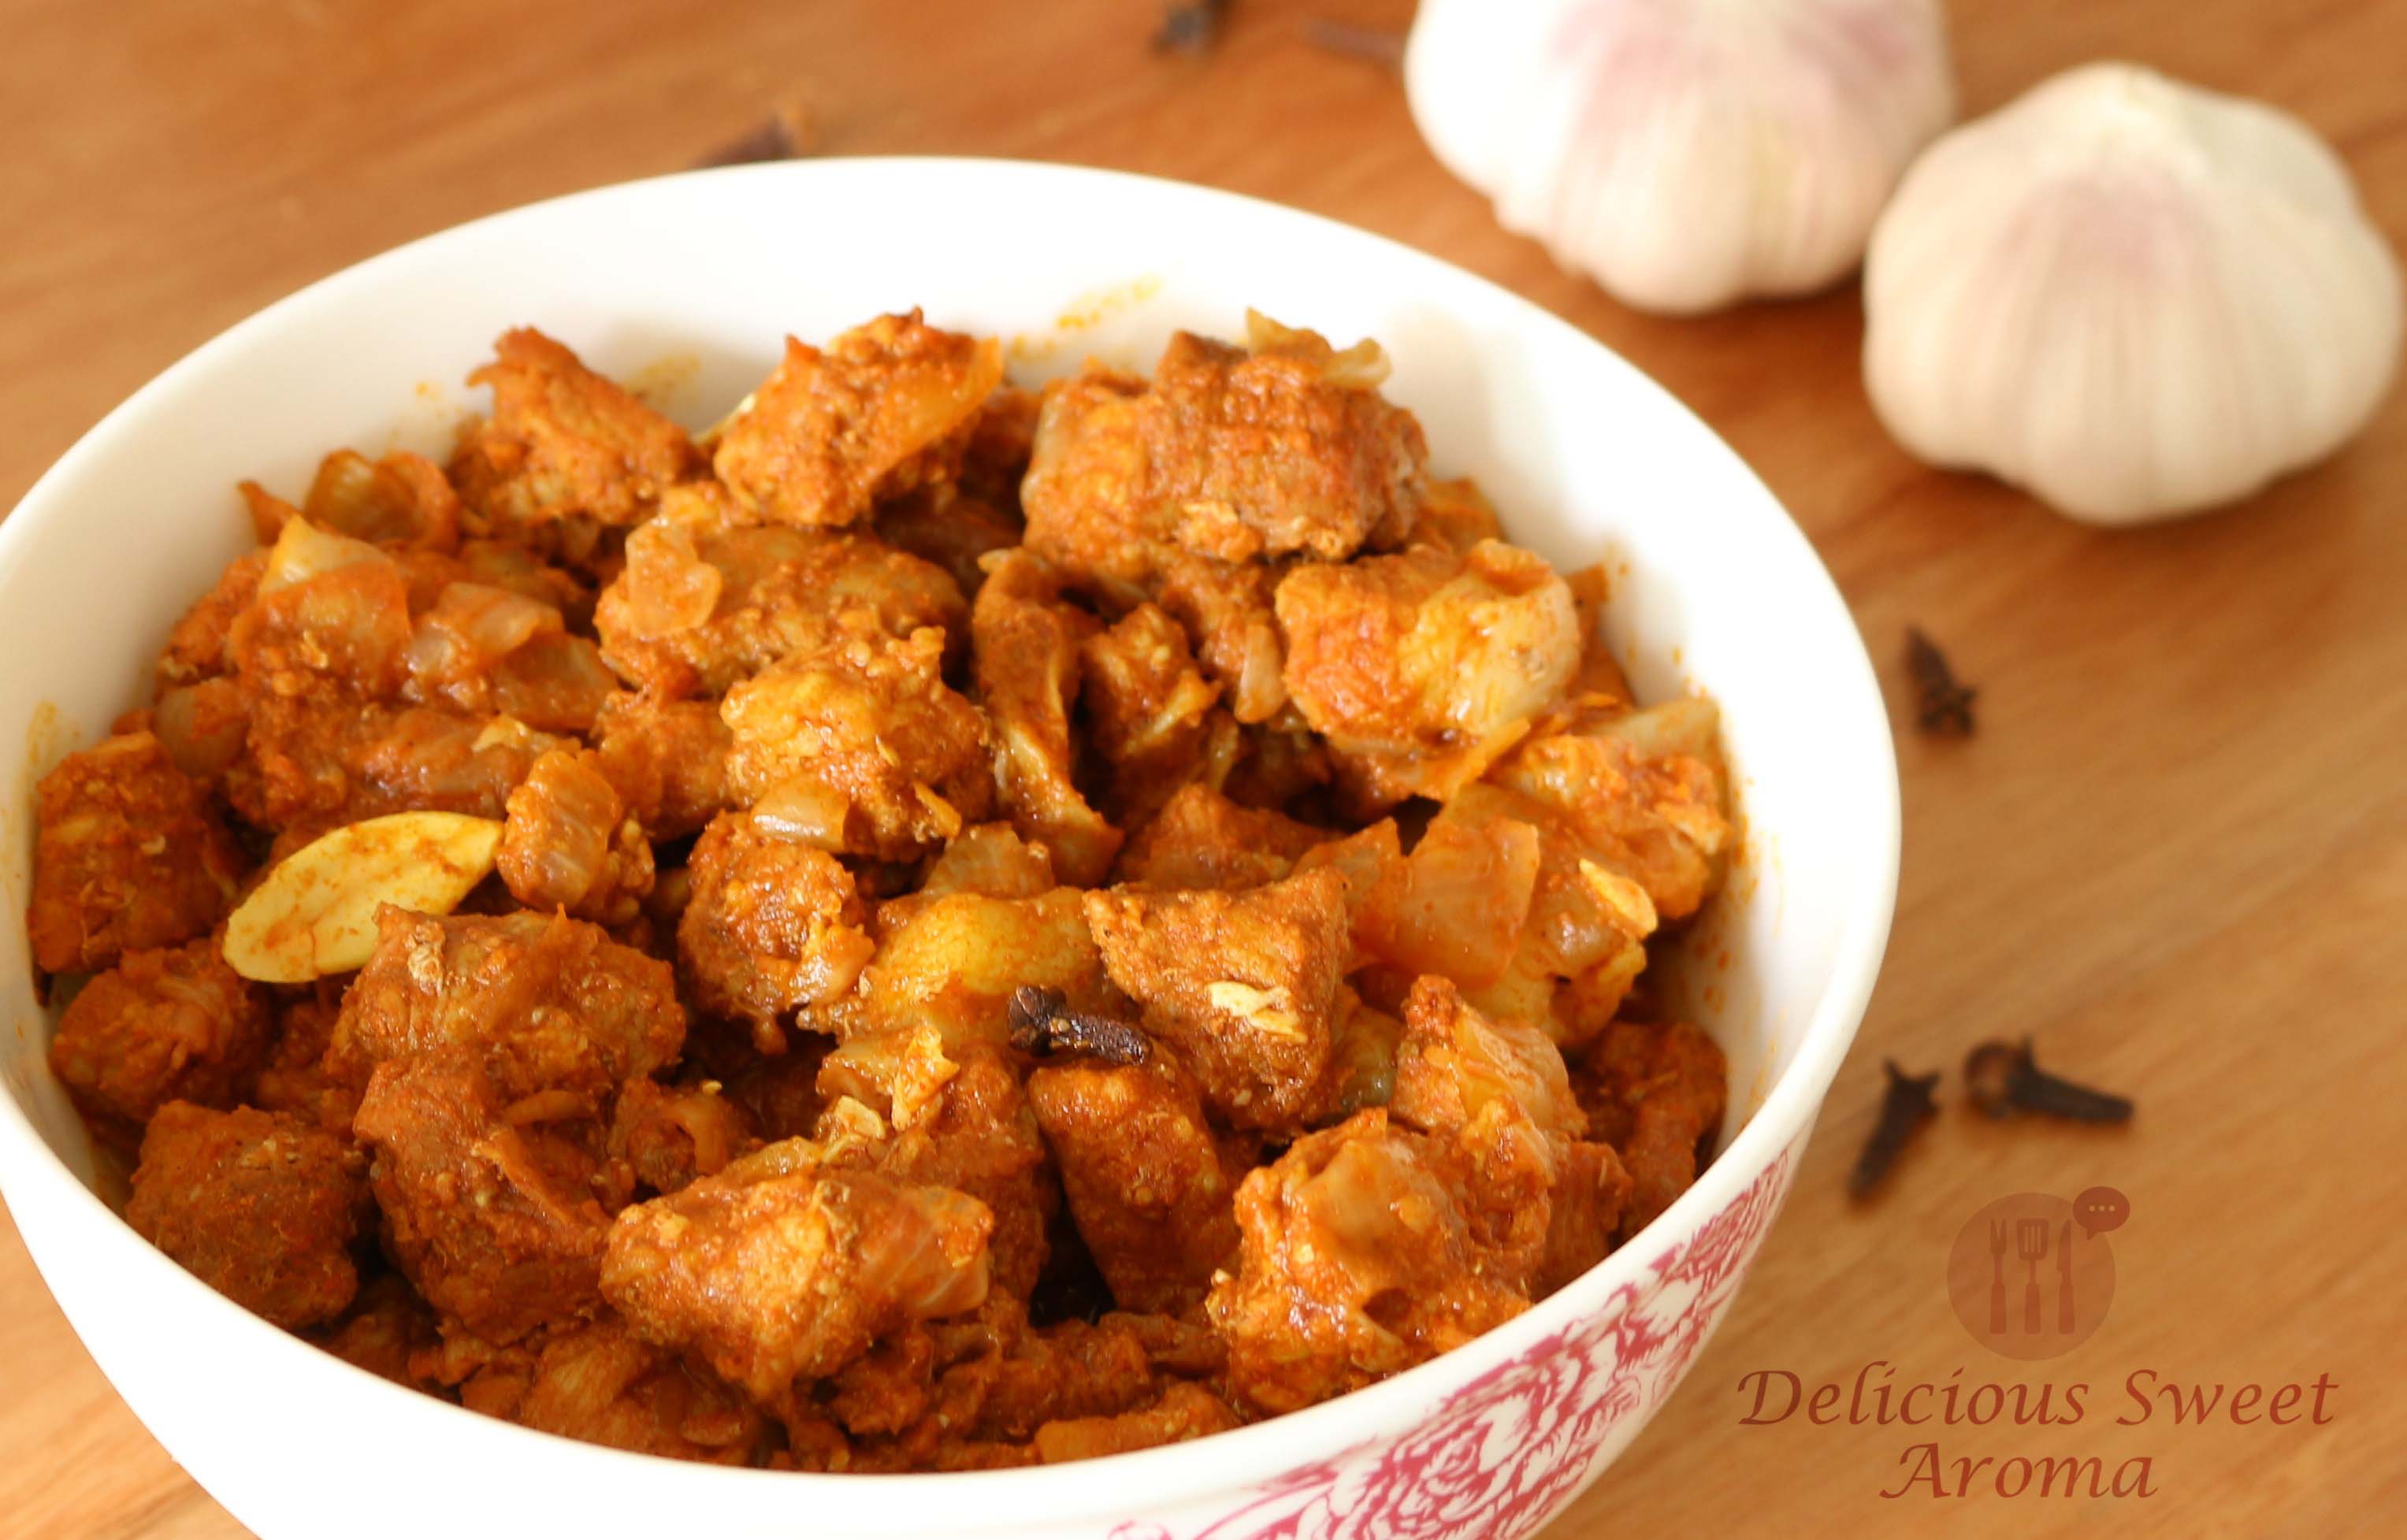
Pork Recipe- Mangalorean Pork Bafat

I’m not sure why I have been hesitant on posting pork bafat recipe. Mostly because its commonly prepared by Mangaloreans, and I believe most people would know how to prepare it as it is a favorite among all Mangaloreans. However, some have their own special recipe so I thought of sharing this recipe my mom’s way and it’s always a great start to a new dish.

This recipe has been passed down for generations. Some call it pork bafat others Pork curry, and we at home call it “DUKRA MAAS” in konkani (Dukor – Pig  and Mass – Meat). You must have noticed while browsing through my posts some recipes call for Bafat powder. It is a ready-made powder which I got along with me to Singapore. Being brought up in Mangalore its a traditional Sunday ritual prepared by Catholics with its main features being the combination of vinegar and pork often served with a ‘pao’ (Idli / Dosa / Sanna) that is made from fermented rice of Konkani cuisine.

We get different types of pork meat in Singapore which is less fatty compared to the Mangalorean pork meat (best!). Hence, this pork recipe is more of a gravy than a curry. The fat imparts a great flavor to the dish which is why it must have some fat content. At home we sometimes prepare this in a claypot. As you follow through one of my posts on Claypot recipe cooking pork for longer gives it a unique taste. It gets more flavor the following day. So make sure you spare some for the next day.

Preparation time: 10 -15 minutes

Cooking time : 45 minutes

Serves: 4

Ingredients

Cubed Pork belly and lean meat – 1 kg (500 g each), I prefer less fat. Can also include bones

Onions – 3 large, chopped into 1/2 inch size

Garlic – 1/2 pod/bulb, sliced lengthwise

Ginger –  1 inch, finely chopped

Bafat  powder – 2 tbsp

Turmeric powder – 1/2 tsp

Vinegar – 2 tbsp

Salt – 1/2 tbsp

Cloves – 6 

Bay leaf  – 7 (optional), fresh if available, washed  and cut into halves

Directions

1. Cut the pork into cubes. Wash once and add it into medium deep-bottomed container. Prepare the onions, garlic and ginger.

Pork Meat | DUKRA MASS | Delicious Sweet Aroma

Ingredients for Pork | DUKRA MASS | Delicious Sweet Aroma

2. To the washed meat, add the rest of the ingredients such as: bafat powder, turmeric, vinegar, salt and cloves along with chopped onions, ginger and sliced garlic. Mix and combine together with your hands to coat spices to the meat.

If you have bay leaf you can add now. We usually have fresh ones at home in our backyard but I haven’t used it here.

Pork Recipe ingredients | Pork bafat | Delicious Sweet Aroma

3. On medium heat let the meat cook for 40 – 45 minutes covered. Check in between 2 or 3 times and mix. Water oozes out from the onions so there would be no need to add any water.

After 30 minutes, check for salt. Add if required.

Pork Recipe | Pork bafat | Delicious Sweet Aroma

4. Turn off heat when the pork has cooked. Serve with rice or bread. You can even have it as a side with beer.

Pork Recipe | DUKRA MASS or Pork bafat | Delicious Sweet Aroma

Cook’s tip:

*Do not add any water to this recipe. The onions release water as it simmers.

*If it gets too spicy add vinegar. The more the fat the more bafat powder you will need for spicing up the dish. The more leaner the meat less bafat powder is required depending on personal spice and same goes for black pepper pork.

If you wish to see related recipes hover over the recipe title and click:

Mangalorean Pancake with Pandan

Jackfruit fritters

Prawn with coconut milk

Pork Vindaloo

Black Pepper Pork

Coorgi Pork

Hope to hear your views on this recipe. Stay healthy!

Read More

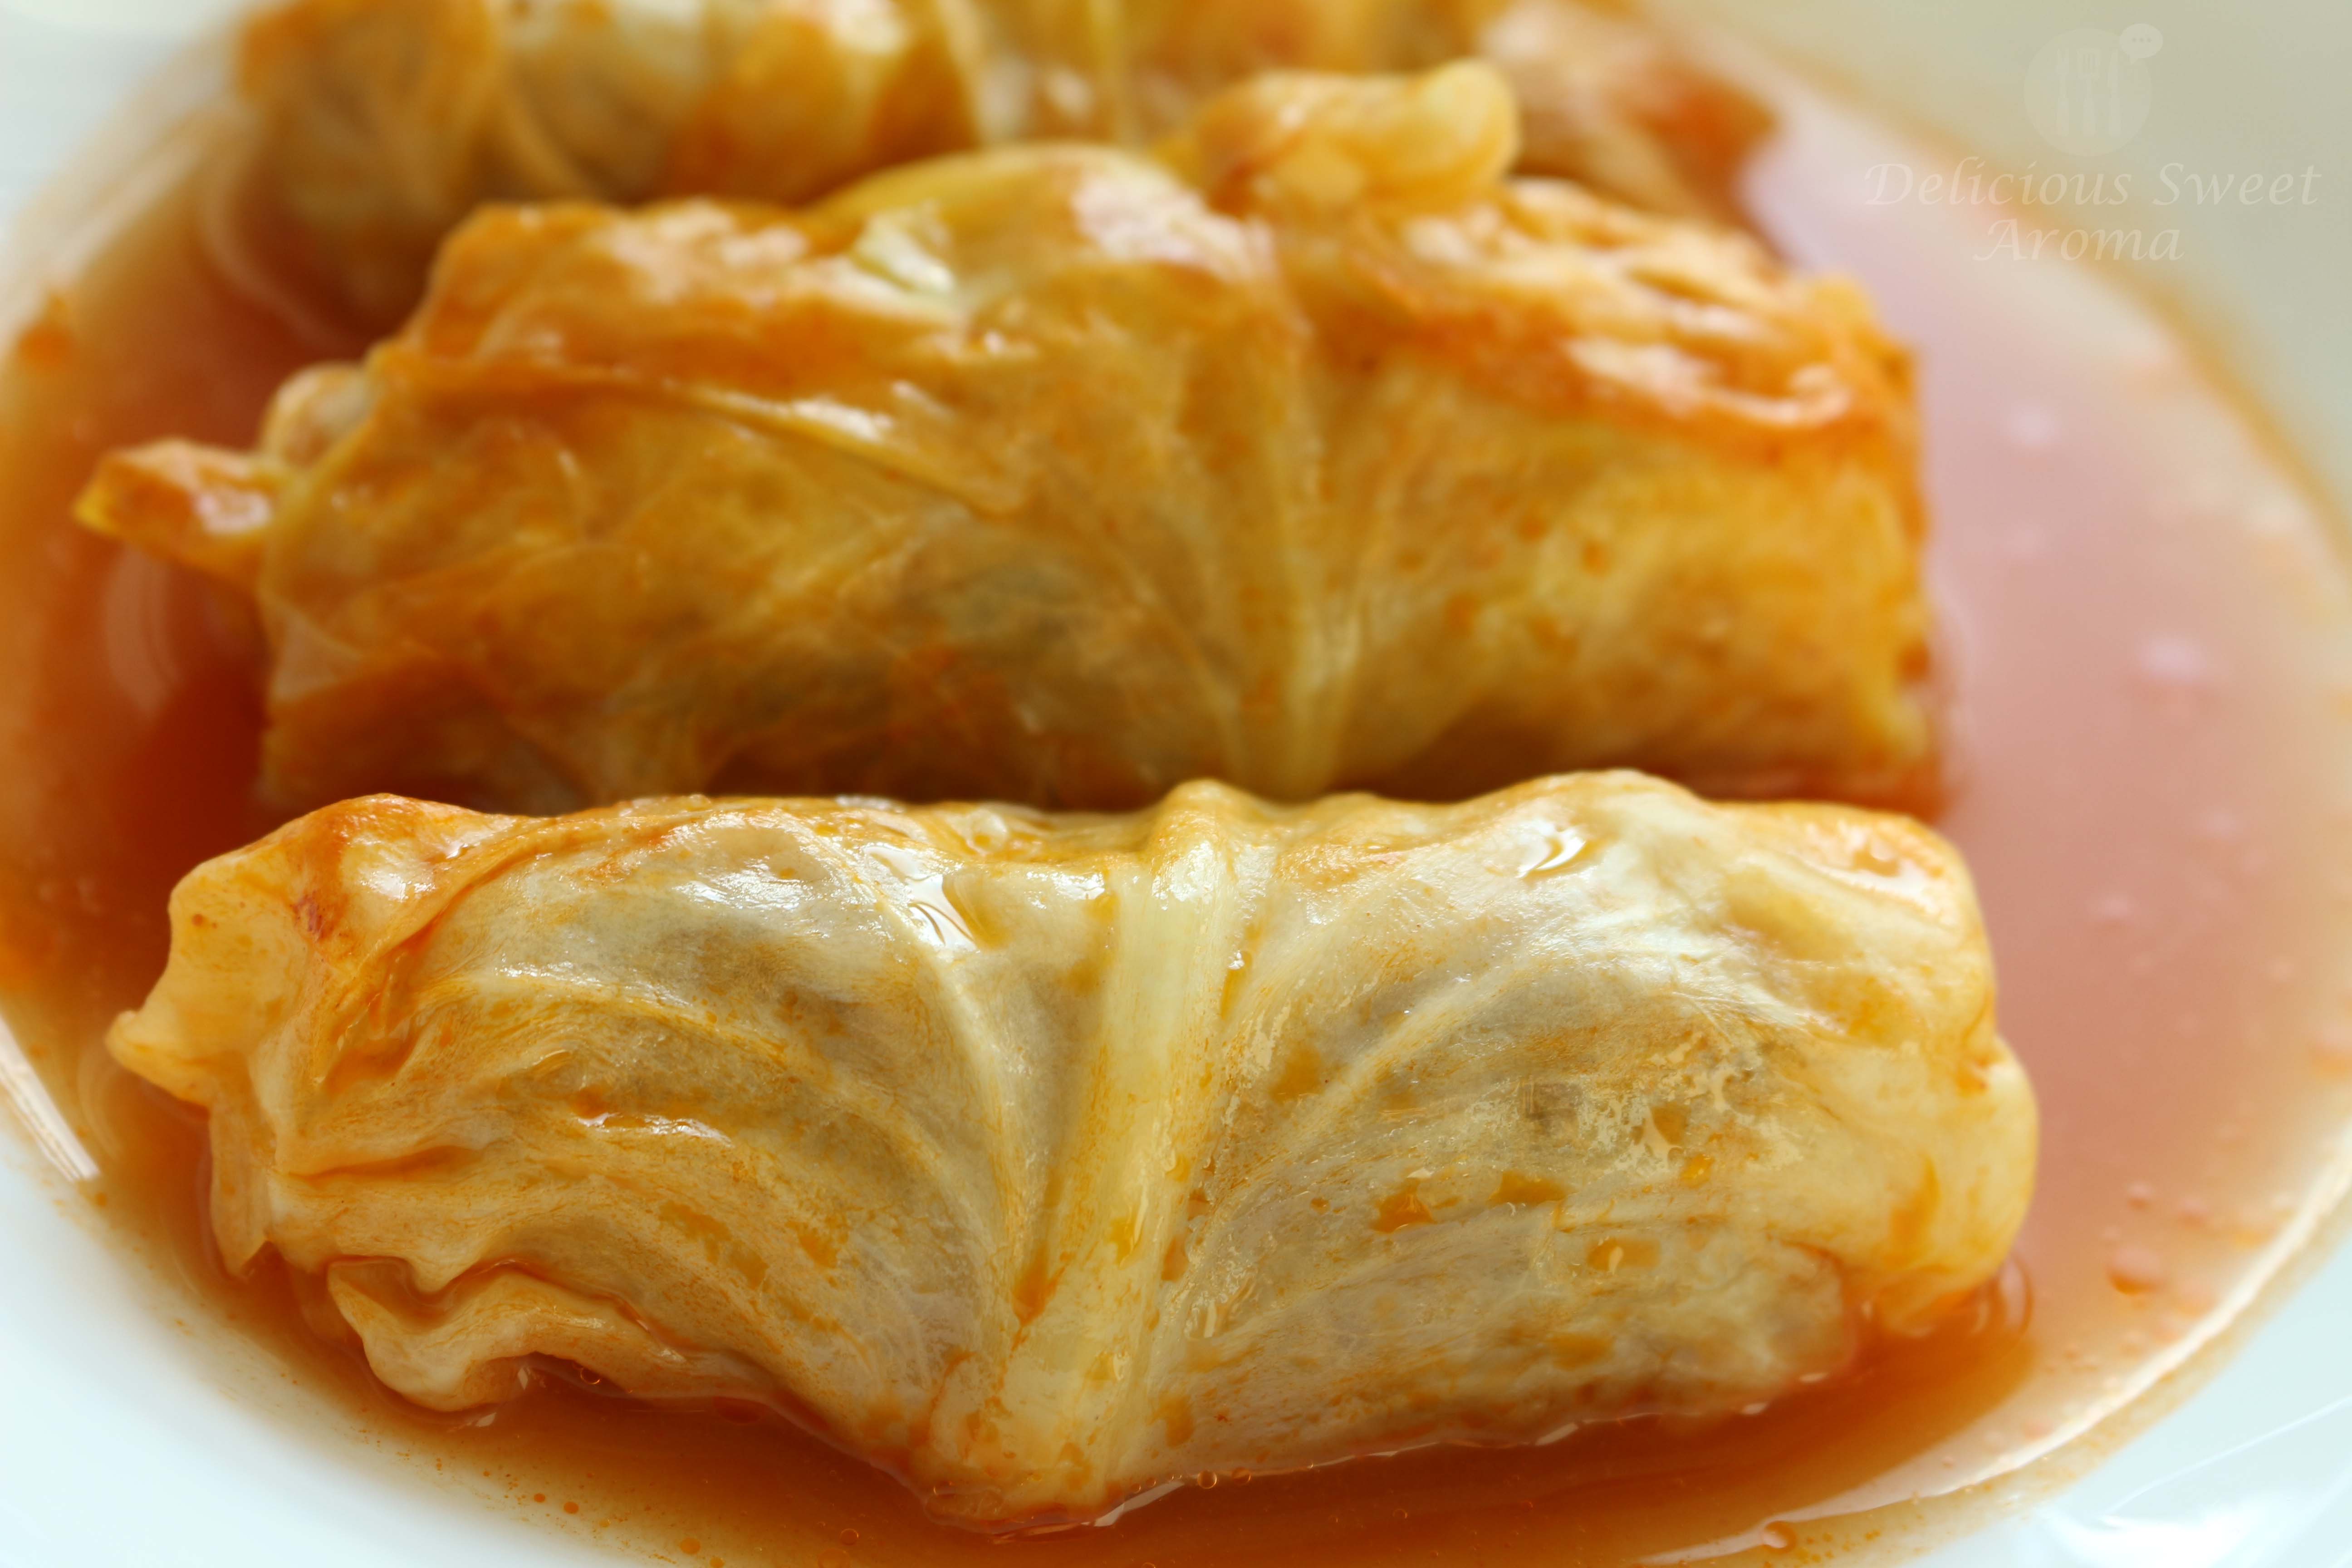
Beef Stuffed Cabbage Rolls

Beef stuffed Cabbage Rolls is an authentic family recipe. It is a delicious one-skillet supper recipe that develops more flavor the longer it sits on stove-top.

Preparation time: 15 minutes

Cooking time: 35 minutes

Ingredients

Cabbage leaves – 12, bigger the better (rinsed) *see notes

Beef mince – 200 g 

Vegetable oil – 2 tbsp

Onions – 1 medium, chopped finely

Carrot – 40 g / Small, chopped finely

Sesame oil – 2 tbsp (optional)

Tomato sauce – 4 tbsp

Water – 1 cup

Salt


Directions

1. In a medium heated pan with oil, toss onions and fry for few minutes till light brown. Add chopped carrots. Fry for 3 minutes. Add it to the Beef mince, 1/4 tsp salt along with sesame oil if your using at this point.

Beef Filling | for Stuffed Cabbage rolls | Delicious Sweet Aroma

Combine together.

2. Boil water in a deep-bottomed container enough to dip the cabbage leaves along with salt. Submerge the leaves for 2-3 minutes in hot water using tongs. Remove them and soak it in cold water. Do the same with the rest of the leaves.

Cabbage leaves in hot water | Delicious Sweet Aroma

Tap dry the leaves gently and remove the thick base (the center vein) of the stem into a V-shape.

3. To roll the leaves, place inner-side up. Place a portion of beef mince with 1 cm distance to the V-cut bottom and 2 inch distance from the sides. Press gently to hold the filling.

Roll up (2), bring the edges to the center (3). Roll up again (4).

Beef Stuffed Cabbage rolls | Delicious Sweet Aroma

4. Arrange the cabbage rolls in a pot. Pour tomato sauce and 1 cup water or more sauce if you prefer. Cook on medium for 30 minutes.

Beef Stuffed Cabbage Rolls in Tomato Sauce

Remove them with tongs and serve them with the sauce for delicious flavor.

Beef Stuffed Cabbage Rolls in Tomato Sauce | Hungry?! That's what I made!


IMG_8012


Notes:

*Discard the outermost leaves layer-by-layer cutting the core.

*While handing the cabbage leaves be sure not to make any holes or tears.

*I used the leftover beef mince to make patties. See here>> Beef Cutlets


I’m happy to share my recipes on this blog. I hope you liked them. Do not forget to like my FB page for more updates on food >> https://www.facebook.com/delicioussweetaroma

Until my next post. Adios!! Stay healthy!


Read More

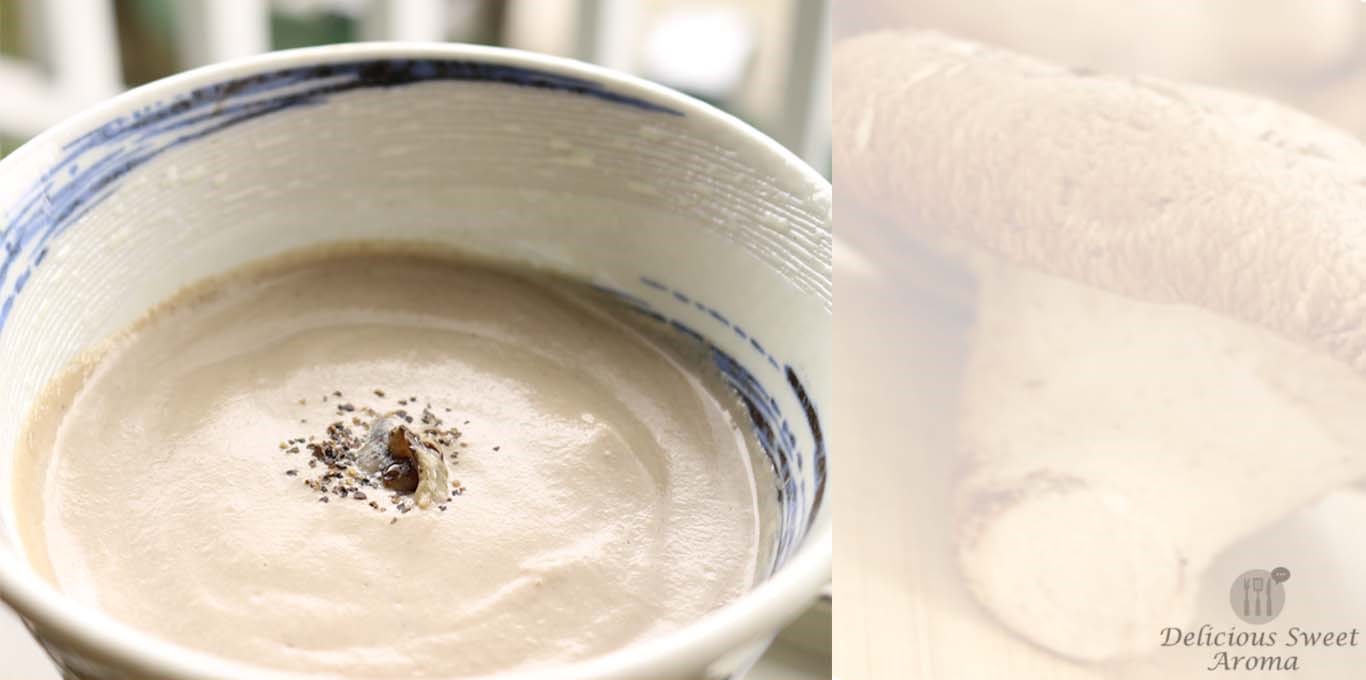
Mushroom Soup

Even in this sweltering heat, one weekend evening, we went to a small local restaurant to have something very light and ordered steaming hot mushroom soup served in a paper cup. It was thick, delicious and satisfying. Since then, I wanted to try it and I finally made it.

Mushrooms | Soups | Delicious Sweet Aroma

I bought these fresh huge mushrooms and I believe they are called as Shiitake Mushrooms which were so pretty and beautiful that couldn’t help taking pictures of it.

Mushrooms | Recipes | Delicious Sweet Aroma

Brown Mushrooms | Shiitake | Delicious Sweet Aroma

Mushroom soup is easy to make and is warm, creamy, and comforting. This soup can be incredibly filling and can be easily eaten as a stand-alone meal or with a piece of crusty bread. It is also a healthy replacement of meat.


Preparation time: 10 minutes

Cooking time: 25 minutes

Appliance Required: Blender/food processor


Ingredients

Butter – 2 tbsp

Mushrooms – 12, thinly sliced

Onions – 1 medium, thinly diced

Salt as required

Cream  – 3 tbsp , or veg stock 

Water for consistency or veg stock


Directions

1. Melt butter in a medium pot on medium-low heat. Add onions, fry for 2 – 3 minutes till translucent.

Onions for flavor, Mushroom soup

2. Add the mushrooms and mix. Cover and cook on medium for at least 7- 10 minutes.

Mushroom ready for cooking | How to cook by Delicious Sweet Aroma

It must be soft. Turn off heat and let it cool for a while.

Cooking Mushrooms for Soup | by Delicious Sweet Aroma

3. Put the contents in a food processor or blender with 1/2 cup of water. Process on medium speed until smooth.

Mushroom puree | Soup | by Delicious Sweet Aroma

4. Add the pureed mushroom into the same pot with cream or  1 1/2 cup vegetable stock along with some salt. It will have a slight change in color from dark to light color.

Cream for mushroom soup | Delicious

Bring to a boil by reducing heat and simmering uncovered for 3-4 minutes. Serve hot

Mushroom Soup | Easy creamy soup | Delicious Sweet Aroma


Note:

*I haven’t added any veg stock as I ran out of it. Hence I replaced it with water and a bit of cream for creamy flavor.


Do share your views on my posts or similar recipes you have tried. Love to hear from you. Have a relaxing weekend!


Stay Healthy!

Read More

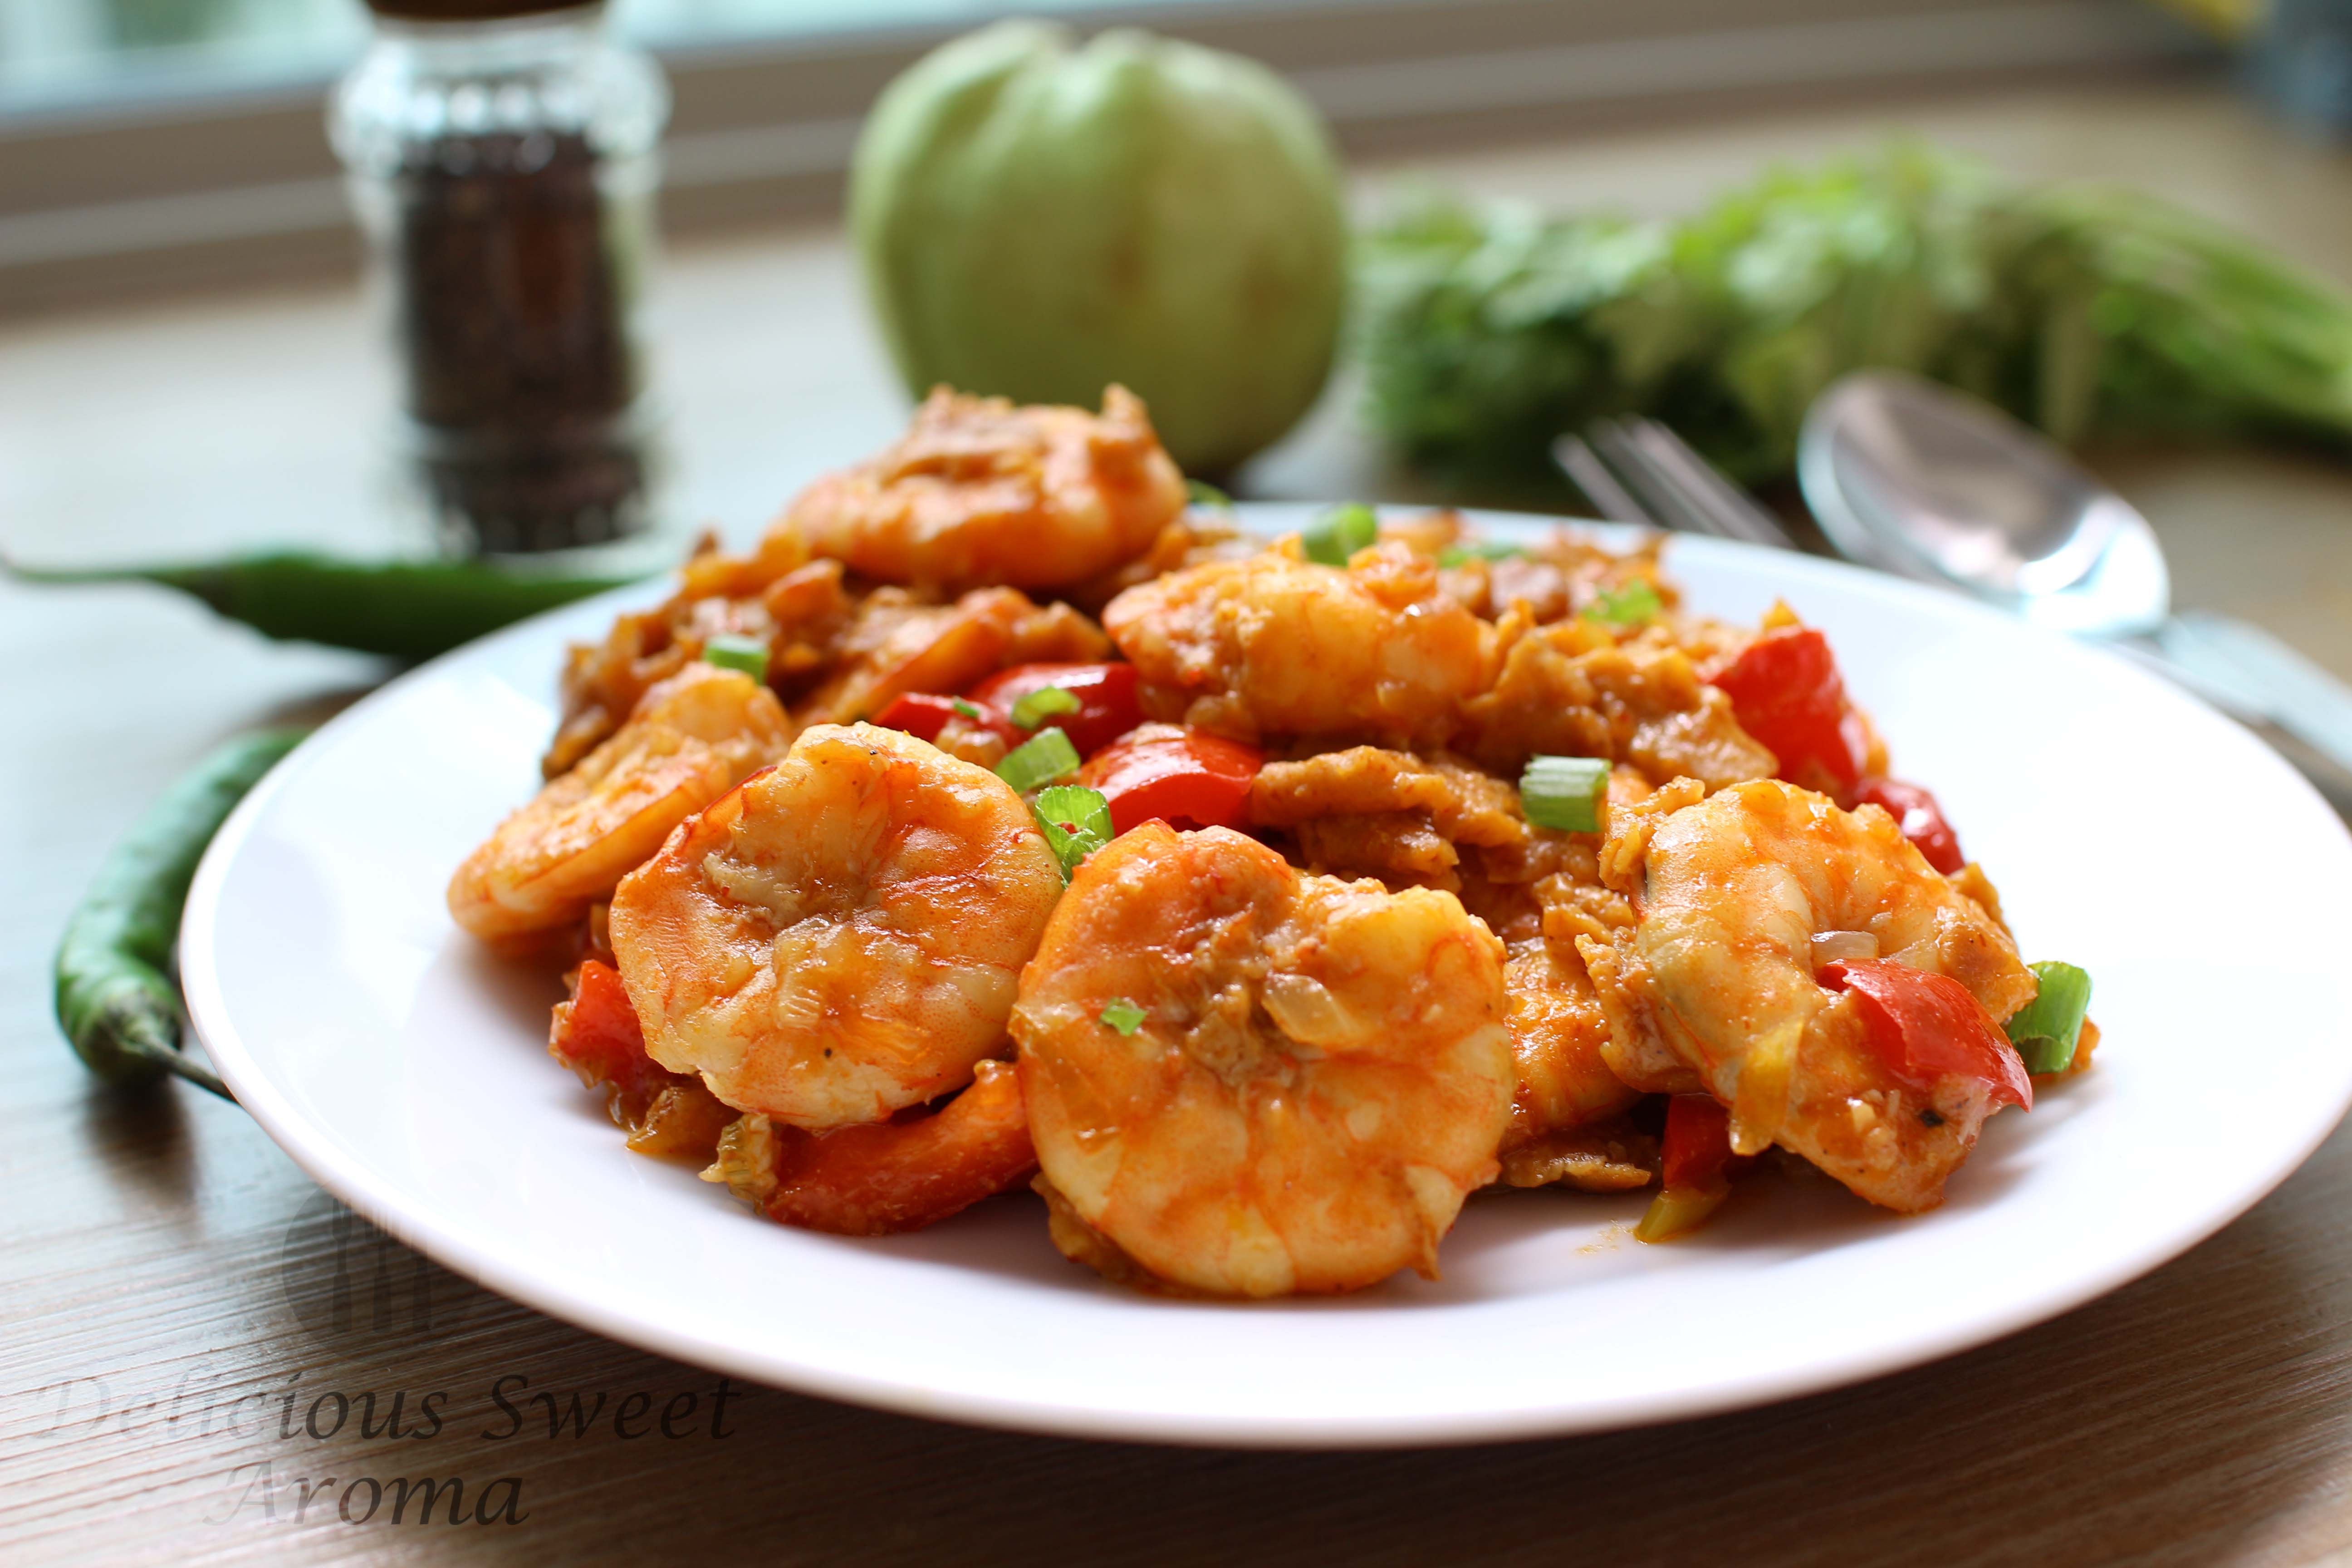
Sweet Chilli Prawns

I know there are many ingredients that include in Sweet Chilli Prawn recipe, but not all are required. You can still prepare this recipe with few sauces like the soya sauce and tomato sauce. They are always in my pantry for delicious stir-fry dishes as these.

This dish is mildly spicy, and in order to find these ingredients, the first place I recommend is your local international food market. The key ingredient for the spice in my recipe is the red-chili paste. It can turn up the heat and can be used for any seafood recipes like fish, prawns, squids etc.


Preparation time: 15 minutes (excluding cleaning prawns)

Cooking time: 25 minutes


Ingredients

Large prawns – 250 g , tips & legs removed

Ginger – 1 inch, finely chopped

Garlic – 2 big. finely chopped

Onions – 1 medium, chopped

Red pepper/Bell pepper – 1, cut into 1 inch

Spring onion (whites & greens) –  1/4 cup, set aside for garnish as well

Pepper powder – 1 tsp

Red chili paste / Red chili powder – 1/2 tsp

Vinegar – 1 tsp

Salt – 1/2 tsp

Tomato sauce – 1 tbsp

Sweet chili sauce – 1 tbsp

Light soya sauce – 2 tbsp

Cornflour mixed in 1/4 cup of water


For Marinade:

Ginger-Garlic paste – 1 tsp

Kashmiri red chili powder – 1 tsp

Salt – 1/2 tsp

Egg – 1

Light soya sauce – 1 tbsp

Cornflour – 3 tbsp


Directions

1. Season the prawns with the ingredients under marinade: ginger-garlic paste, red chili powder, salt, egg, soya sauce and cornflour. Mix and set aside for 15 – 30 mins.

Ingredients for Sweet Chilli Prawn marinade | Delicious Sweet aroma

In the meantime, prepare the rest of the ingredients.

Ingredients for Stir-Fry | Prawn recipe

2. Toss the prawns in a heated pan of olive oil. Stir-fry for 4-5 mins on high until they are lightly brown. Remove from and set aside in a plate.

Pan fry or stir-fry Prawn | Delicious Sweet Aroma

3. In the same pan with 1 tsp of oil. Put ginger and garlic and stir-fry for 1 min on high. Add the onions and fry till it turns translucent. Add red peppers, spring onions, pepper powder. Mix together.

Now, add all the sauces and pastes except for cornflour. Mix together and fry for 2 minutes.

Ingredients for Sweet Chilli Prawn recipe | Delicious


4. Add prawns and cornflour liquid. Reduce heat to medium and stir again gently to coat. Cover and cook for 2-4 minutes keeping an eye.

Stir-fry| Prawn Recipe | Delicious Sweet Aroma

Cornflour liquid for better texture | Sweet chilli Prawn

Garnish with spring onions.

Sweet Chilli Prawn Recipe | Stir-fry | by Delicious Sweet aroma


If you would like to get updates on my page please follow me on Facebook page >> Delicious Sweet Aroma


For more seafood recipes click below:

Coconut Shrimp Fry

Flower Crab Curry

Spicy Clam Recipe


Stay Healthy! 🙂


Read More

Vegetable Chili Paste

Vegetable Chili Paste or Vegetable Curry Paste is a staple at our home for curries. My mom commonly prepares it to give a good flavor and aroma to the dish. It’s also known as meet-mirsang masala (chili paste) to us Mangaloreans living in the coastal region.

We grind the ingredients to a fine thick paste and store it in a small bottled container in the fridge. When preparing vegetarian dishes, just add the required amount of the chili paste needed based on your spice level.

Veggies that can be prepared with this chili paste for dry gavy dishes:

  • Yam- Elephant foot / Soorn (konkani)
  • Chickpea (any chickpea) / Bengal gram / Garbanzo : soaked in water overnight before cooking
  • Raw banana plantains

Ingredients

Red dry Kashmiri Chilies – 15 

Coriander Seeds – 1 tbsp

Cumin / Jeera seeds – 1/2 tbsp

Mustard seeds – 1/2 tbsp

Garlic cloves – 4 large

Black Peppercorn seeds – 12

Pinch of turmeric powder

EDIT:

Ingredients veg dishes_IMG_8373

1. Grind all the ingredients with a small amount of water into a fine paste using a blender. Use a smaller container for a finer paste. The paste must be thick and not watery.

Blending Ingredients for Paste | Veg or Vegan dishes | Delicious Sweet Aroma

Chilli paste for Veg dishes | Vegan | Easy DIY

2. Store in a sealed container in the fridge and use some amount when preparing dry vegetable dishes.

Paste for vegetarian dishes | Easy recipe | Delicious Sweet Aroma

Note:

*Make sure to use the paste withing a few weeks. You can also divide them in small zip-lock bags with name tag and freeze. When you plan on making it thaw or defrost them few hours before preparing the dish.

>>How to prepare vegetable dishes with this paste?

Click link below:

Raw Jackfruit Dry in Claypot

Clay-pot Recipe, Kadgi Sukhi (Mangalorean food)

Related Chili paste recipe that can be stored in a bottled container:

Fish Fry Chili Paste (Meet – Mirsang)

Vegetable Curry paste (for dips)

Stay Healthy!

Read More

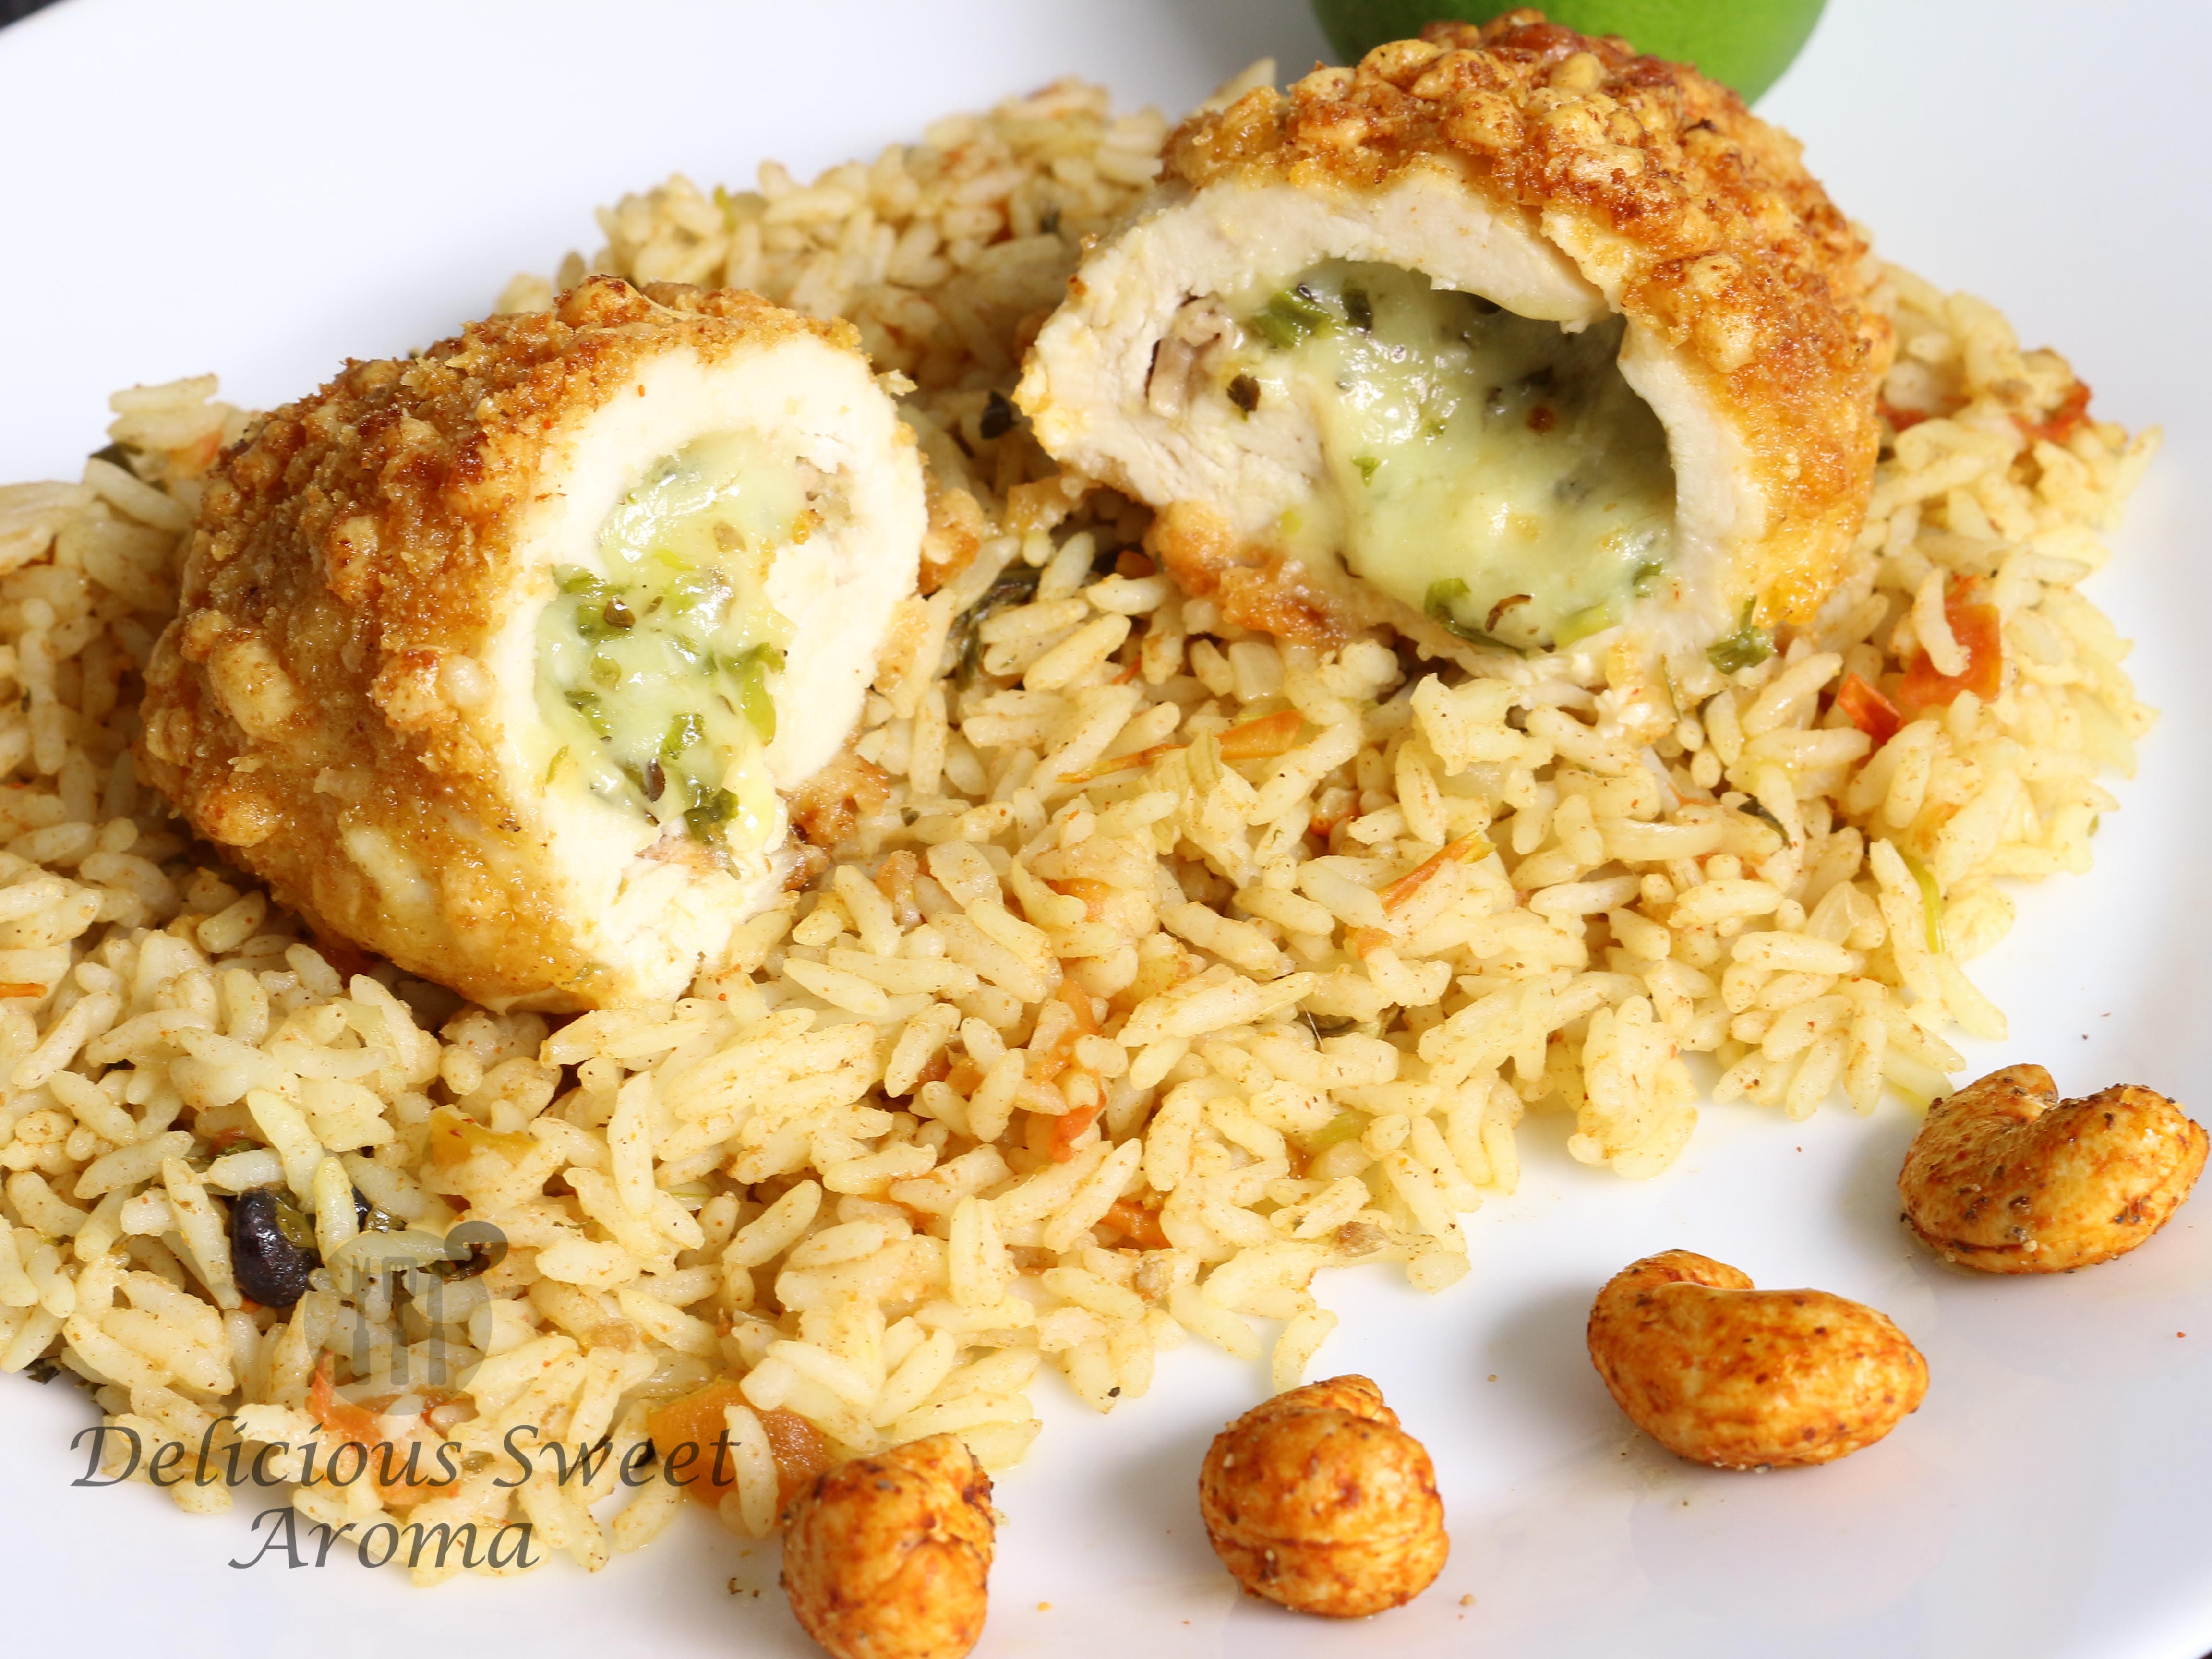
Parmesan Stuffed Chicken

There is no reason why one cannot try this recipe of Parmesan Stuffed Chicken. It doesn’t require fancy ingredients to make a phenomenal delicious filling dinner/lunch.


Preparation time: 15 – 20 minutes

Cooking/Baking time: 25 minutes

Ingredients

Chicken Breasts / Boneless chicken – 4

Baking tray 13-in. × 9-in.

Olive oil for greasing

couple of toothpicks


Filling:

Spring onions – 4 bulbs, only greens finely chopped

Garlic cloves – 2, finely chopped

dried Oregano leaves – 1/2 tsp

Cheddar cheese – 2 tbsp

Parmesan cheese – 1/2 cup


Coating:

Flour – 1/2 cup

Butter/Eggs – 50 g / 2 eggs lightly whipped

Mixed together —> Bread crumbs 1/2 cup, salt 1/2 tsp, chili powder 1 tbsp, parmesan cheese 1/2 cup, Cumin powder 3/4 tsp


Directions

1. Prepare the filling by mixing all the ingredients mentioned under filling. Set it aside.

stuffing of cheese mixture | Chicken

2. Place a plastic wrap on the cutting board and place the chicken breasts over it. Place a second layer of the plastic wrap over the chicken of equal length.

Now, flatten the chicken  to 1/8-in. thickness. Do the same for the rest of the pieces.

Place the filling (about 2 tbsp) in the center and roll up. Roll up the other end and secure with toothpicks. Check link here on how to do the filling.

Chicken stuffed Parmesan cheese mix | Delicious Sweet Aroma

3. Prepare  a bowl or plate, combine bread crumbs, salt, chili powder, Parmesan cheese and cumin. Mix together. Place flour in another plate. Place whipped egg or butter in a third bowl. Meantime, preheat oven to 200 degree Celsius (400 deg F)

Coat all sides of each chicken roll-up with flour, then dip in butter and toss it in bread crumb mixture.

Coated chicken roll-ups | Hungry?! That's what I made!

Place roll-ups in a baking tray, seem side down, lined with butter paper and greased with olive oil. Place it on a low oven rack uncovered at 200 deg C for 25 minutes.

Remove the toothpicks before serving.

Parmesan Stuffed Chicken (2)


I almost forgot to take a picture right after baking. Was too excited that I got hungry and couldn’t wait to grab a bite. We enjoyed the stuffed chicken with tomato rice. The stuffing was CHEESE-LICIOUS!


Hope you enjoy this delicious chicken roll-ups. Thank you for sharing and being supportive!


Note: 

If you do not have an oven consider deep-frying to get a golden crispy texture.


Related recipes of Chicken:

Chicken Schnitzel

Cream of Chicken Soup

Crispy Chicken Fry

Chicken Bites


Stay Healthy!

Read More