Here is a simple crunchy savory Beetroot Veg Puffs made extra easy with ready-to-use frozen puff pastry.
They can always be made with left-over beets. You can also add any veggies that you would like into your puff filling. One can even pack these for lunch as take-away for picnics, outings or when going for a trek.
Ingredients
1 pack ready-to-use Puff Pastry (thawed as per instructions on package, see notes)
1 egg (for egg wash, optional)
2 tablespoons oil or ghee
1 medium sized beetroot, grated
1 small onion, finely chopped
2 Potatoes
2 cloves garlic
1 tomato
1/2 green bell pepper
1/8 cup green peas
1/2 tbsp Coriander powder
1 tsp garam masala
1 tsp red chili powder
Salt to taste
Directions
Preheat the Oven: Preheat your oven to 400°F (200°C).
2. Peel and Chop the onion and the potatoes. Heat a pan with 1 tbsp veg oil / ghee. Fry the 1 small onion till translucent. Add 2 small potatoes and sprinkle some salt. Fry for 1-2 minutes, add 1/4 cup water. Cover and cook on medium-low until potatoes are soft by piercing it with fork. We do not want the gravy to be runny so make sure not to add too much water. Meantime, while the potatoes cook prepare the rest of the ingredients.

3. Add chopped 2 cloves garlic and 1 small tomato. Fry for a minute then add green peppers and 1 medium beetroot, salt. You can now add 1/8 cup green peas. Fry for 2-3 minutes.

4. Mix the spices such as 1 tsp garam masala powder and 1/2 tbsp coriander powder. We prefer non-spicy so haven’t added any chili powder.Cook for another 3-4 minutes, check for salt. Turn off heat and set aside while you get the puff pastry ready.

Pastry puff: I used the whole pack of 500 g puff pastry. If it is sticky, powder the work surface and the pastry with All-purpose flour. Flatten the pastry using a roller pin to get a rectangular shape, it doesn’t matter if its thick. Cut out the uneven edges. I divided this into 4 equal parts.Meantime, pre-heat the oven to 200 degrees Celsius.
Puff Pastry – 1 pack ready-to-use, thaw it as per instructions on package (*see notes)

Decide how you want to fold it. Fill one side of each pastry with the veg mixture. Leave some gap on the edge to seal it.

Once you are done with filling brush the edges with egg wash by painting with egg mixture using a brush. Fold them and press to seal, you can also use a fork. Roll the left over pastry, fill it, brush the egg wash and bring the edges together to seal it.

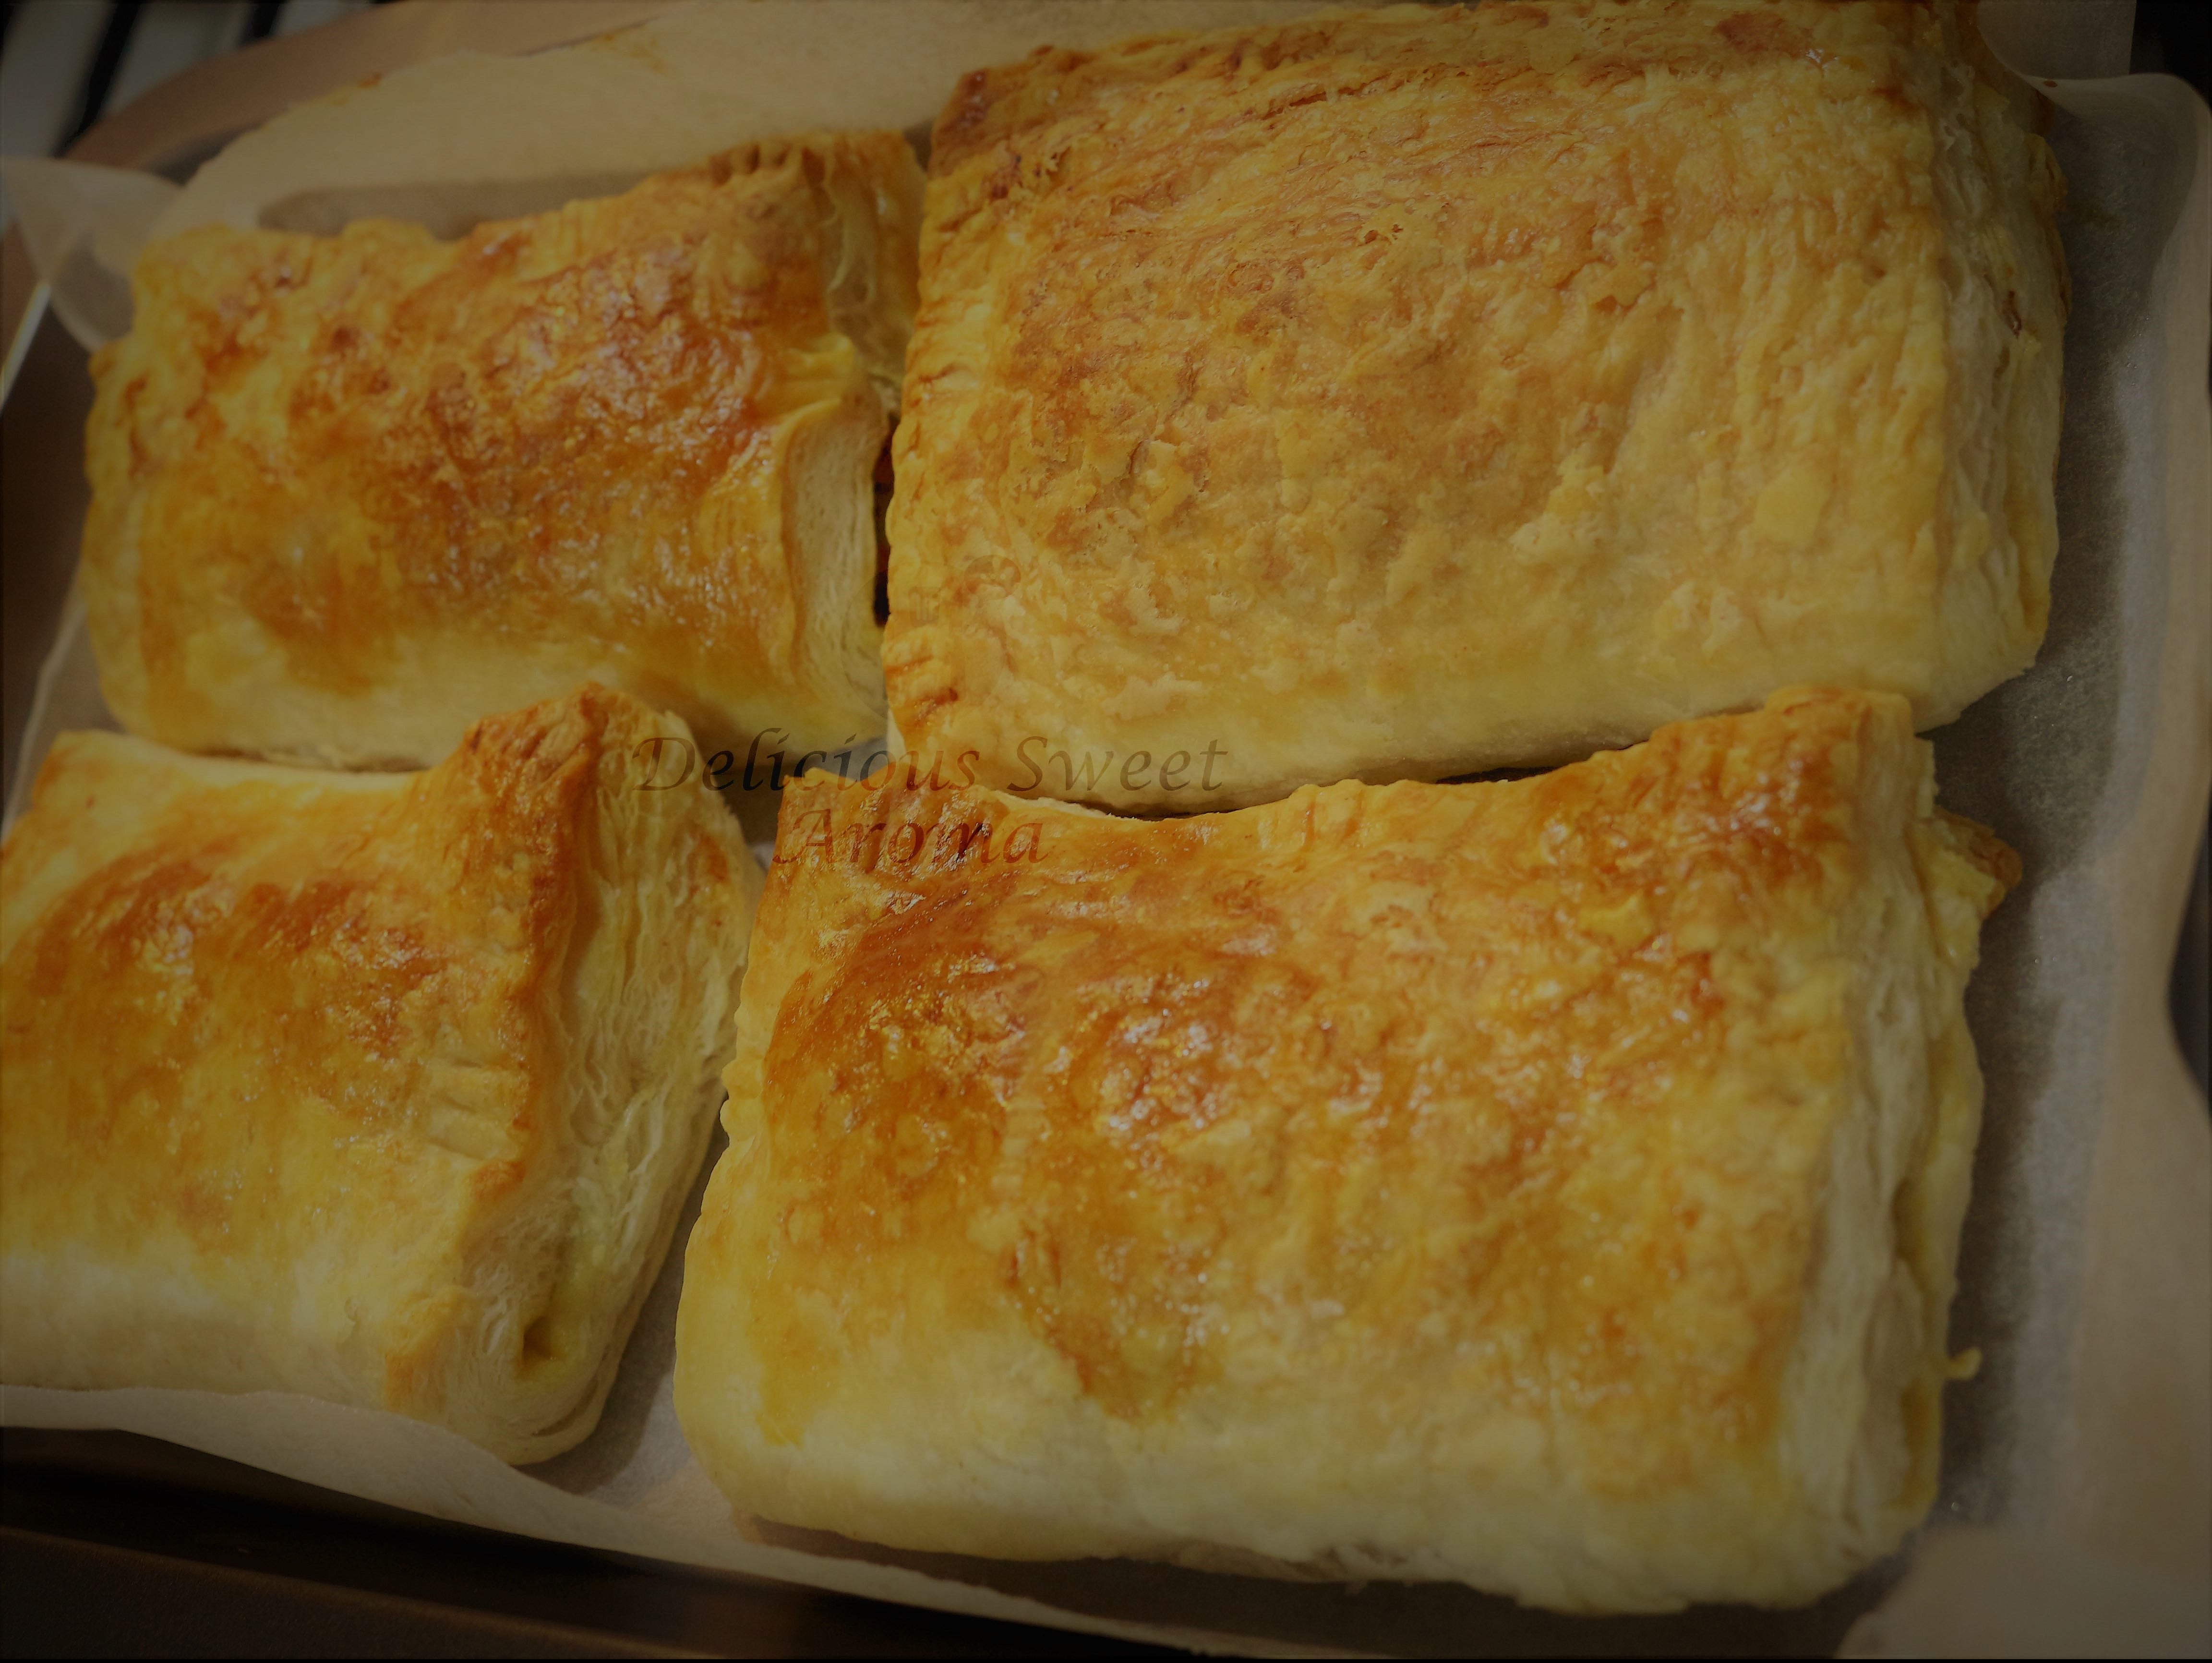
They look super delicious with a lovely golden color on top.


Beetroot Vegetarian Puffs
Equipment
- Oven
Ingredients
- 500 g puff pastry
- 1 egg (egg wash)
Filling
- 1 tbsp veg oil / ghee
- 1 small onion chopped
- 2 small potatoes
- ¼ cup water
- 2 cloves garlic chopped
- 1 small tomato
- ½ green bell pepper / red bell pepper
- 1 medium beetroot
- ½ tbsp coriander powder
- 1 tsp garam masala powder
- Salt to taste
- ⅛ cup green peas
- 1 tsp red chili powder (optional)
Instructions
Prepare the Filling
- In a pan, heat the oil over medium heat. Add cumin seeds and let them sizzle for a few seconds. Then, add the chopped onions and garlic. Sauté until the onions turn translucent.1 tbsp veg oil / ghee, 1 small onion, 2 small potatoes
- Add Vegetables: Add the diced beetroot and mixed vegetables to the pan. Sprinkle in the garam masala, salt, and pepper. Cook for a few minutes until the vegetables are well mixed and heated through. Remove from heat and let the mixture cool.2 cloves garlic, 1 small tomato, 1/2 green bell pepper / red bell pepper, 1 medium beetroot, Salt to taste, 1/8 cup green peas
Roll Out Puff Pastry
- On a lightly floured surface, roll out the thawed puff pastry. Cut it into squares (about 4 x 4 inches).1/2 tbsp coriander powder, 1 tsp garam masala powder, 1 tsp red chili powder (optional)
Fill the Pastry
- Preheat your oven to 400°F (200°C).
- Place a tablespoon of the vegetable filling in the center of each pastry square.
Seal the Puffs
- Fold the pastry over to form a triangle or a rectangle, and press the edges to seal. Optionally, you can use a fork to crimp the edges for an extra seal.
Apply Egg Wash
- If using, beat the egg. Brush the top of each puff with the egg wash. This will give them a golden finish.
Bake
- Place the filled puffs on a baking sheet lined with parchment paper. Bake in the preheated oven for 20-25 minutes or until they are golden brown and puffed up.
Serve
- Allow to cool slightly, then serve warm.
Notes
- Go for second round of baking for left over pastry puffs.
- if your wondering what to do with left over unpeeled beets, wrap it in cling wrap to store and use it next time to prepare beetroot rice